- Joined
- Jan 8, 2014
- Messages
- 9
Well thanks to the encouragement from everyone in my last post I decided to try and make a new bushing for the wobbly idler gear.
I started with 1" brass hex stock and got measurements.
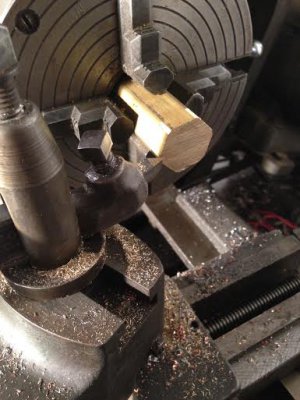
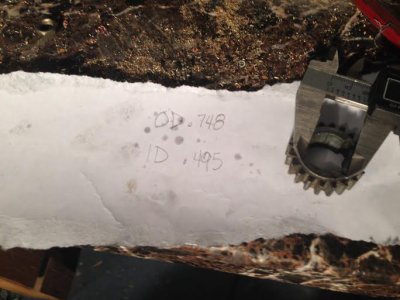
I don't have an indicator yet I looked for one in town today but they all seemed like junk so i'll probably get a Starrett or something on the net, anyways I just eyeballed it to get center and got it really close anyways.
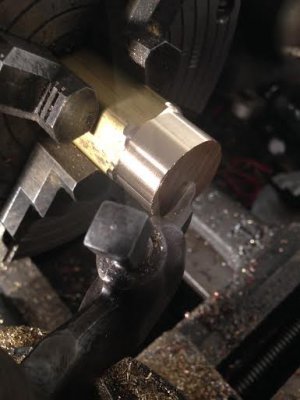
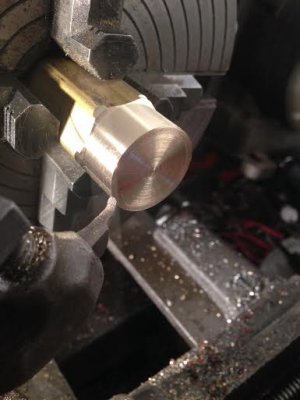
After I got it faced off and turned down to the proper O.D. I found I went just a hair under so I decided to knurl it to take up the space between the bushing and gear.
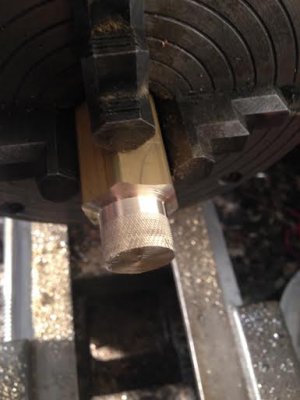
After that I used a counter sink to center the tailstock and had to shim with a piece of paper under the tailstock to get the right height. Centering was pretty easy for the most part.
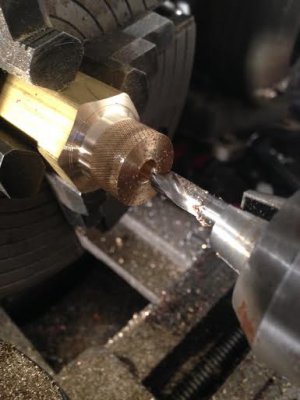
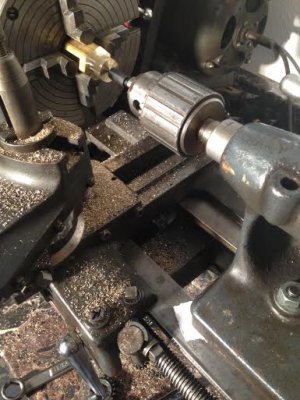
I then continued to step up drills until I got to my 7/16" bit.
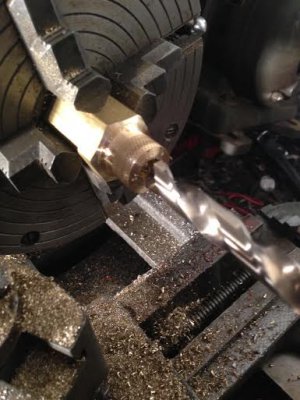
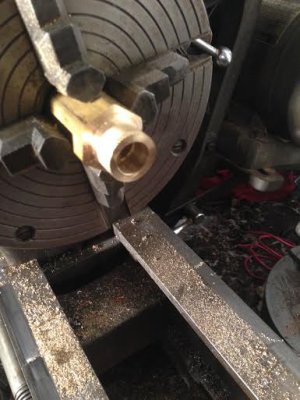
Now the next part was kind of a goat rodeo since I don't have a boring setup yet, I didn't take pictures of what I used, it wasn't safe nor very effective. I got it done and that was that.
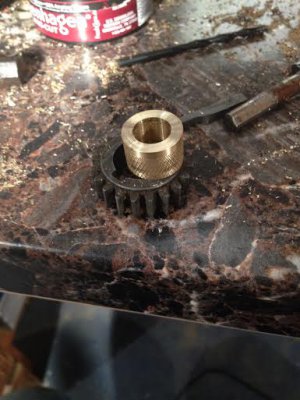
The fit on both sides was quite nice I had to tap the bushing in with a hammer and shaft to bushing fit had a tiny amount of slop but better than all the other gears in there so I was happy.
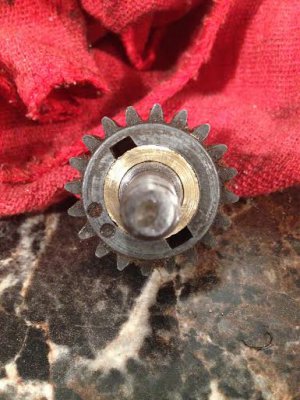
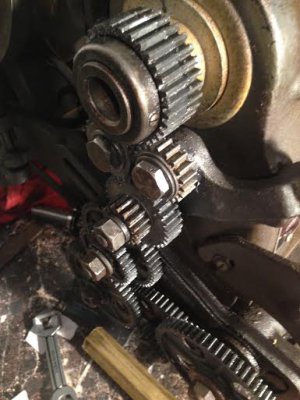
Thanks again everyone, Jess


I started with 1" brass hex stock and got measurements.


I don't have an indicator yet I looked for one in town today but they all seemed like junk so i'll probably get a Starrett or something on the net, anyways I just eyeballed it to get center and got it really close anyways.


After I got it faced off and turned down to the proper O.D. I found I went just a hair under so I decided to knurl it to take up the space between the bushing and gear.

After that I used a counter sink to center the tailstock and had to shim with a piece of paper under the tailstock to get the right height. Centering was pretty easy for the most part.


I then continued to step up drills until I got to my 7/16" bit.


Now the next part was kind of a goat rodeo since I don't have a boring setup yet, I didn't take pictures of what I used, it wasn't safe nor very effective. I got it done and that was that.

The fit on both sides was quite nice I had to tap the bushing in with a hammer and shaft to bushing fit had a tiny amount of slop but better than all the other gears in there so I was happy.


Thanks again everyone, Jess


