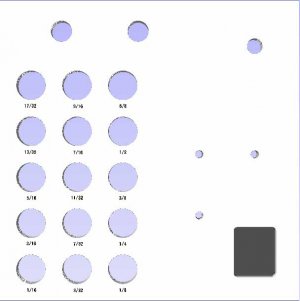
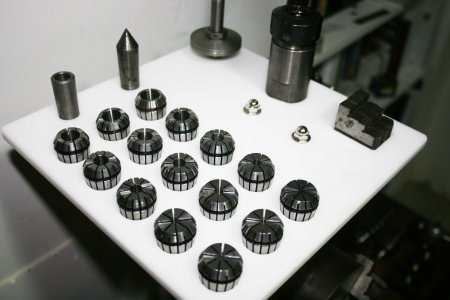
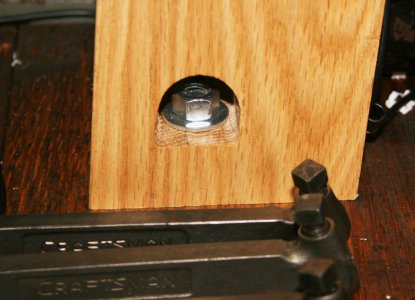
After buying all the accessories, I started to make a way to mount them starting with the head stock. I designed a layout for a 9.75 x 9.75 piece of .480 Corian i had. I used Aspire software to generate the G Code for my Arty CNC router. The dark area is for the extra jaws, the hole above is for the collet holder. I counter sunk the bottom side and mounted a oak dowel (you cant see) to protect the threads. I still have to find a way to add very small amounts of paint to see the collet markings better. This is mounted to a oak 2 x 4 to match the table top, cut at 5 degrees, top and bottom so it leans back so the chucks stay put. I drilled 2 - .750 hole for the dowels to hold the chucks without damaging the threads. The carriage DRO is mounted above them. I then drilled some holes at the base and used a wood file to flatten one side . I use a hole already in the oak table top so it may be a little close and I may have to move it back after I get a chance to use it.
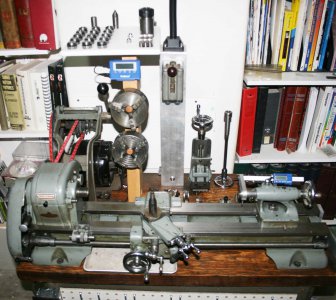
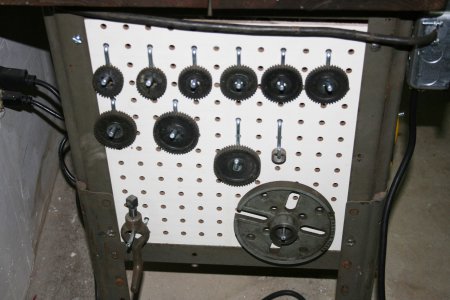
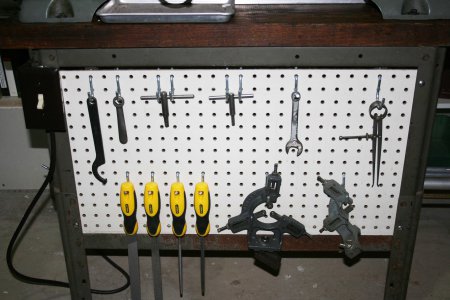
I then added some old peg board to hold the gears and face plate on the left end. On the front I added the other tools and some accessories. By adding the peg board it made the old Craftsman stand, very stable. I still have to make something to hold the tool holders and tail stock tooling (Part 2).
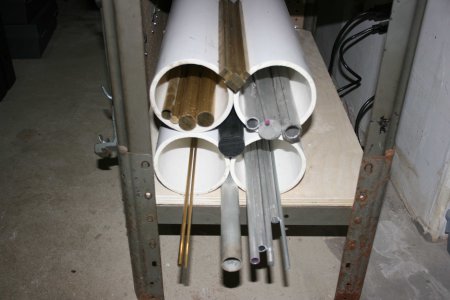
On the right end, I added stock storage using 4" plastic pipe I already had by drilling and tapping 1/4-20 counter sunk .500 screws to keep them out of the way. I still need to make a tray on top to hold smaller pieces.
After I finish with part 2 and use it to make sure it works well, I will take it apart and sandblast and paint the legs and refinish the top, when it is warmer out.


