- Joined
- Nov 16, 2011
- Messages
- 280
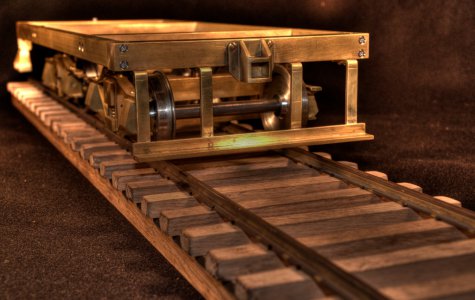
I'm just getting started on Kozo Hiraoka's live steam locomotive, the Pennsylvania A3 Switcher in 1:16 scale. Today I tackled silver soldering the Bolster Columns from chapter 3.3.
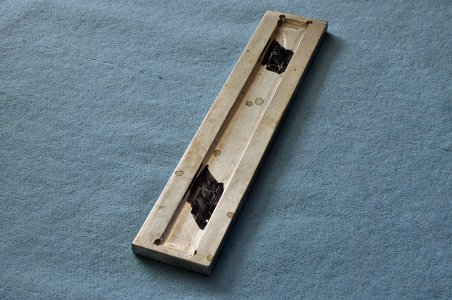
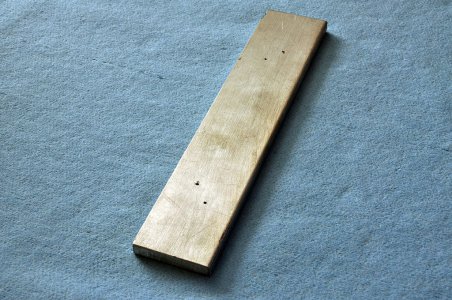
Starting with 5/16" square brass stock, a rabbit is milled on each side of the vertical bars then the thickness is reduced to 1/4" per the drawings. After some accurate hole placement for fixture screws, the parts were ready for silver soldering. I used 45% Ez-Flow silver solder and flux I purchased through ebay and a MAPP gas torch.
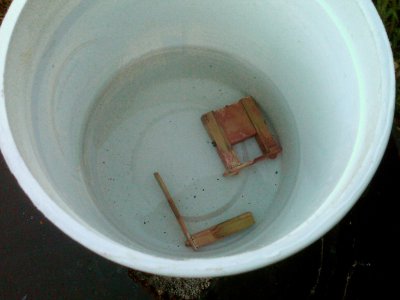
After brazing, the part is bathed in a 10% sulfuric acid bath for about 5 minutes followed by quick scrub with a brass brush under running water.
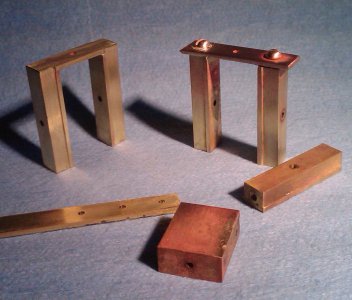
Only one joint is solders at a time. So, the components were then disassembled, sanded / filed, then fluxed and soldered again. The final step is to file down the screw heads and excess material. This image shows the components at different stages of completion along with one of the fixtures.
- Matt
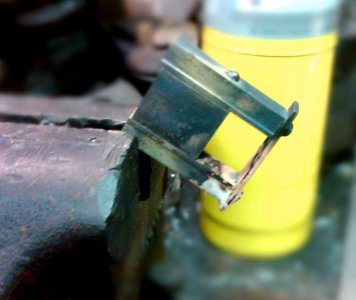
Starting with 5/16" square brass stock, a rabbit is milled on each side of the vertical bars then the thickness is reduced to 1/4" per the drawings. After some accurate hole placement for fixture screws, the parts were ready for silver soldering. I used 45% Ez-Flow silver solder and flux I purchased through ebay and a MAPP gas torch.
After brazing, the part is bathed in a 10% sulfuric acid bath for about 5 minutes followed by quick scrub with a brass brush under running water.
 http://1.bp.blogspot.com/-hdz4H4FOF...AA4/Q99BbNacs6g/s1600/Column+in+acid+bath.jpg http://1.bp.blogspot.com/-hdz4H4FOF...AA4/Q99BbNacs6g/s1600/Column+in+acid+bath.jpg |
| Here you see a rejected component in the pickling solution. |
 http://2.bp.blogspot.com/-n8YjIV7zw...TOBS8C9uq1A/s1600/Columns+silver+soldered.jpg http://2.bp.blogspot.com/-n8YjIV7zw...TOBS8C9uq1A/s1600/Columns+silver+soldered.jpg |
| You can just see that solder was drawn up around the head of the screw. This a sign of proper penetration and a good joint. |
- Matt


