- Joined
- Feb 2, 2013
- Messages
- 3,954
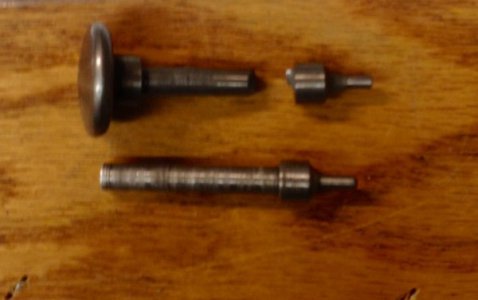
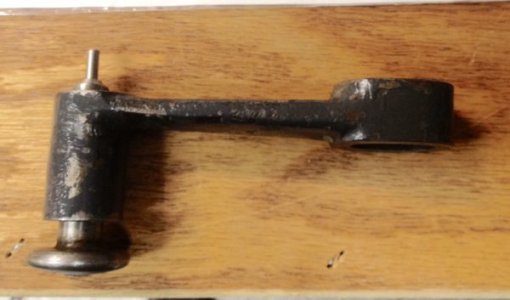
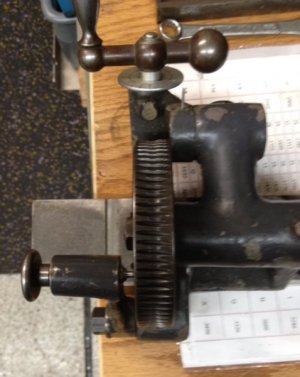
I have a vintage/antique Brown and Sharpe 4-1/2" indexing center that suffered an injury before i got it.
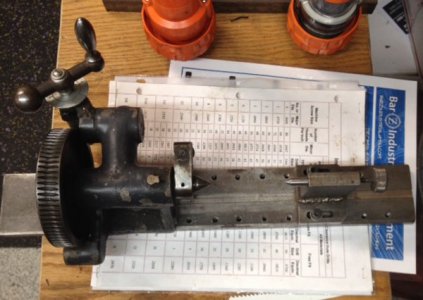
the spring loaded indexing pin was broken
so i decided to construct a replacement from 303 stainless steel, just because i have a lot of scrap stock waiting to be reclaimed and into something useful,
like this
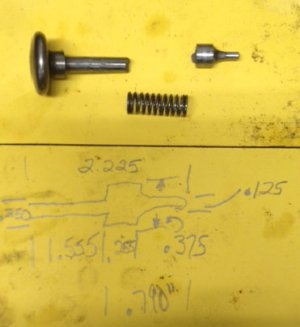
for the record, it was not my 7 yo son's drawing, sorry it was my shop hieroglyphics
i took a 20mm x 3.5" long piece of 303 stainless and faced and centerdrilled the stock to be turned between centers.
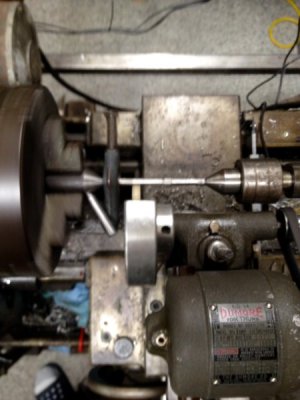
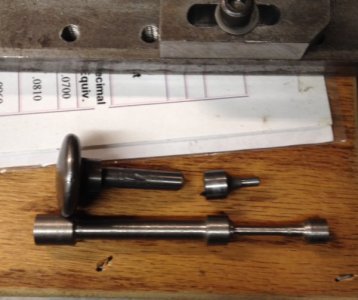
but that means that i needed{wanted} to make a soft center for my 3 jaw chuck with a dog driver built in.
it was constructed from what i believe to be some 1141- (i have no proof, only conjecture.)
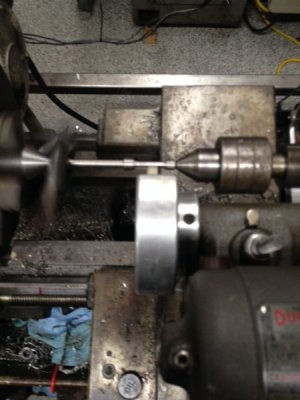
after i completed the soft center, i was able to put the slug between centers and start the reduction process.
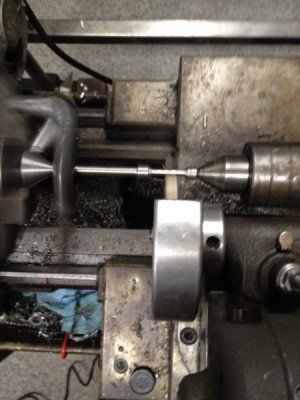
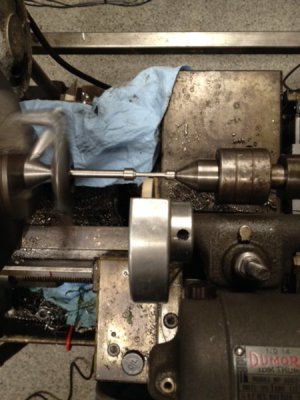
here is a live action shot of the shaft reduction.
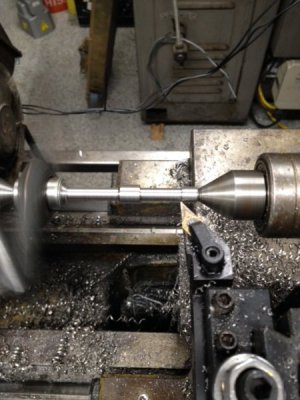
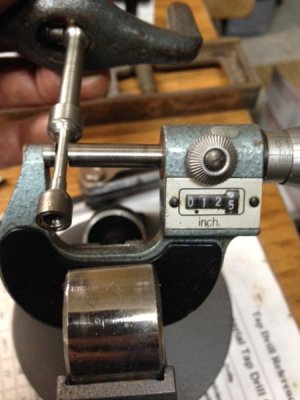
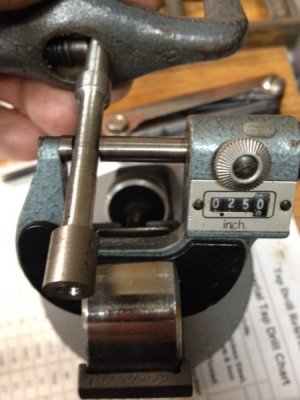
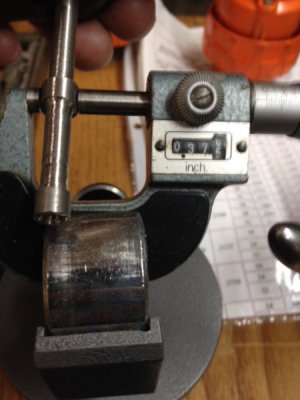
it measured out to .380" rough in the center and .260" for the thinner sections
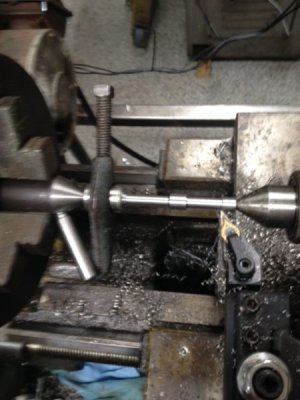
that means that i removed a total of .606" of material for this insanity
sure i could have chosen a different material to use that was closer to the actual diameter, but that would have not giving me what i was after,
i'm looking to gain some quality time on the machines after spending time upgrading them!
coming soon, ACT 2- the reduction continues!!!
same bat time, same bat channel!

the spring loaded indexing pin was broken
so i decided to construct a replacement from 303 stainless steel, just because i have a lot of scrap stock waiting to be reclaimed and into something useful,
like this


for the record, it was not my 7 yo son's drawing, sorry it was my shop hieroglyphics

i took a 20mm x 3.5" long piece of 303 stainless and faced and centerdrilled the stock to be turned between centers.
but that means that i needed{wanted} to make a soft center for my 3 jaw chuck with a dog driver built in.
it was constructed from what i believe to be some 1141- (i have no proof, only conjecture.)
after i completed the soft center, i was able to put the slug between centers and start the reduction process.
here is a live action shot of the shaft reduction.

it measured out to .380" rough in the center and .260" for the thinner sections

that means that i removed a total of .606" of material for this insanity
sure i could have chosen a different material to use that was closer to the actual diameter, but that would have not giving me what i was after,
i'm looking to gain some quality time on the machines after spending time upgrading them!
coming soon, ACT 2- the reduction continues!!!
same bat time, same bat channel!
Last edited:

