- Joined
- Oct 18, 2018
- Messages
- 6
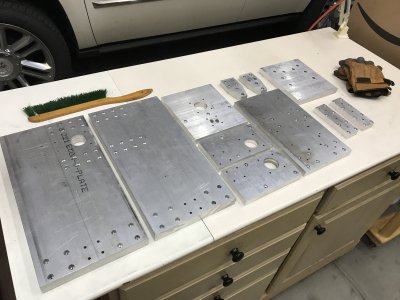
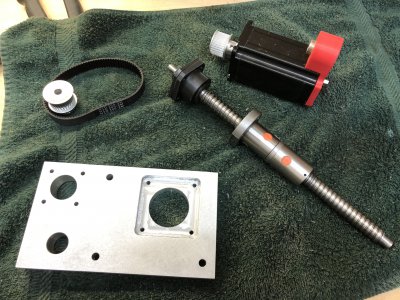
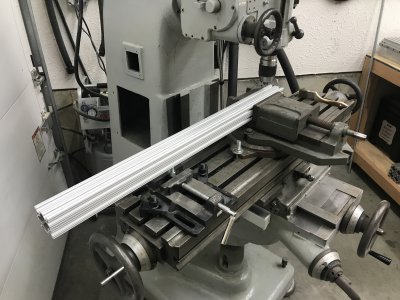
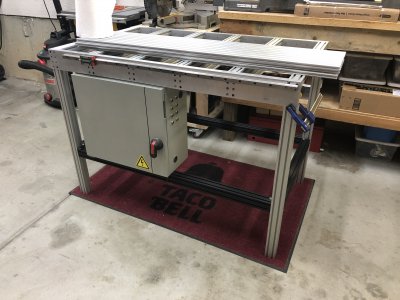
I'm building a CNC router made from aluminum plate and extrusions. I was able to do all the cutting, drilling, counter boring, etc. with basic wood working tools. But I came to the point where I needed to make a few square pockets and slots. So, I figured "why not buy 2000 lbs of old American iron to make those 4-5 pockets!?" Reasonable, right?
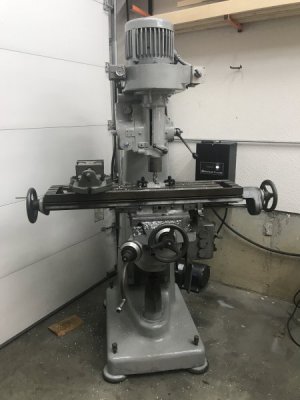
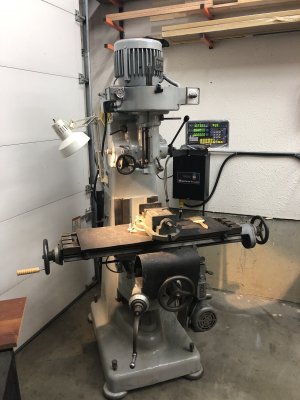
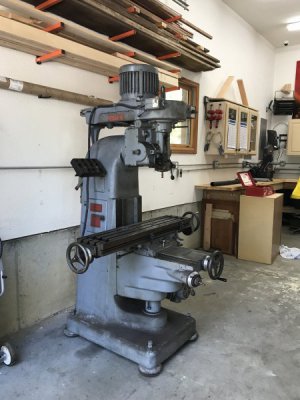
Picked this Index 555 from a guy on Craigslist for $300. Spindles runs quietly and minimal runout. Overall condition dirty, but pretty good.
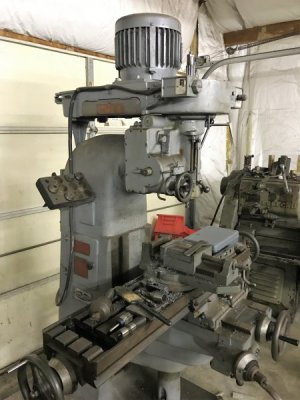
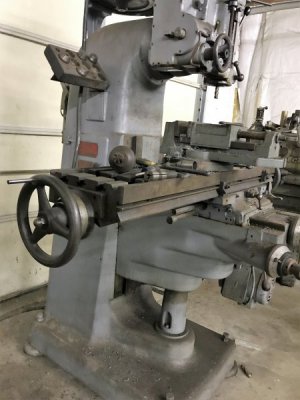
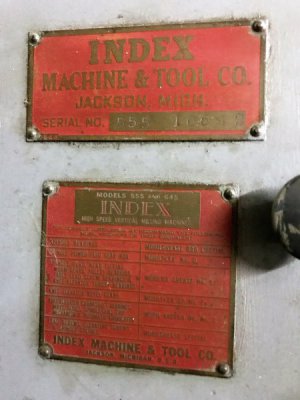
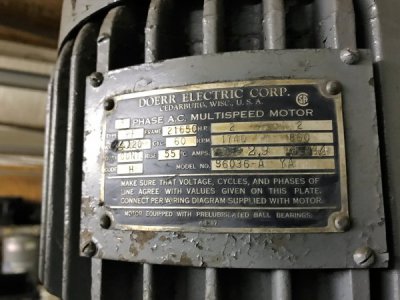
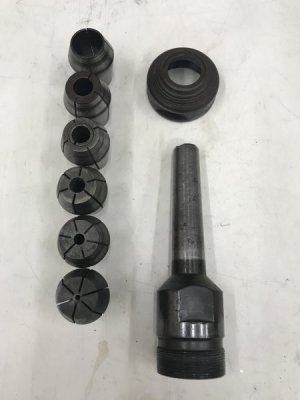
Came with some collets, a couple end mills and a nice vise. Rented a drop deck trailer and pallet jack and headed off to pick it up. This is a great way to safely and "easily" get the machine home.
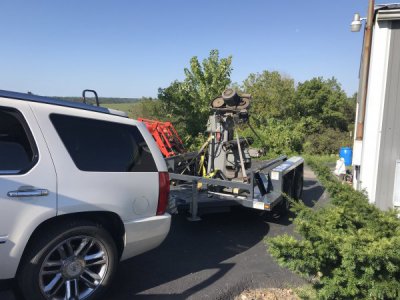
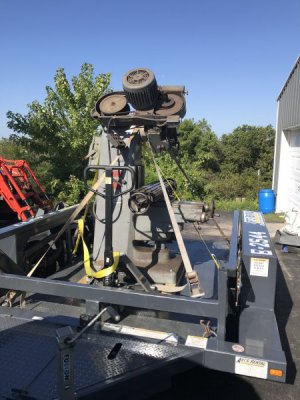
Got it home safe and sound and just started to go over it to figure out what needed to be done (if anything).
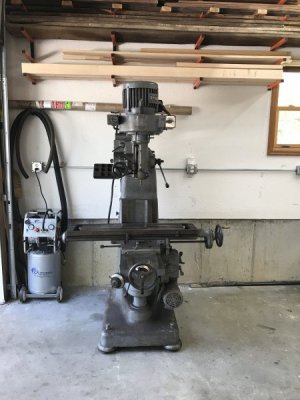
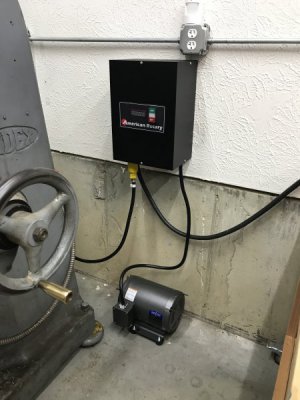
To get power to the 3 phase motor I decided to go with a rotary phase converter from American Rotary. Static phase converter didn't have quite enough umph to get the motor up to speed in a high gear and motor running on high setting (2500 rpm spindle speed). This 5 HP rotary phase converter works like a champ and is pretty quiet.
With power to it I was able to tinker with it as-is and start to figure what I wanted to do with it. I could make the parts I bought it for originally without making any repairs, but I'm just not one to leave things be.
Main things on the list:
1) replace a gib that was missing (ordered from Wells-Index)
2) scrape the ways, as wear is uneven and movement is more difficult at the extremes of travel
3) remake the lever that engages the quil power feed clutch (it's missing parts)
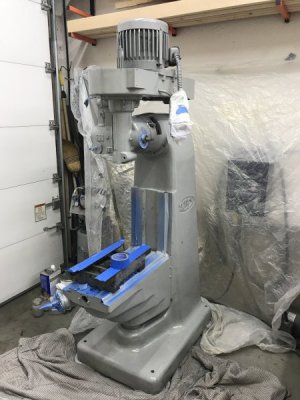
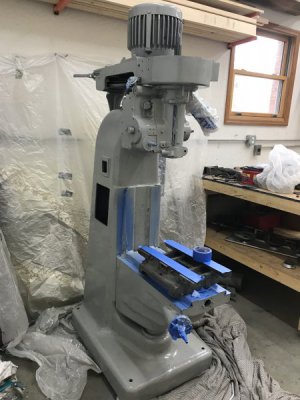
4) clean and repaint
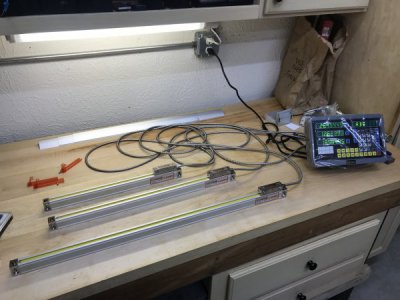
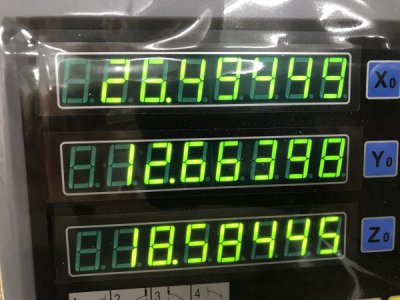
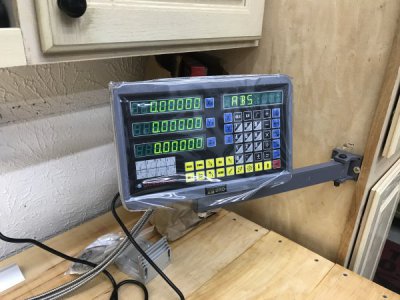
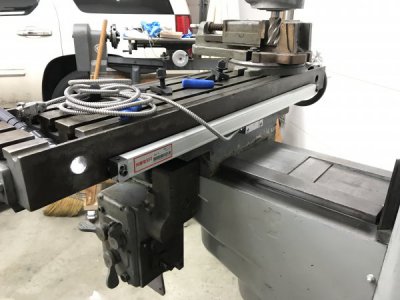
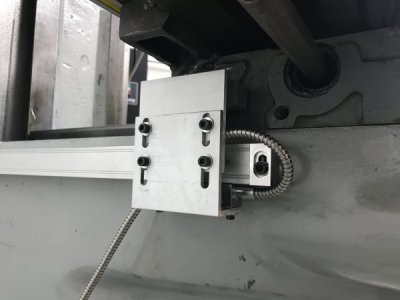
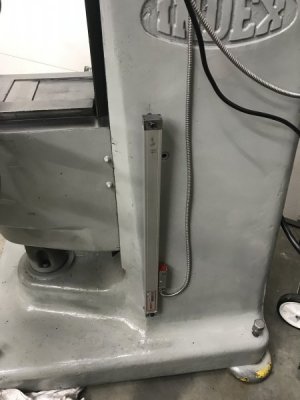
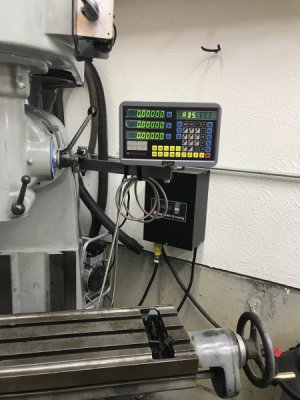
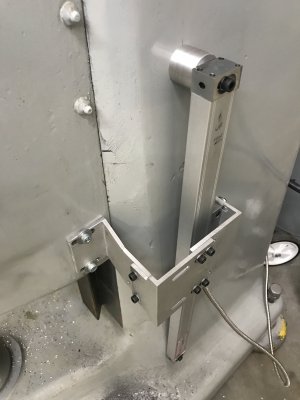
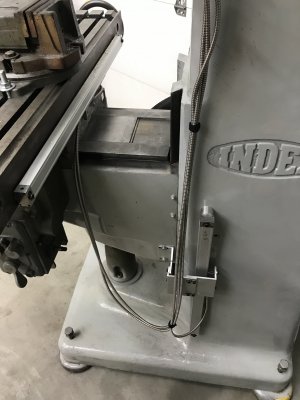
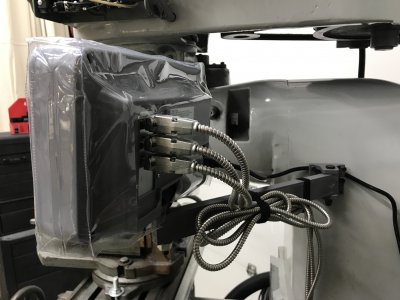
5) add digital read out
Taking it apart:
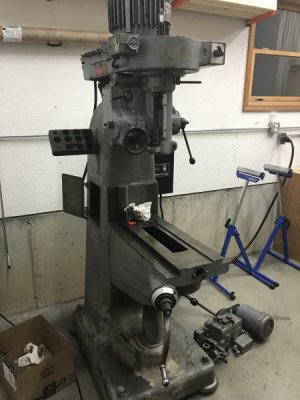
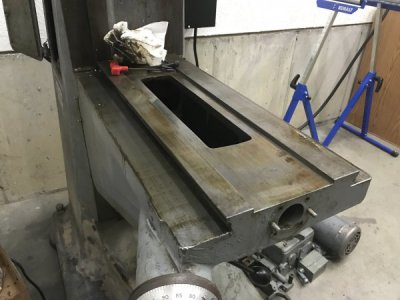
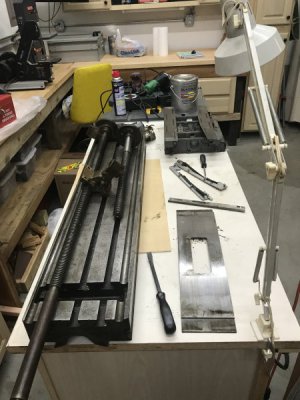
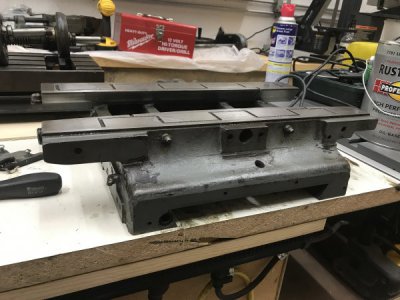
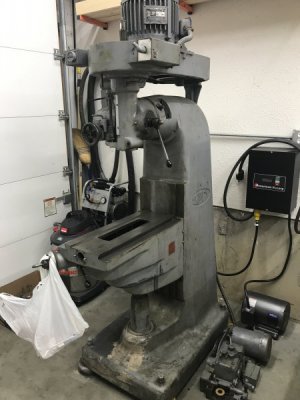
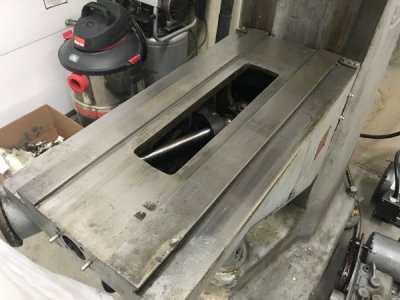
Getting it cleaned up and patching the many holes drilled into the column for whatever reasons:
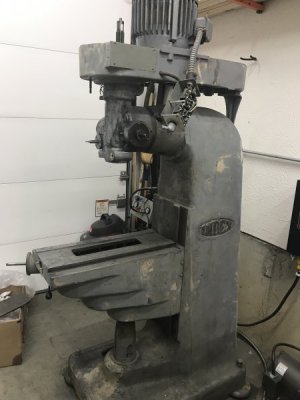
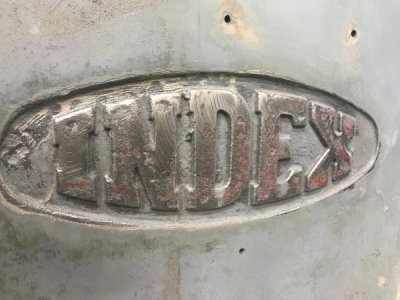
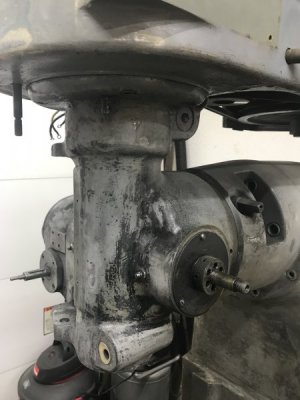
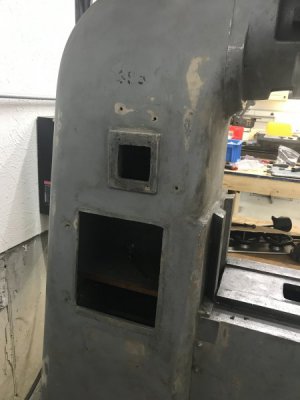
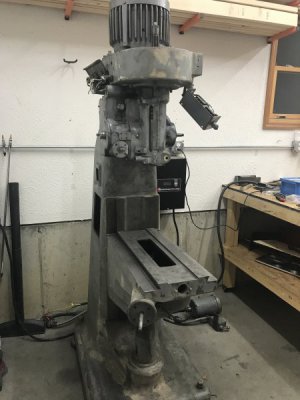
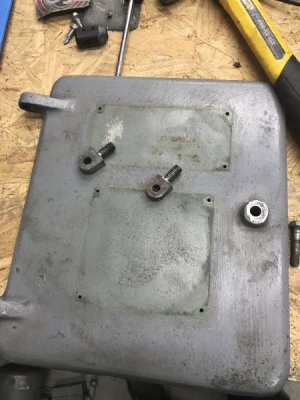
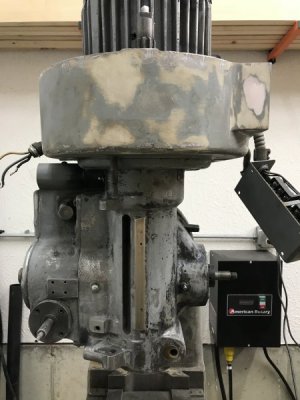
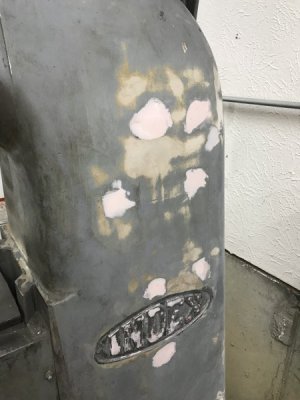
That's essentially where it is now. Still a lot to do. Scraping will take some time. I've got to borrow some tools from work to get that done. And I'll need to remove the knee, which I believe means I need to remove the head. If I can avoid that I will. I'm not going to high precision here. Mainly just want smooth movement through entire stroke of each axis. I'll update more later as things progress. I wanted to get this out there, because I don't see a lot of Index 555's out on the web being worked on. More commonly see the 55 and 645.
That's all for now...
Picked this Index 555 from a guy on Craigslist for $300. Spindles runs quietly and minimal runout. Overall condition dirty, but pretty good.


Came with some collets, a couple end mills and a nice vise. Rented a drop deck trailer and pallet jack and headed off to pick it up. This is a great way to safely and "easily" get the machine home.


Got it home safe and sound and just started to go over it to figure out what needed to be done (if anything).


To get power to the 3 phase motor I decided to go with a rotary phase converter from American Rotary. Static phase converter didn't have quite enough umph to get the motor up to speed in a high gear and motor running on high setting (2500 rpm spindle speed). This 5 HP rotary phase converter works like a champ and is pretty quiet.

With power to it I was able to tinker with it as-is and start to figure what I wanted to do with it. I could make the parts I bought it for originally without making any repairs, but I'm just not one to leave things be.
Main things on the list:
1) replace a gib that was missing (ordered from Wells-Index)
2) scrape the ways, as wear is uneven and movement is more difficult at the extremes of travel
3) remake the lever that engages the quil power feed clutch (it's missing parts)
4) clean and repaint
5) add digital read out
Taking it apart:


Getting it cleaned up and patching the many holes drilled into the column for whatever reasons:


That's essentially where it is now. Still a lot to do. Scraping will take some time. I've got to borrow some tools from work to get that done. And I'll need to remove the knee, which I believe means I need to remove the head. If I can avoid that I will. I'm not going to high precision here. Mainly just want smooth movement through entire stroke of each axis. I'll update more later as things progress. I wanted to get this out there, because I don't see a lot of Index 555's out on the web being worked on. More commonly see the 55 and 645.
That's all for now...
Last edited:


