- Joined
- Mar 14, 2013
- Messages
- 443
This week I finally got around to installing the igaging DRO kits I got from David H last summer. I don't feel too bad though, as my buddy told me, "Mine have been hot glued to my mill for four years!" I bought one 12" and one 24" scale.
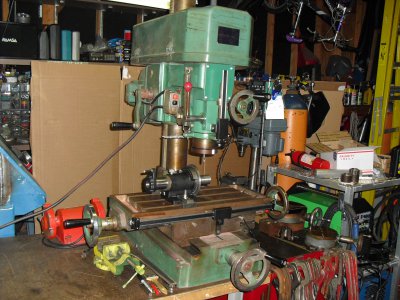
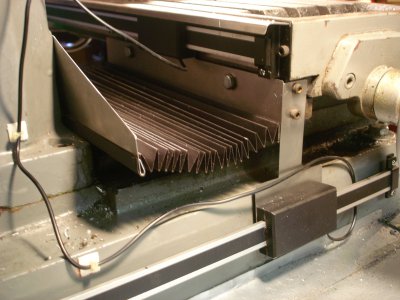
Anyway, I wanted to put the X axis scale on the back of the table if it would fit, both to protect it and to retain the table stops on the front of the machine. With the original way cover there was no way, but without it the scale fits with about 1/16" clearance when the table is cranked all the way in... perfect! I replaced the original way cover with a 1/2" high accordian cover from McMaster, which I attached to the [new] sheet metal brackets with VHB tape. The brackets mount with the same bolts that held the old way cover. The front bracket also drives the scale slider. I had to cut the scale shorter to fit the table... I used a reciprocating table saw to do that. The scale mounts with 10-32 screws in holes tapped into the table. The cover (as are all the sheet metal parts) is 20GA steel sheet.
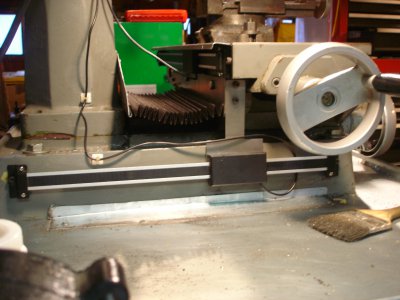
The Y axis I didn't need to cut (though it's much longer than it needs to be). Again, 10-32 screws hold it to the base, and 10-32 screws hold the drive plate to the Y slide. I haven't figured out a good cover yet, but I'm not even sure I need one; nothing seems to accumulate on it.
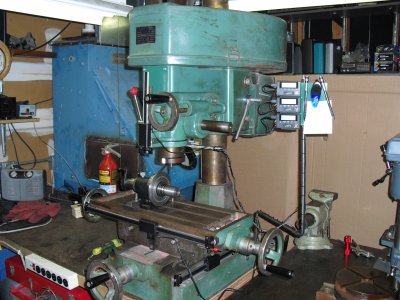
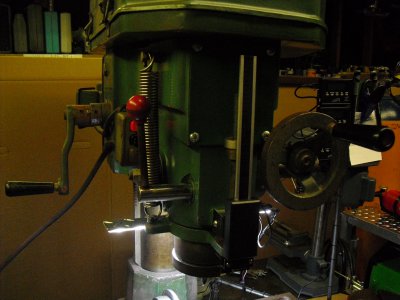
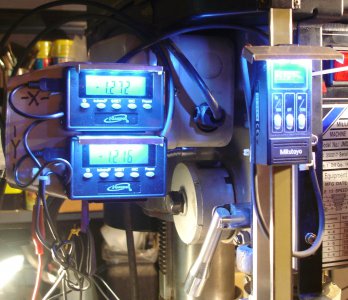
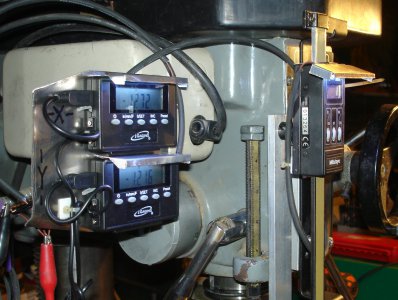
The readouts have magnetic backs; they're stuck to a sheet metal plate that's stuck to the electrical box cover with VHB tape. While I was at it I redid the drive for the Z DRO (a Mitsubishi quill scale salvaged from the junk pile at work) to make it stiffer, eliminating the backlash I had been experiencing.
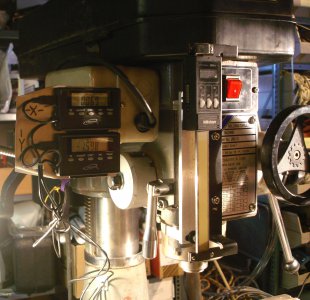
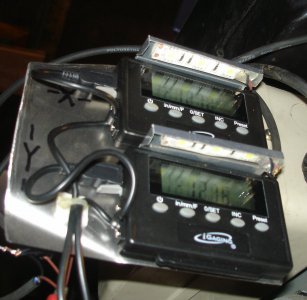
Sure is nice to not have to count revolutions and deal with the backlash in the lead screws any more! I may mount a short strip of LED lights (I have a roll, you cut them to length as needed) over the readouts... the smaller Z axis readout is particularly hard to see.


Anyway, I wanted to put the X axis scale on the back of the table if it would fit, both to protect it and to retain the table stops on the front of the machine. With the original way cover there was no way, but without it the scale fits with about 1/16" clearance when the table is cranked all the way in... perfect! I replaced the original way cover with a 1/2" high accordian cover from McMaster, which I attached to the [new] sheet metal brackets with VHB tape. The brackets mount with the same bolts that held the old way cover. The front bracket also drives the scale slider. I had to cut the scale shorter to fit the table... I used a reciprocating table saw to do that. The scale mounts with 10-32 screws in holes tapped into the table. The cover (as are all the sheet metal parts) is 20GA steel sheet.

The Y axis I didn't need to cut (though it's much longer than it needs to be). Again, 10-32 screws hold it to the base, and 10-32 screws hold the drive plate to the Y slide. I haven't figured out a good cover yet, but I'm not even sure I need one; nothing seems to accumulate on it.

The readouts have magnetic backs; they're stuck to a sheet metal plate that's stuck to the electrical box cover with VHB tape. While I was at it I redid the drive for the Z DRO (a Mitsubishi quill scale salvaged from the junk pile at work) to make it stiffer, eliminating the backlash I had been experiencing.

Sure is nice to not have to count revolutions and deal with the backlash in the lead screws any more! I may mount a short strip of LED lights (I have a roll, you cut them to length as needed) over the readouts... the smaller Z axis readout is particularly hard to see.


