- Joined
- Jul 13, 2014
- Messages
- 1,054
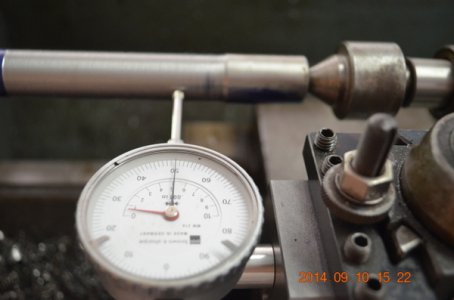
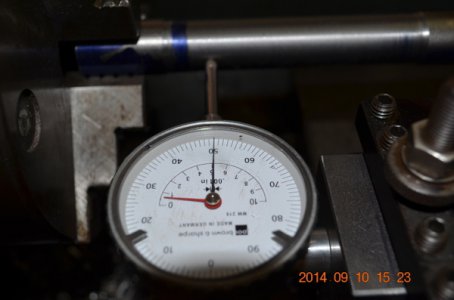
Last night I had time to make some noise with 12x36 lathe. I chucked in a 7 inch piece and made 2 passing cuts from left to right for about 4 inches just to check the machine operation. to check the work I used an AXA tool holder mounted indicator, first I checked the run out close to the chuck, was under .001. Did not want to drag the indicator across the piece so I pulled back on the indicator and moved it to the end of the cut. The run out at this locations is the same as the previous reading.
The problem is at the tail stock end diameter, the indicator measured 0.007 fatter. I grabbed the micrometer, sure enough end to end on a 4 inch cut there is a 0.014 difference in diameter. I went ahead and put the indicator back and indicated on the turned piece and ran the carriage down the length of the turned piece. Sure enough I could watch the indicator slowly moved all the way from the tail stock to the chuck end. There is definitely a taper.
What did I do wrong?
What is wrong with the machine?
Is it material flex? The piece is an 0.829 AR shot out bull barrel donated by a friend for me tp learn from


