How to test for concentricity of a taper 30 toolholder

richl

Active User
Registered
Joined
Mar 2, 2013
Messages
895
Long title, I bought a nmtb 30 to er40 toolholder over a year ago for my mill, problem, it was not concentric, and because of the modifications I need to do to make it hold any work in my mill, they can't be returned after the modifications are made...
Is there a way to test for this that is accurate, the last one was out by 6-8 thousandths. OK for some things but is a killer when trying to do anything accurate.
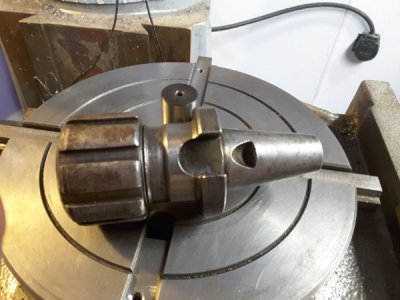
20171022_183600.jpg
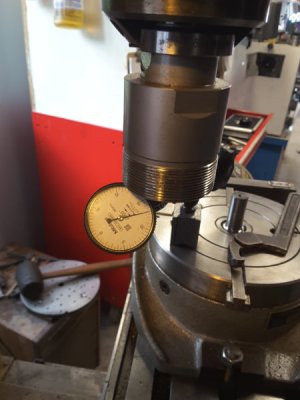
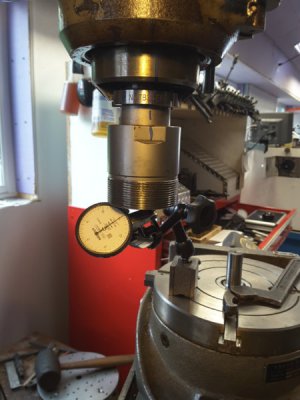
This is the style of holder with the indents on the side
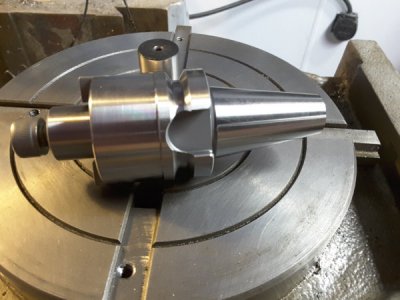
20171022_183620.jpg
This is typically what you are buying, it accepts either nmtb30 or bt30 because it does not use a drawbar, the indents are for Allen screws
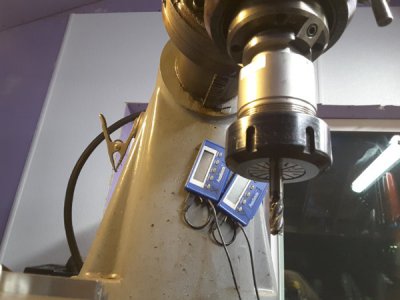
20171022_183738.jpg
This is the nmtb30 to er40 collet holder.

Any suggestions on how to accurately test this before modifying it to fit and hold into the spindle?

Thanks
 
Do you have a lathe? Chuck it up and indicate the OD taper. Them check the ID.
 
If I understand correctly you want to measure the error in a machine spindle?
Or just the tool holding. Measuring it is easy, making the tool do what you require is a whole different game.
 
Last edited:
Chuck a piece of turned ground polished or drill rod in the lathe 4-jaw or collet and indicate it true, then mount an ER collet and the chuck + taper to the TGP/drill rod, cinch it tight and indicate the 30 taper to measure runout? If the ER collet taper is eccentric relative to the 30 taper, the 30 taper has to be eccentric to the ER collet taper... If it's a sidelock holder then the same's true, just you'll need an accurate rod the size that fits the sidelock part. Or whatever.

Dave H. (the other one)
 
Yes, I have a lathe, I apperciated the responses. I did not think of using the lathe to measure . This will give me something to try when the new er40 chuck arrives in a few days.

Thanks all for the help
 
Yes, I have a lathe, I apperciated the responses. I did not think of using the lathe to measure . This will give me something to try when the new er40 chuck arrives in a few days.

Thanks all for the help

Just remember that the runout you are measuring is the combination of the runouts of the test rod, the ER collet, and the collet holder. These runouts can combine to give a worst case or they could combine to (partially) cancel each other.

Runout consists of two components, radial and angular. A bar running true at the chuck could still have runout some 3" or 4" from the chuck. This could be due to a poorly ground spindle, collet chuck, or collet or to a bent bar.

When mounting the rod in the lathe, make sure that you check runout at the chuck and at the tailstock end of the rod. I would use the largest diameter rod that I coould and I would also check with two different diameter rods which should help the assess the collet contribution. When I check runout in a similar method, I mark the point of maximum runout with a Sharpie and then rotate the collet 180º in the chuck and recheck. If the collet is true, the runout should remain unchanged.
 
It's proving to be a touch more difficult than I anticipated.
I have a bison 3 jaw set tru chuck on the lathe
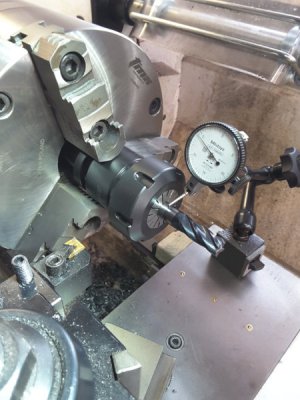
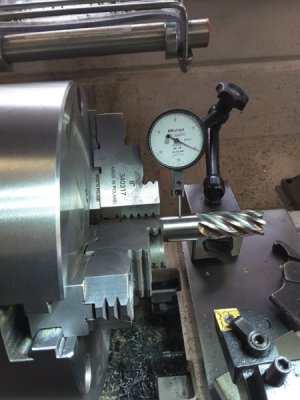
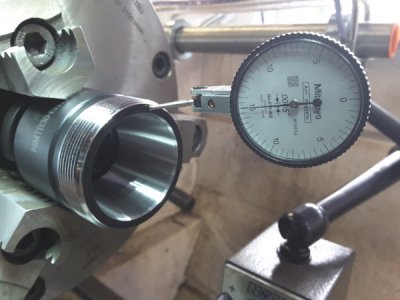
I figured to try to adjust the set tru to the outside of the er40 holder, than adjust the inside of the inside of the er40 collet holder, assuming the outside is percision ground (not!!) They should be the same. I adjusted the inside with my mits dti, got it to less than a thousandths...
placed in a 1/2" American made endmill which is made by Kodiak.
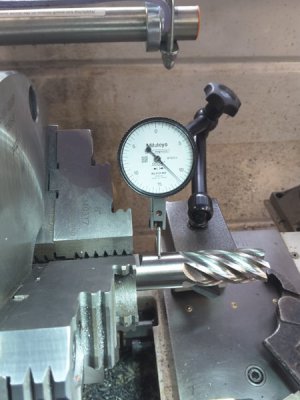
Placing the dti on it I am getting 5 thousandths off at the base of the endmill... does this indicate a bad collet?
OK, maybe test with another American made endmill
3/4" melin still around 5 thousandths out... hmmm
With another ball bearing collet nut I get the same results
I was hoping to get something consistent that helped me feel assured this er40 collet chuck was better than the other... I am either doing something wrong (very possible or I have 2 collet chucks from different manufacturers ( but both from china) 1 from maritool, the other from shars. I am not positive but I thought each one was advertised as having much better runout than this...

So what am I doing wrong?
20171023_111601.jpg
 
Alright, chock this up to old timers memory. Only 2 thou out on the old spindle with the old chuck
20171023_121510.jpg
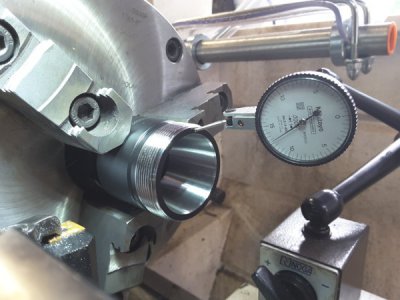
20171023_121439.jpg
I have tested the spindle and it runs true
It still could be the taper on the nmtb30, or the er40 taper...
How would I check those. And is there a fix?
And I would still love to hear any suggestions for the new er40 collet toolholder.

Rich
 
This is straight off the chuck to the endmill
20171023_123849.jpg
20171023_123924_001.jpg
About 1.5 thousandths, still not 5-6...

Next test, check that the er40 collet toolholder is parallel with the chuck
As picture shows I was able to reduce some of the slop...
20171023_124808.jpg
20171023_124748_001.jpg
Still gives a 5-6 runout in the er40 taper...
 
One of my mits dti is bad, I found that out anyway, I'll have to send that out for repair...

Cleaned and demurred the 1st, original er40 collet, it is reading a consistent almost 1k runout... I may call it quits here. Not sure how to get a test for the new arrival that will be true...
 
Back
Top