T
Tom Griffin
Forum Guest
Register Today
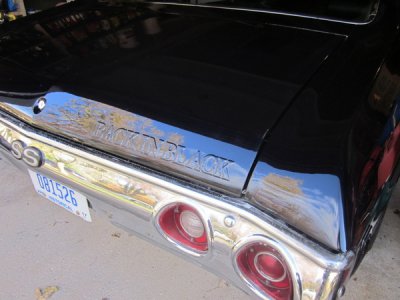
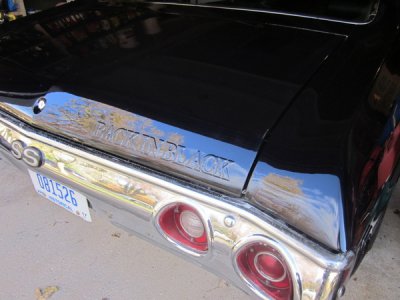
When I was restoring my Chevelle I decided to paint it black instead of the original and very common Mulsane blue. Since I brought it back in black, I figured why not name it that and set off to replicate the AC/DC album cover "BACK IN BLACK" on the trunk lid.
Having some experience in the tool and die industry, I was familiar with the technique of using urethane rubber as the female half of a forming die and figured that would work well for my application. With the curved shape of the trunk lid and lack of access behind it, I decided that it would be easier to emboss the letters into a piece of sheet metal and weld that into the trunk lid rather than try to emboss the letters into the lid itself.
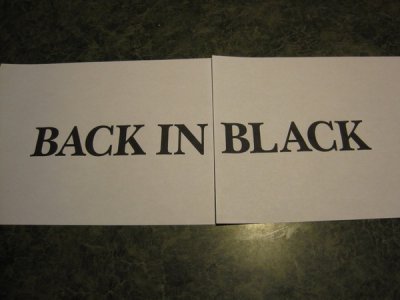
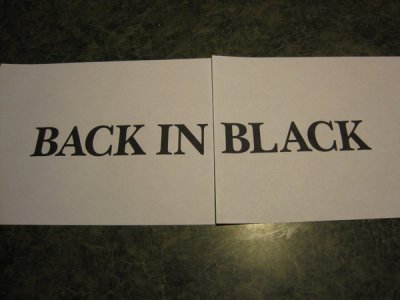
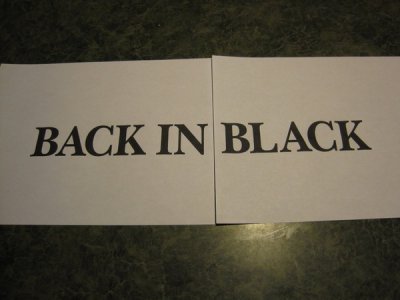
The first step was coming up with a pattern that did justice to the logo on the album cover. Luckily, I actually had a copy of the BACK IN BLACK album that I had picked up at a garage sale to use as a guide. I did some searching through the many fonts in Word and found one that was nearly identical to the one used on the album. I typed it out, adjusted the size and spacing to suit, and printed it out.
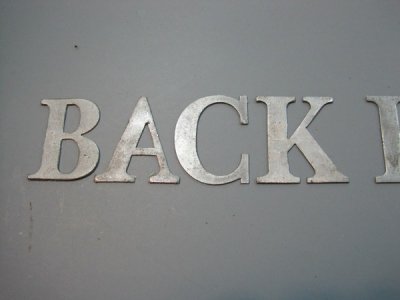
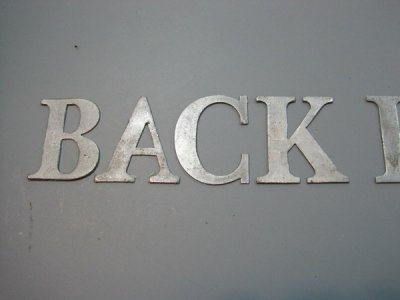
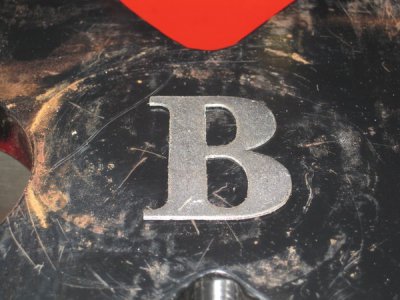
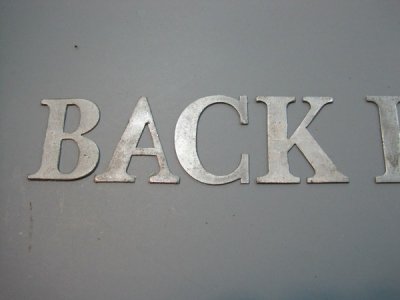
Next, I needed to duplicate the letters in thin sheet metal to as a male die to press or emboss their shape into another sheet. The easiest way I could think to do it was to glue the paper letters to a piece of sheet metal then saw and file them to shape. I used 24 gauge sheet metal for the letters for what I felt was the right amount of relief for the subtlety I was looking for. Thicker or thinner material could be use for more or less relief although thicker would have made the lettering less crisp.
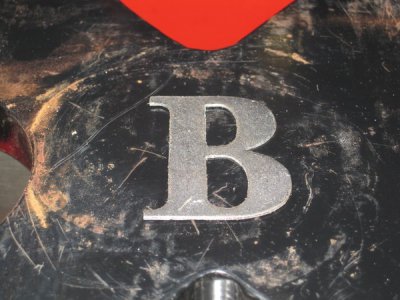
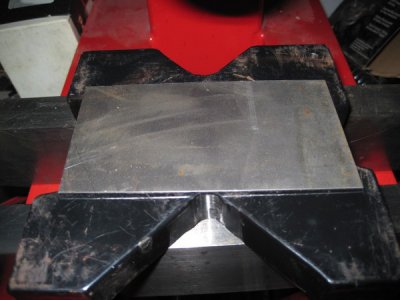
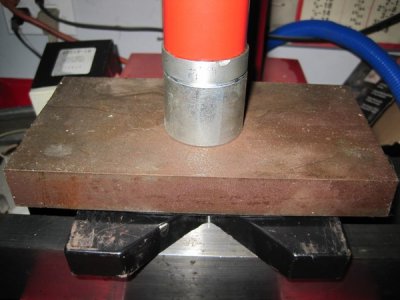
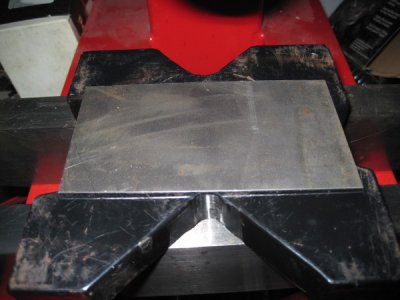
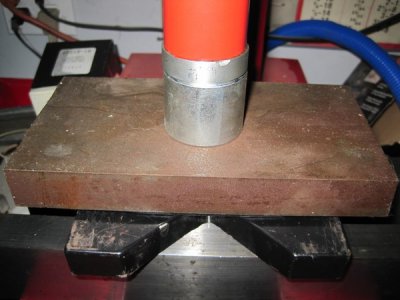
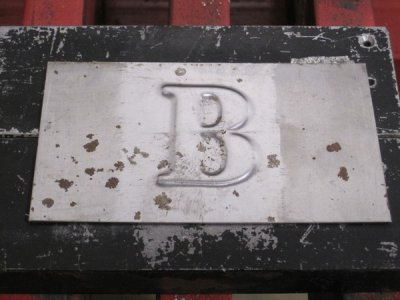
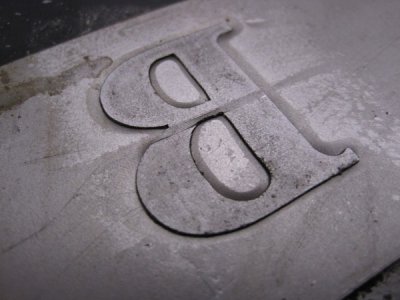
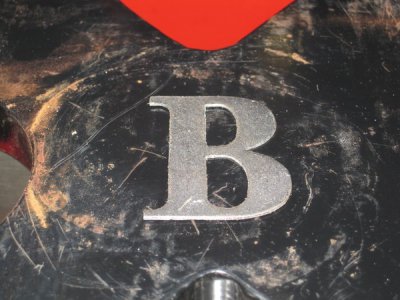
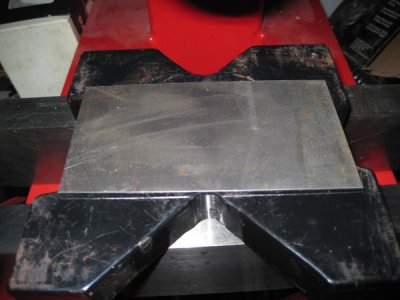
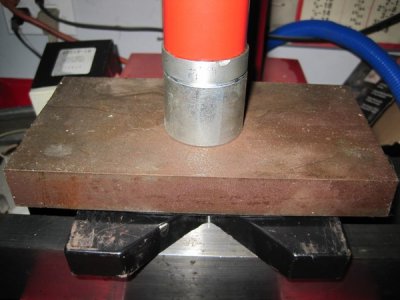
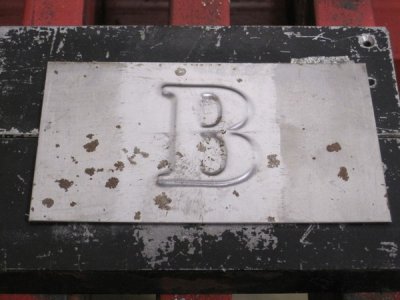
Once the letters were created, I taped them to the back of the sheet metal to be embossed, made a sandwich of hard urethane sheet (90 durometer), the sheet metal to be embossed and the letters in between two thick steel plates and squeezed the whole mess in a hydraulic press. This forced the letters into the piece of sheet metal backed up by the urethane. My 40 ton press couldn't handle doing all of the letters at once so I gradually pressed them in a little at a time, one at a time. The pics below show a trial run of the process on a single letter.
[IMG[http://photos.imageevent.com/tomgriffin/1972chevelless/metalwork/large/IMG_0063.jpg[/IMG]
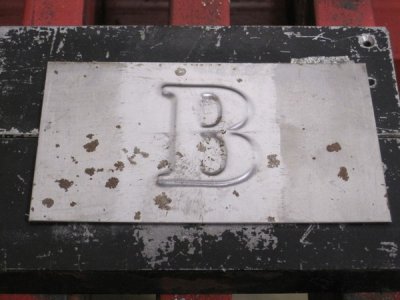
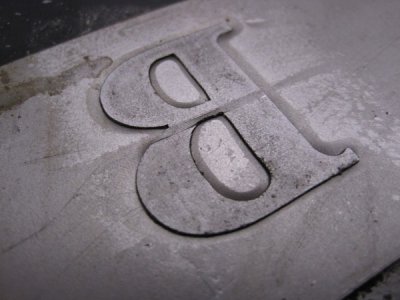
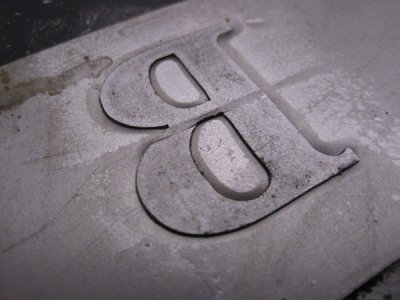
The view of the back side shows that the sheet was pushed down until flush around the letters.
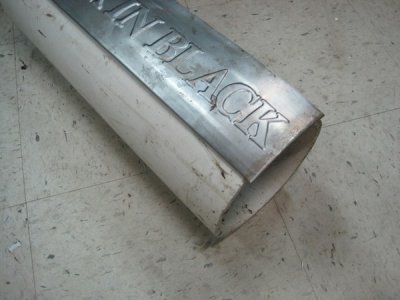
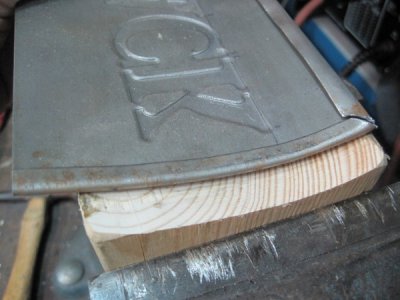
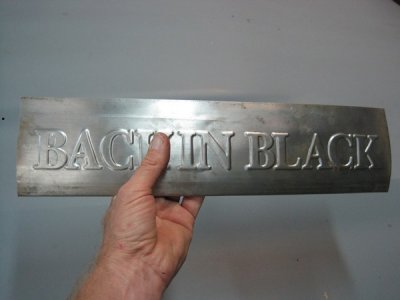
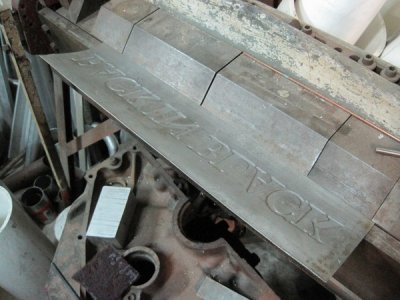
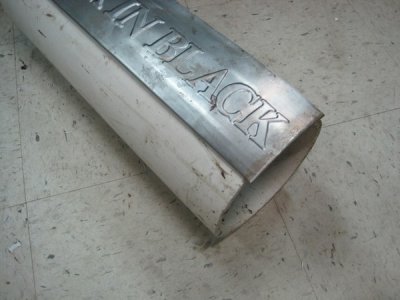
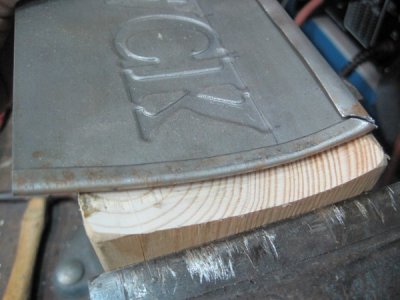
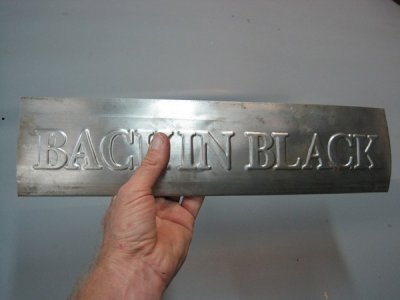
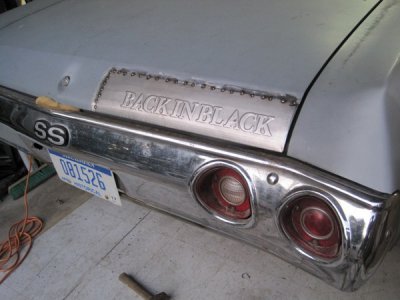
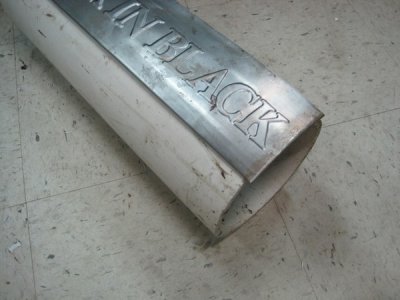
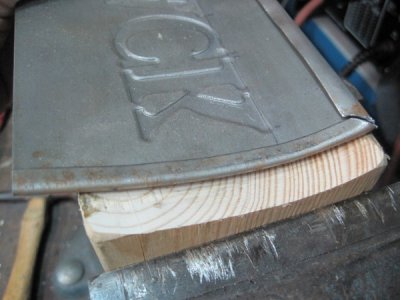
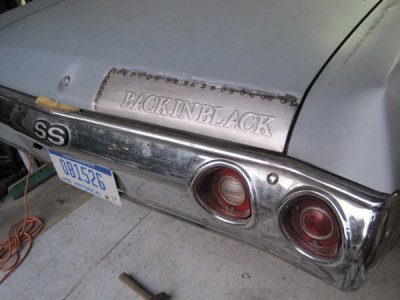
Once the letters were formed, I folded a hem on two of the edges and put the curve and body line of the trunk lid into the sheet with a brake and by bending it over a piece of pipe. Then I laid it on the trunk lid, scribed a line around the outside and cut it out using an abrasive wheel and aviation snips. The piece was then welded in using lots of tack welds to prevent warping. The letters embossed so cleanly that the only filler required was along the weld line. I used 22 gauge sheet metal for this panel, the same thickness as the trunk lid.
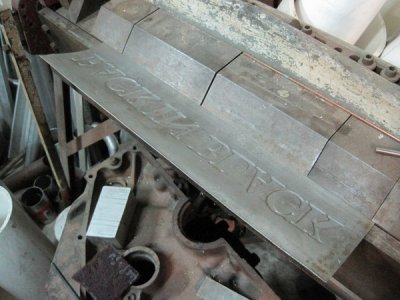
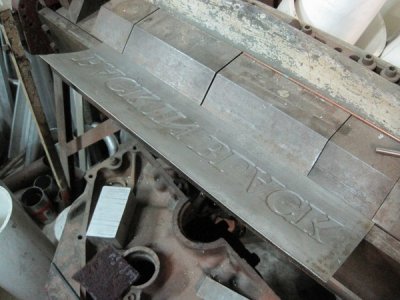
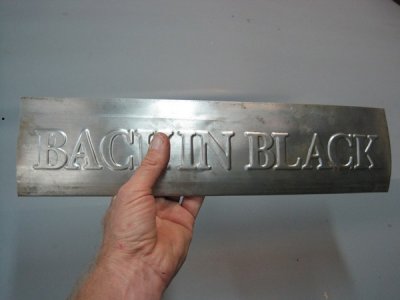
Before some wise guy points it out, yes the letter "A" is backwards in the photo below. At least I figured it out before welding it in!
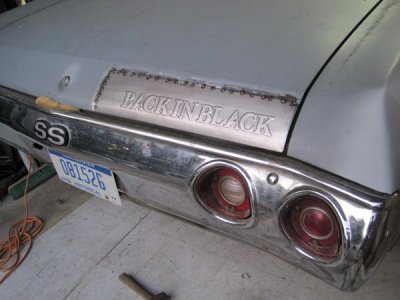
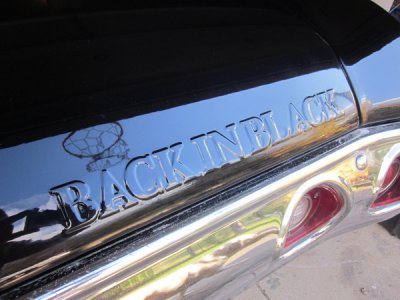
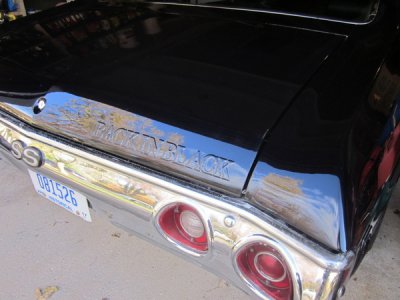
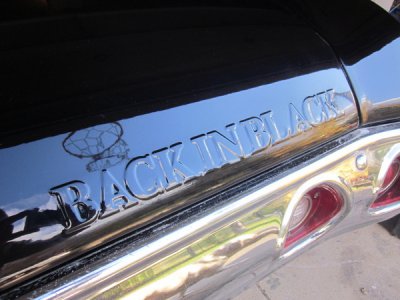
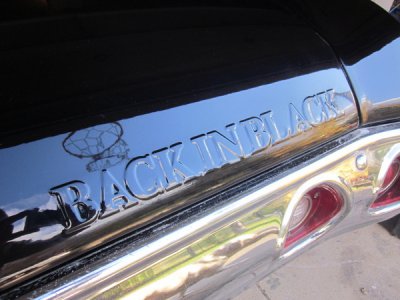
Here is a photo of the embossed logo after paint. Black is tough to photograph: I didn't notice the tree and basketball hoop reflections when I took the photo.
This technique could be used to emboss literally any shape or logo anywhere on a car. The possibilities are only limited by your imagination. If anyone uses this technique in one their own projects, I would love to see the photos.
Have fun!
Tom


Having some experience in the tool and die industry, I was familiar with the technique of using urethane rubber as the female half of a forming die and figured that would work well for my application. With the curved shape of the trunk lid and lack of access behind it, I decided that it would be easier to emboss the letters into a piece of sheet metal and weld that into the trunk lid rather than try to emboss the letters into the lid itself.
The first step was coming up with a pattern that did justice to the logo on the album cover. Luckily, I actually had a copy of the BACK IN BLACK album that I had picked up at a garage sale to use as a guide. I did some searching through the many fonts in Word and found one that was nearly identical to the one used on the album. I typed it out, adjusted the size and spacing to suit, and printed it out.

Next, I needed to duplicate the letters in thin sheet metal to as a male die to press or emboss their shape into another sheet. The easiest way I could think to do it was to glue the paper letters to a piece of sheet metal then saw and file them to shape. I used 24 gauge sheet metal for the letters for what I felt was the right amount of relief for the subtlety I was looking for. Thicker or thinner material could be use for more or less relief although thicker would have made the lettering less crisp.

Once the letters were created, I taped them to the back of the sheet metal to be embossed, made a sandwich of hard urethane sheet (90 durometer), the sheet metal to be embossed and the letters in between two thick steel plates and squeezed the whole mess in a hydraulic press. This forced the letters into the piece of sheet metal backed up by the urethane. My 40 ton press couldn't handle doing all of the letters at once so I gradually pressed them in a little at a time, one at a time. The pics below show a trial run of the process on a single letter.


[IMG[http://photos.imageevent.com/tomgriffin/1972chevelless/metalwork/large/IMG_0063.jpg[/IMG]


The view of the back side shows that the sheet was pushed down until flush around the letters.

Once the letters were formed, I folded a hem on two of the edges and put the curve and body line of the trunk lid into the sheet with a brake and by bending it over a piece of pipe. Then I laid it on the trunk lid, scribed a line around the outside and cut it out using an abrasive wheel and aviation snips. The piece was then welded in using lots of tack welds to prevent warping. The letters embossed so cleanly that the only filler required was along the weld line. I used 22 gauge sheet metal for this panel, the same thickness as the trunk lid.

Before some wise guy points it out, yes the letter "A" is backwards in the photo below. At least I figured it out before welding it in!


Here is a photo of the embossed logo after paint. Black is tough to photograph: I didn't notice the tree and basketball hoop reflections when I took the photo.


This technique could be used to emboss literally any shape or logo anywhere on a car. The possibilities are only limited by your imagination. If anyone uses this technique in one their own projects, I would love to see the photos.
Have fun!
Tom


