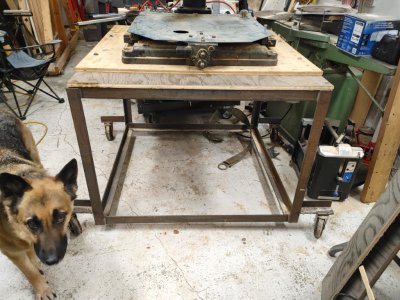
Plan on making up a sliding table for a saw ? That was my reason for holding onto these things but I'll probably never get a round tu-it . And nut , I have sets of those rollers if you need them . Another project that went bust .

No, I am embarrassed to post that I am making a sliding table for my Delta 50C radial arm saw.
(Are you done laughing yet?)
I have had my Redstar 50A RAS for 30 years and I absolutely LOVE it! One of the quirks of the Redstar 50A is that it has no neck. There is no way to turn the carriage 90 degrees to do rip cuts without also rotating the turret arm:
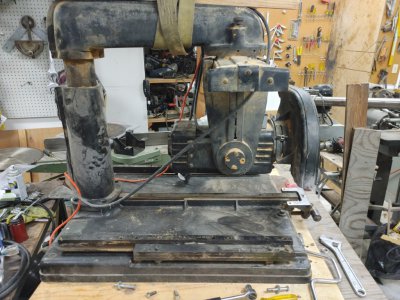
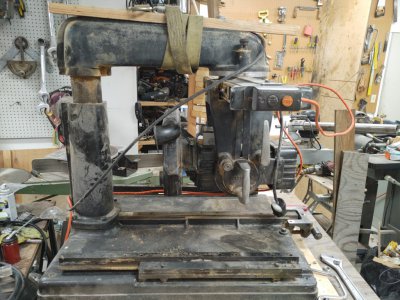
So how do you set the rip width on the Redstar 50A when the whole turret arm is rotated? Well, you put the table on slides:
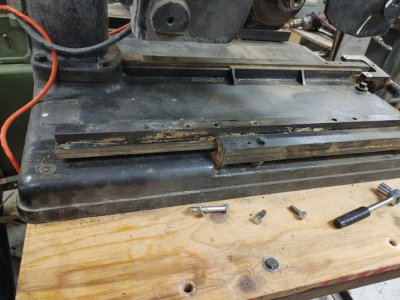
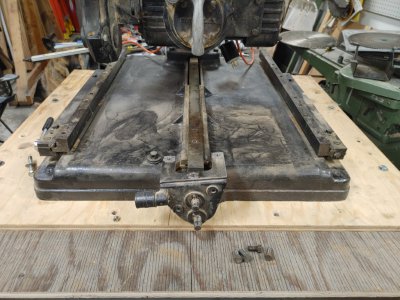
With an ACME screw to set the position of the table:
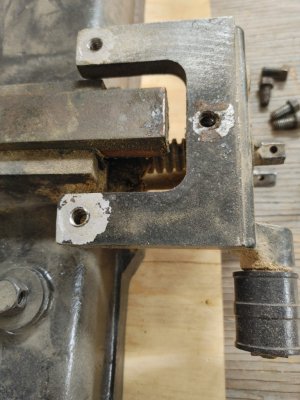
The blue plate keeps the rails and Acme screw together. The upper hex shaft sets the table position and the lower hex shaft sets the arm/saw height:
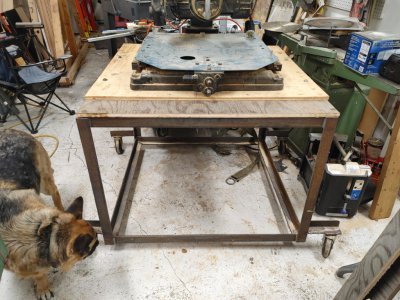
In 30 years I have NEVER ONCE been tempted to RIP on my Redstar RAS. Not that I am afraid, I grew up ripping on my fathers 10" Delta turret arm RAS and the worst thing about ripping on a RAS is the amount of saw dust the "pusher" eats. Even if I had the correct kickback pawls for my Redstar RAS I have a table saw now which I mostly just use for ripping.
What I have found out is that even though I don't RIP on my RAS a sliding table is INCREDIABLY USEFULL on a RAS. I find I move the table on my Redstar in and out all the time! It is so useful to have this capability that I felt if I didn't have it on my new Delta 50C that I would not be able to give up my Redstar:
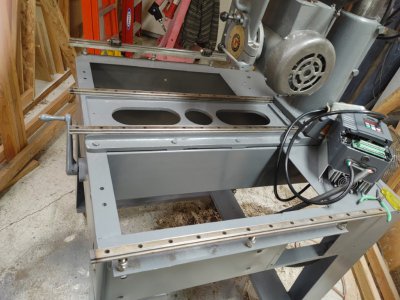
So here is the plan:
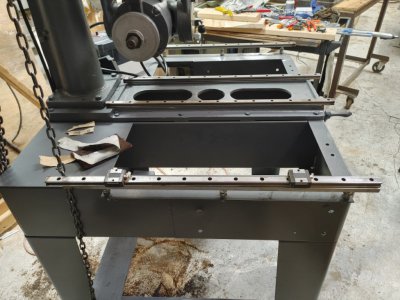
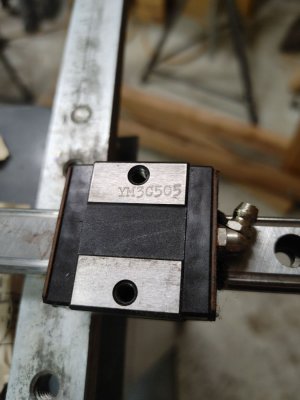
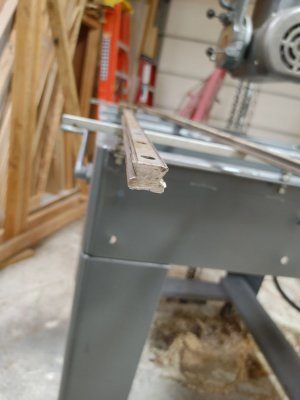
Mount some linear rails that I have lying around to the table mounts on the Delta 50C RAS then mount the table on top of the linear rails. I haven't exactly figured out how the table will mount to the linear rail bearing or how the table will be adjusted in an out while staying in place once it has been set.
This is the side view of the table on my Redstar RAS when it was together:
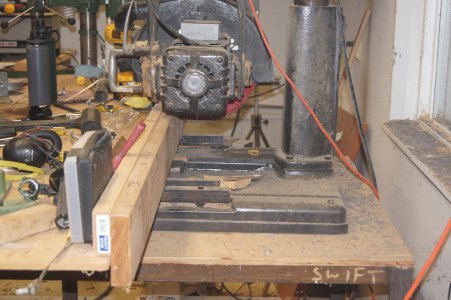
The 2 x 6 (jointed flat and planed square) is screwed to the table all along the back of the table (only the sacrificial top of the table can be seen here, the table is underneath the sacrificial MDF). The 2 x 4 (jointed flat and planed square) is just screwed into the 2 x 6 in four places and sits on top of the table. On the very first cut with this fence the 2 x 6 is cut 2/3rds of the way through and the 2 x 4 is cut ALL the way through. Periodically (usually when I change blades) I remove the 4 screws from the 2 x 4, butt the two halves of the 2 x 4 together then screw them back into the 2 x 6. After the first fresh cut I have a perfect blade spaced gap in the 2 x 4 which probably helps with tear out but even more importantly gives me a perfect blade width guide in the fence for lining up cuts! To me, for a RAS, THIS IS THE BEST THING EVER!!! ... and merits the effort to make a sliding table.
Most RAS fences have a (or multiple) spacers behind the fence that can be moved forwards of the fence for different cuts:
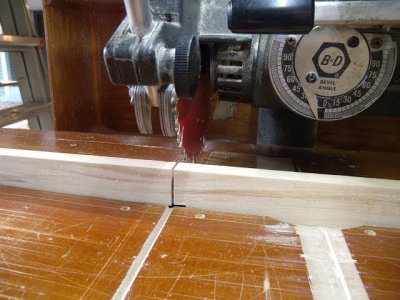
When making an angled cut (the arm swung to a 45 or other angle) the saw blade is moved forwards (because of trigonometry) and the fence then has to be moved forwards. (I did this a million times on my dad's 10" Delta RAS). Most of the time the fence is left in the forwards most position which eats up crosscut capacity and is then moved rearward to maximize crosscut capacity for a wide board. With a sliding table you just move the whole fence forwards with the table. This allows for my upper configuration of a fence that is permanently attached to the table (which also adds support and rigidity to the table).
It may not sound like much but after 30+ years of having a sliding table on my radial arm saw it is hard to imagine life without one!
