- Joined
- Jun 7, 2019
- Messages
- 478
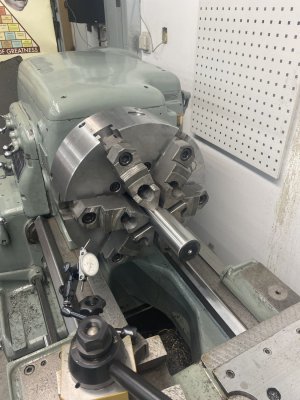
So I acquired a new to me 6 jaw set-true D1-6 used chuck. It’s a big chunk of steel at 285 lbs. A little surface rust and full of chips as usual. So first order of business was disassembly cleaning and inspection.
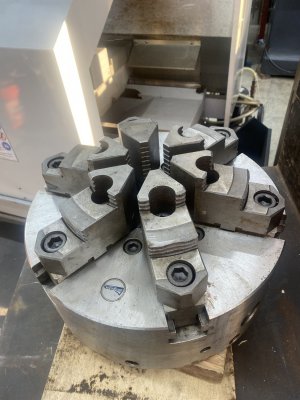
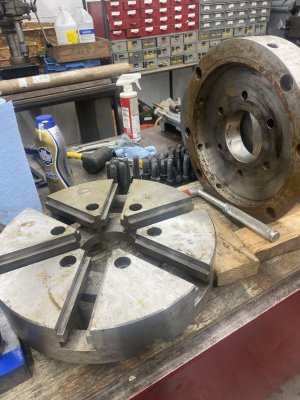
Once I removed the backing plate and cleaned it up, tone for a test fit on my 18x48 Monarch series 60. The backplate didn’t seat on the spindle. So back off and a blue check. This revealed the taper was wrong and too small a diameter. A thin blue line around the middle of the taper. So some measurements. The back plate was a mess. Faces out of parallel by 0.007” taper not at the required 7 deg, 7min, 30 s. Bore and outer diameter not concentric by 0.005”. Took a whole day to get it back to useable. First I made a D1-6 gage replicating the spindle nose turning between centers on the 10EE. for both lathes I set the compound to the required angle by sweeping the spindle nose with a 1/10’s DTI.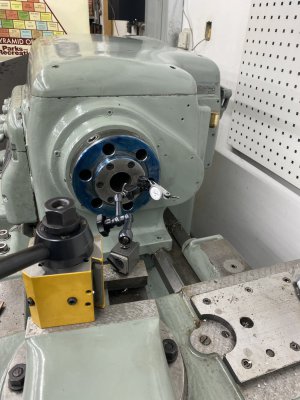
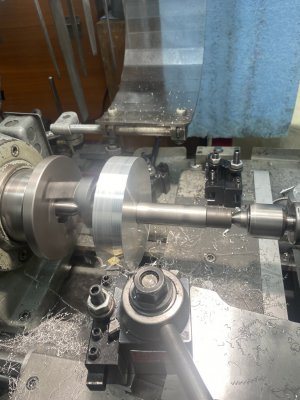
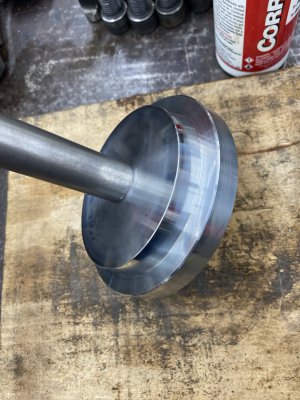
Then set up the back plate in my 15” Cushman 4 jaw concentric to the parallel bore of the center hole and best fit to the back face.
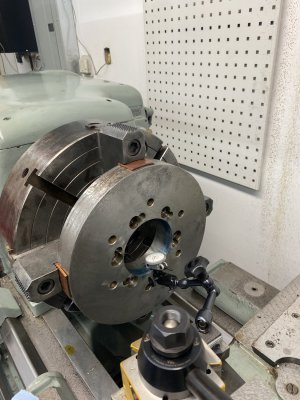
Then I faced the back off just enough to get flat. Then a light cut on the taper, just enough to get the surface clean. Of course now the taper is too big, so alternating face cuts and blue checks with my gage to get it tuned in without going over. All the while, knowing that I need to stay less than the 0.040“ of 1 turn of the cam lock pins. Once I got that done I installed the back plate on the spindle. Perfect fit. This would have been almost impossible without the gage to do blue checks. Now it was a simple facing operation and a skim off the OD to bring it all in.
More pictures to come, it was late when I finished last night and I didn’t get a final photo.
Hopefully the chuck body has better accuracy than the backplate did.
stay tuned.


Once I removed the backing plate and cleaned it up, tone for a test fit on my 18x48 Monarch series 60. The backplate didn’t seat on the spindle. So back off and a blue check. This revealed the taper was wrong and too small a diameter. A thin blue line around the middle of the taper. So some measurements. The back plate was a mess. Faces out of parallel by 0.007” taper not at the required 7 deg, 7min, 30 s. Bore and outer diameter not concentric by 0.005”. Took a whole day to get it back to useable. First I made a D1-6 gage replicating the spindle nose turning between centers on the 10EE. for both lathes I set the compound to the required angle by sweeping the spindle nose with a 1/10’s DTI.


Then set up the back plate in my 15” Cushman 4 jaw concentric to the parallel bore of the center hole and best fit to the back face.

Then I faced the back off just enough to get flat. Then a light cut on the taper, just enough to get the surface clean. Of course now the taper is too big, so alternating face cuts and blue checks with my gage to get it tuned in without going over. All the while, knowing that I need to stay less than the 0.040“ of 1 turn of the cam lock pins. Once I got that done I installed the back plate on the spindle. Perfect fit. This would have been almost impossible without the gage to do blue checks. Now it was a simple facing operation and a skim off the OD to bring it all in.
More pictures to come, it was late when I finished last night and I didn’t get a final photo.
Hopefully the chuck body has better accuracy than the backplate did.
stay tuned.

