For milling - How to get a level surface on a round object?

ssdesigner

Registered
Registered
Joined
Mar 5, 2023
Messages
97
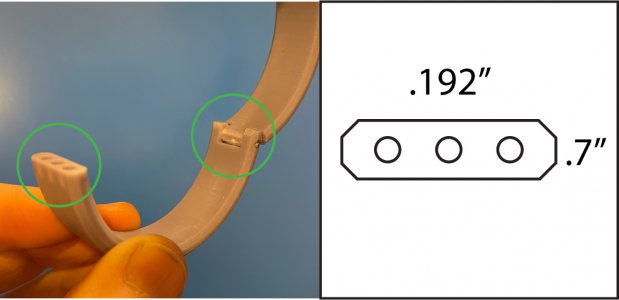
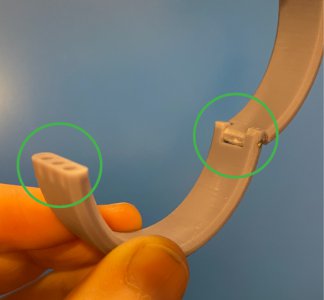
Attached is a 3D printed part that I am making out of aluminum. I have a small LMS mini-mill and this part needs to be setup so that I can mill the flat surface circled on the left and both the flat surface and the notch circled on the right. Is there a trick to positioning these in the vice on my mill so that they are perfectly flat before milling?
 

Attachments

  • IMG_1974b.jpg
    IMG_1974b.jpg
    147.5 KB · Views: 27
Are you making just one, a few or many? If just one I would clamp it by the sids in the vise and level it with a dial indicator. If making many it would be worth making a jig to hold it and position it with out any checking needed. To that end you could possibly "Print-in a notch or bump to index the part precisely.
 
Thanks for the reply and tips!!

I have to make 4 of these total in order to end up with 2 "bracelets".

Do you feel like the dial indicator is going to be a challenge given the actual surface area? We are talking about a surface area that measures out to be .7" x .192" (see photo)
 

Attachments

  • IMG_1974c.jpg
    IMG_1974c.jpg
    179 KB · Views: 13
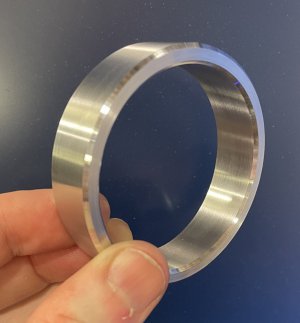
I should probably add that the surface that I will be starting with will be uneven. These are starting off as solid rings that I'll need to cut apart with a bandsaw. This is what they are now:
 

Attachments

  • IMG_1973.jpeg
    IMG_1973.jpeg
    207.3 KB · Views: 7
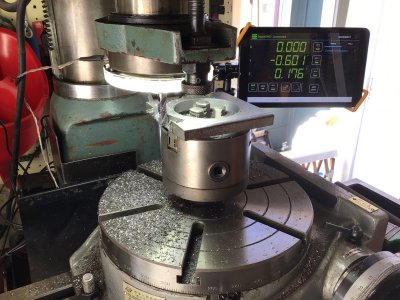
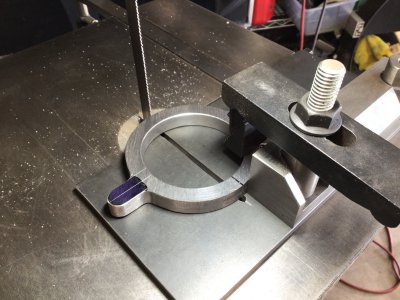
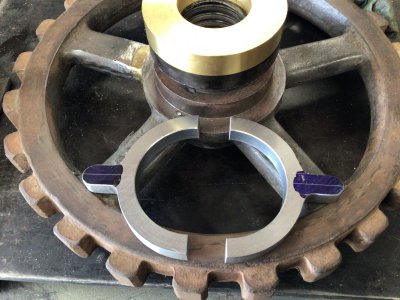
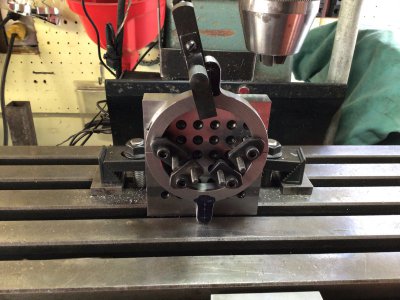
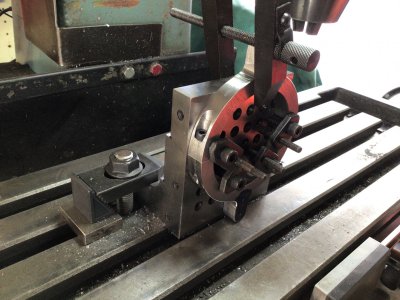
I did something somewhat similar. I needed to make a retaining ring for my screw press. I machined the ring on my rotary table, then blued and marked the ring then cut it apart on my bandsaw on my sled. Then set it up on and angle plate I had using my height gauge then set it on the mill.
 

Attachments

  • IMG_0184.jpeg
    IMG_0184.jpeg
    525 KB · Views: 14
  • IMG_0186.jpeg
    IMG_0186.jpeg
    460.7 KB · Views: 15
  • IMG_0187.jpeg
    IMG_0187.jpeg
    461.2 KB · Views: 13
  • IMG_0195.jpeg
    IMG_0195.jpeg
    451.2 KB · Views: 13
  • IMG_0194.jpeg
    IMG_0194.jpeg
    446.7 KB · Views: 13
The correct answer depends on just how much precision is needed.
If you cut it in half using the band saw that will remove some material, then you will want to machine the sawed surfaces flat which will remove some more material. Then you have to do the slots for the hinge which will make it even smaller. The end result will be a finished part that is not round but more football shaped. If this is fine then the rest is easy.

If the tolerances are that big then you can just clamp the parts in the vice and use a level to square it up. It will be close enough. This assumes that you leveled your machine when you set it up. If you did not level the machine then you will need to do it with a dial indicator.

If you want to get as close to round as possible, that is a different thought pattern. To get to perfectly round you will need one whole ring per half of the finished part since each half is more that 180° of ring by the height of the hinge.
First you will want to cut it in half on the mill with a slitting saw as it will leave a nice surface finish that requires no more clean up. You can get slitting blades that are thinner than your band saw blade. I have used 0.010 thick saws cutting through a half inch of Titanium with no problem. When setting it up for flat in the mill you will want the left end set so that it is level with the center line of the hinge pin.
You will need to just touch the left end with a mill to make it in the same plane as the hinge pin or you will have a tapered gap of zero on the outside and a gap of, the thickness of the blade you used to make the cut, on the inside when closed.
 
All great points, thanks to everyone for the help here.

I think that my first step on each ring is that for the first cut, it will be crucial to get the part squared up on the bandsaw so I have a cut straight down the middle. The part that throws me is that, unlike your part @C-Bag , the addition of a hinge on these means that the second cut on each ring needs to be beyond the halfway point on the ring. I need to add the depth of the U-groove in the hinge to two of the parts.
 
If you want to get as close to round as possible, that is a different thought pattern. To get to perfectly round you will need one whole ring per half of the finished part since each half is more that 180° of ring by the height of the hinge.
First you will want to cut it in half on the mill with a slitting saw as it will leave a nice surface finish that requires no more clean up. You can get slitting blades that are thinner than your band saw blade. I have used 0.010 thick saws cutting through a half inch of Titanium with no problem. When setting it up for flat in the mill you will want the left end set so that it is level with the center line of the hinge pin.
You will need to just touch the left end with a mill to make it in the same plane as the hinge pin or you will have a tapered gap of zero on the outside and a gap of, the thickness of the blade you used to make the cut, on the inside when closed.

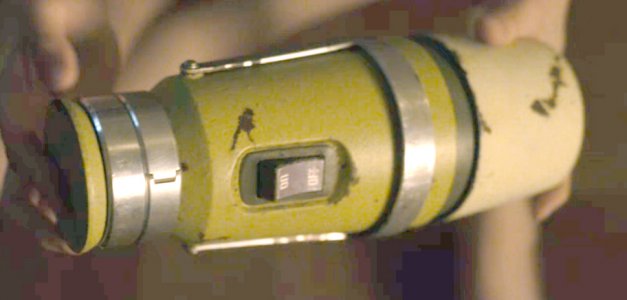
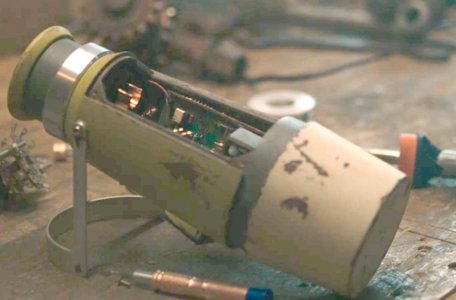
This is what I'm looking to do. The bracelets will get 3 small magnets per side to keep them closed as they sit on another piece that is perfectly round. Here is a photo of the prop that I'm replicating from the show Tales From The Loop
 

Attachments

  • stasis_screencap_1.jpg
    stasis_screencap_1.jpg
    257.8 KB · Views: 21
  • stasis_screencap_8.jpg
    stasis_screencap_8.jpg
    299.3 KB · Views: 21
Back
Top