- Joined
- Nov 8, 2020
- Messages
- 46
I haven't found a comprehensive disassembly guide on the web for a Deckel FP1 dividing head yet so I thought I take some pictures of the disassembly process so other people can refer to this if they come across the same task as I did.
The following dividing head I got super cheap for 190€ - completely without accessory mind you - but I couldn't say no to it. Everything seemed to work, the movement only felt a little stiff. So I disassembled everything and got the movement silky smooth again, see reason below for that.
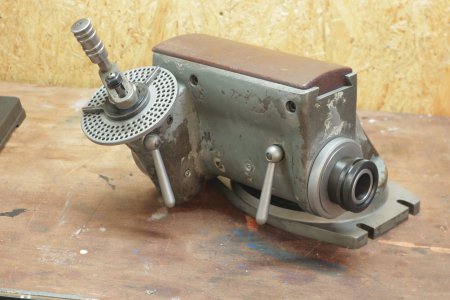
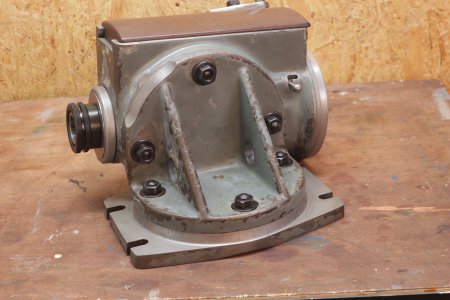
It is probably the best thing to first remove the swiveling base first, simply remove the 6 screws on that one:
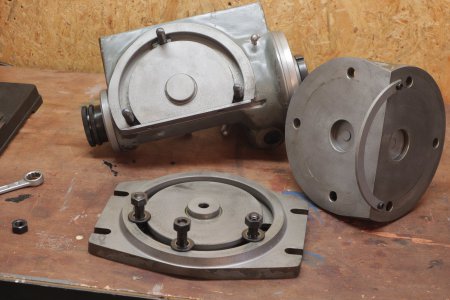
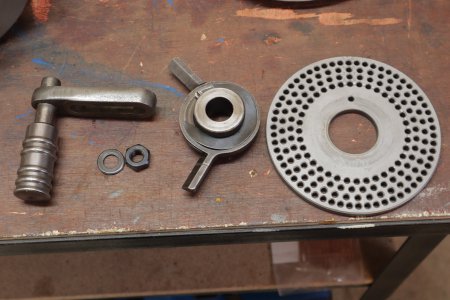
The scissor and indexing plate for differential dividing are also easily removed by simply unscrewing them:
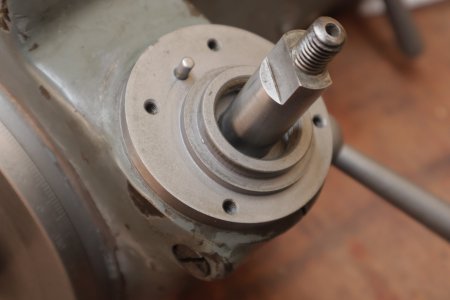
The next thing would be to remove the spindle. To not risk any damage to the worm wheel, I disengaged it first by turning the indexing wheel all the way to the left and locking the worm wheel housing with its clamping lever on the right side of the indexing plate. Then I removed the grub screw and the shaft nut:
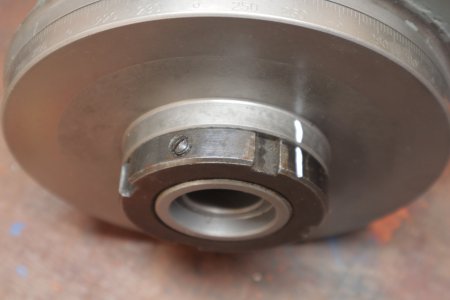
The dial can then be pulled of. I had to use a sharp wood chisel to get a small gap first an then using 2 screwdrivers to lever the dial off:
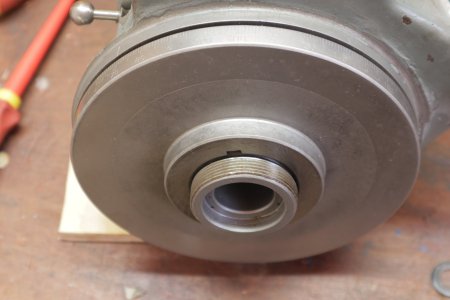
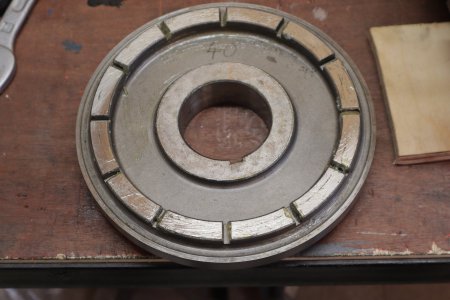
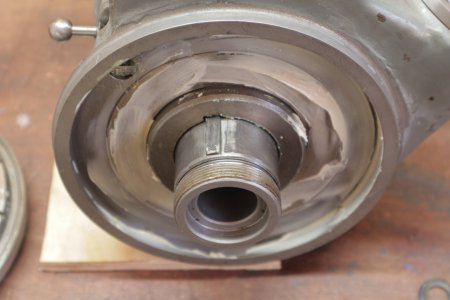
The plunger on the top left of the last picture can be taken out be unscrewing its little ball handle:
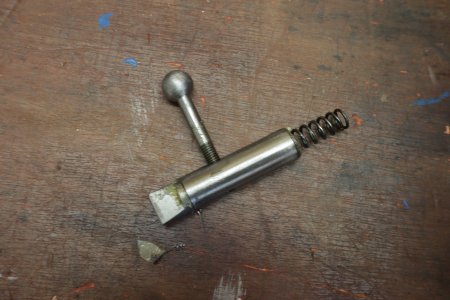
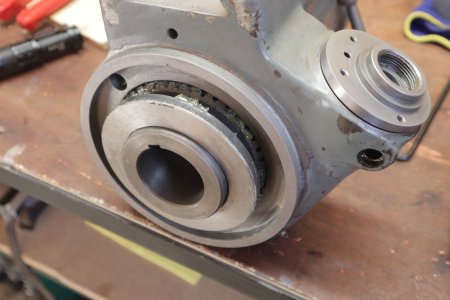
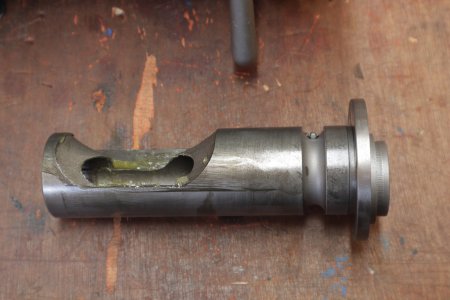
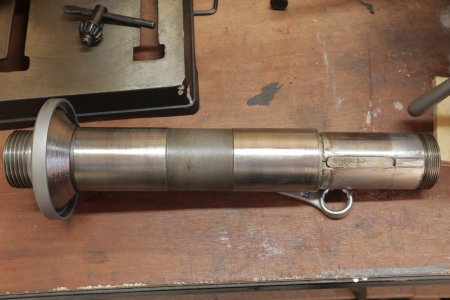
Now the spindle can be taken out from the other side. Since everything has a close fit to it and is greased up, some taps with a hammer did the trick:
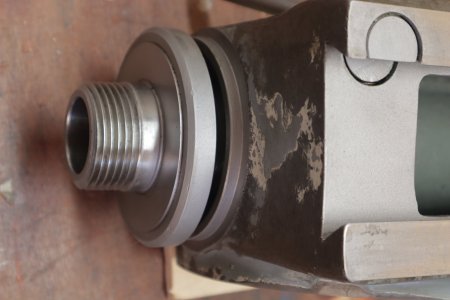
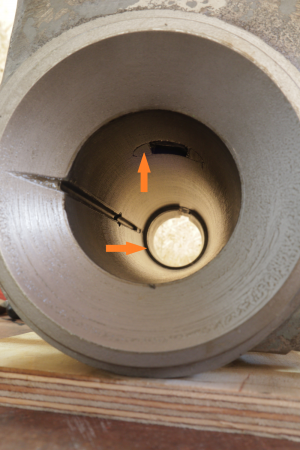
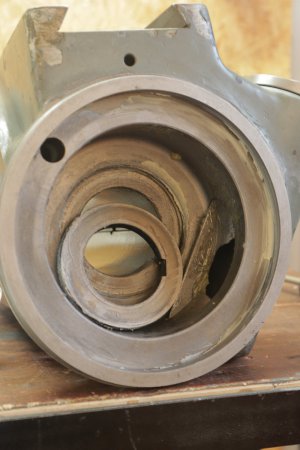
On the inside at the top you can see the split cotter to lock the spindle. And on the far end you can see the big worm wheel with a small recess, we need that information for later!
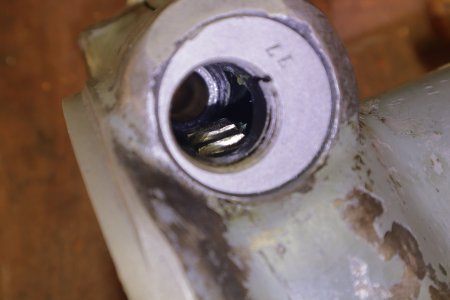
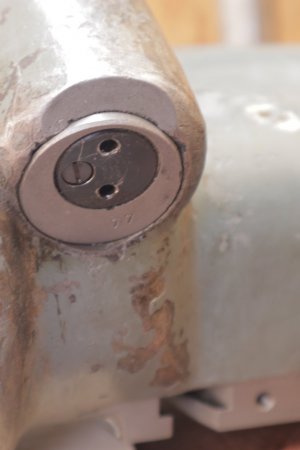
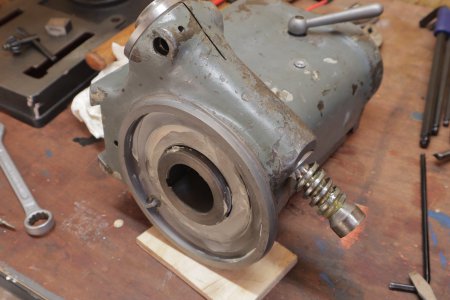
Next the worm wheel has to be removed. I first removed the locking lever and the set screw on the opposed side that acts as an endstop when engaging the worm wheel so the gears mesh correctly. When the worm shows signs of wear (increased backlash) the manual states to remove a couple 1/100mm off the top of the set screw so the worm wheel engages a little deeper and the backlash is taken out.
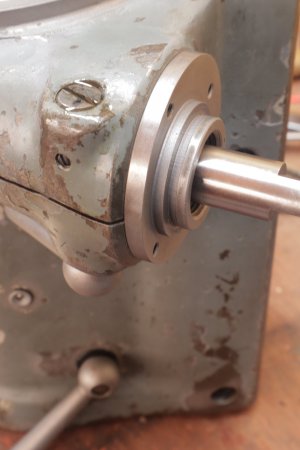
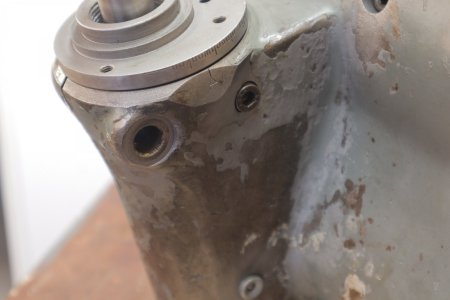
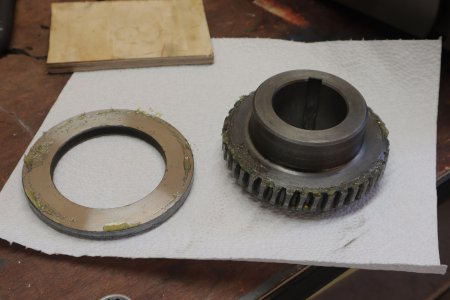
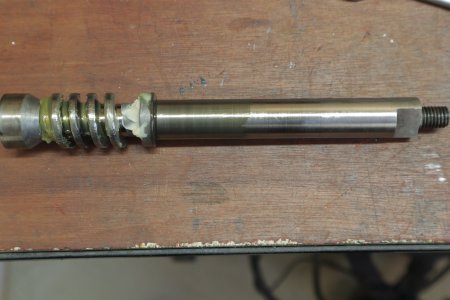
I also found the reason why the movement of the dividing head felt stiff - the set screw wasn't screwed all the way in so the worm wheel would actually engage a little too deep, causing it to bind a bit. But since I have already disassembled it so far, I went all the way in... After removing the black cap on the underside off the worm wheel housing, the worm wheel can be taken out form the underside:
The following dividing head I got super cheap for 190€ - completely without accessory mind you - but I couldn't say no to it. Everything seemed to work, the movement only felt a little stiff. So I disassembled everything and got the movement silky smooth again, see reason below for that.


It is probably the best thing to first remove the swiveling base first, simply remove the 6 screws on that one:

The scissor and indexing plate for differential dividing are also easily removed by simply unscrewing them:


The next thing would be to remove the spindle. To not risk any damage to the worm wheel, I disengaged it first by turning the indexing wheel all the way to the left and locking the worm wheel housing with its clamping lever on the right side of the indexing plate. Then I removed the grub screw and the shaft nut:

The dial can then be pulled of. I had to use a sharp wood chisel to get a small gap first an then using 2 screwdrivers to lever the dial off:


The plunger on the top left of the last picture can be taken out be unscrewing its little ball handle:

Now the spindle can be taken out from the other side. Since everything has a close fit to it and is greased up, some taps with a hammer did the trick:


On the inside at the top you can see the split cotter to lock the spindle. And on the far end you can see the big worm wheel with a small recess, we need that information for later!
Next the worm wheel has to be removed. I first removed the locking lever and the set screw on the opposed side that acts as an endstop when engaging the worm wheel so the gears mesh correctly. When the worm shows signs of wear (increased backlash) the manual states to remove a couple 1/100mm off the top of the set screw so the worm wheel engages a little deeper and the backlash is taken out.


I also found the reason why the movement of the dividing head felt stiff - the set screw wasn't screwed all the way in so the worm wheel would actually engage a little too deep, causing it to bind a bit. But since I have already disassembled it so far, I went all the way in... After removing the black cap on the underside off the worm wheel housing, the worm wheel can be taken out form the underside:


