- Joined
- Jan 28, 2011
- Messages
- 3,586
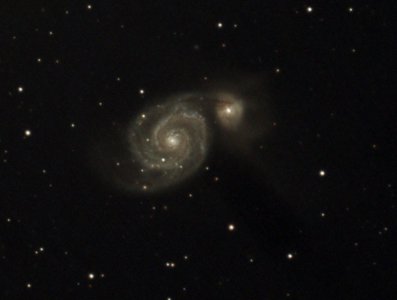
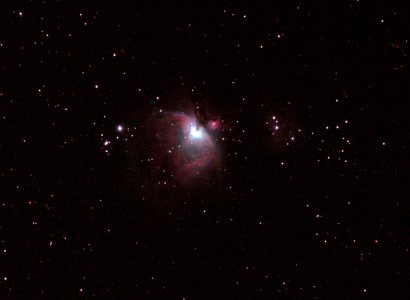
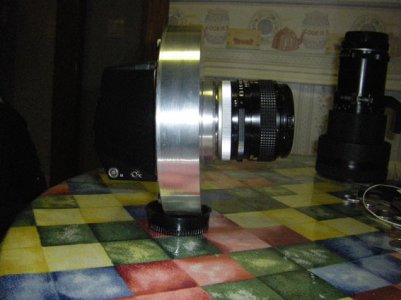
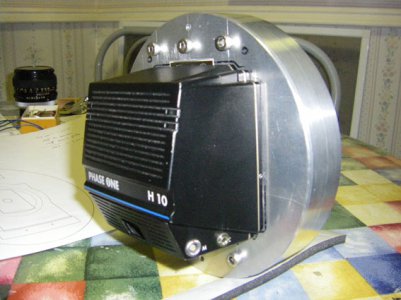
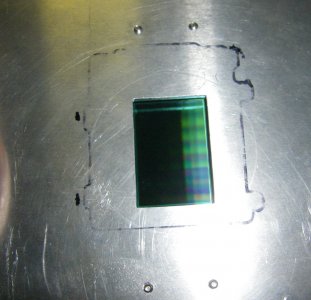
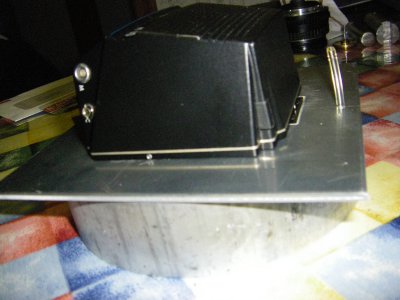
Here are a few pictures of the camera that I built last year.
It uses a H10 Hasselblad Digital back from Phase One. This is an old unit that has been replaced with a more current version, so it is free to be played with. It has a full frame chip, ie same size as 35mm negative. It cost somewhere close to 25K back in 2003, the replacement was twice that! It has a chip also twice as large!
I made a .125" subplate to mount the original mounting hardware to hold the back and use that to mount to the large Al disk. This hardware is inletted into the surface of the plate just like it would be on the back of the camera body. I used a CNC machine for the inleting as the location has to be spot on. I placed 2 dowel pins to act as location pins to align the two Al pieces and carry the machining over to the large ring.
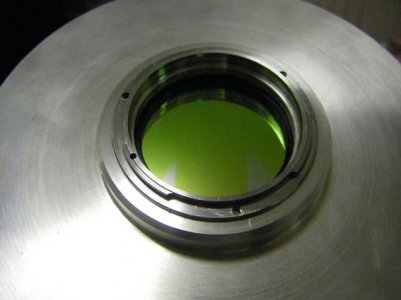
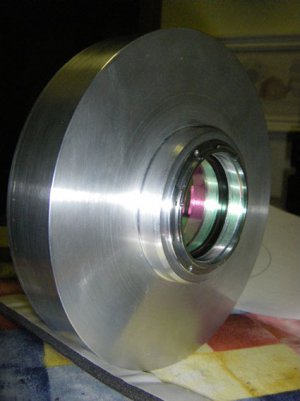
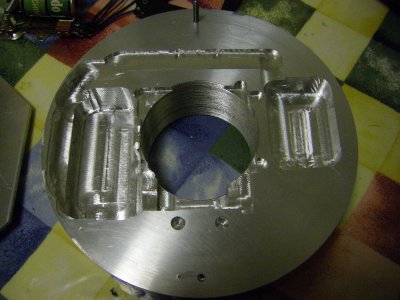
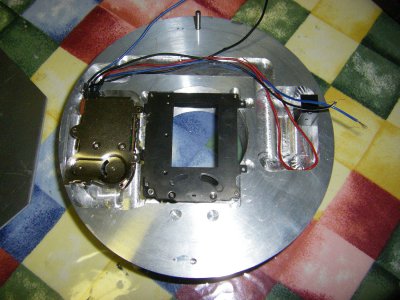
The large Al body, I machined out the areas to receive the shutter assy from a Pentax ME Super and electrical hardware and wire runs to open and close the shutter. Other than the shutter assy the rest of the milling was done freehand. Next I threaded the center hole, used the same thread pitch for all the threads (0.75mm) to use a DIY removable adapter that allows me to screw in a Light Pollution filter on the back (metric 48X0.75 threads) and mounting ring on the front for Canon FD lenses. The adapter also gave me the capablity of screwing in or out to achieve focus at infinity. Once the two pieces were finished, I bolted them together and turned the outside OD to remove any misaligment between the two. This was done on my Atlas lathe, CNC mill and a old Busybee imported mill.
This is all controlled from a laptop although one can use a simple momentary switch to cycle the shutter if need be.
Pierre


