- Joined
- Nov 8, 2020
- Messages
- 46
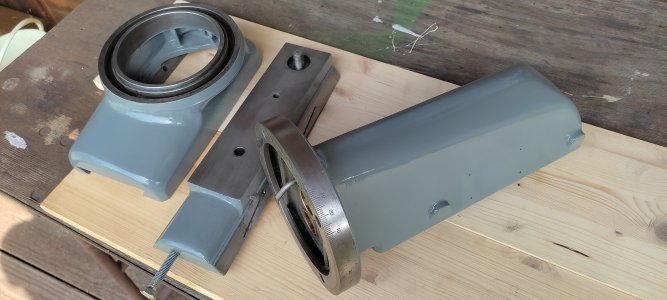
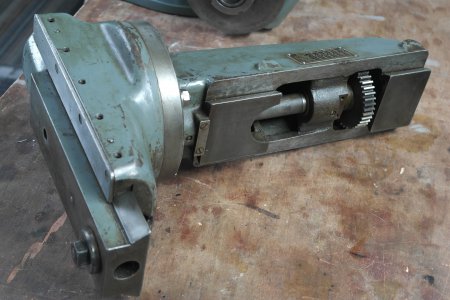
I bought my FP1 with a slotting head, but it was laying around unused for quite some time. I now have some upcoming projects where the slotting head would come in handy but before that it needs some touch ups. I am not good enough in scraping yet so I won't scrape the ways for now and since they seem to be in ok condition and well good enough for the work I do, I might never scrape them... but there is still other things to fix up.
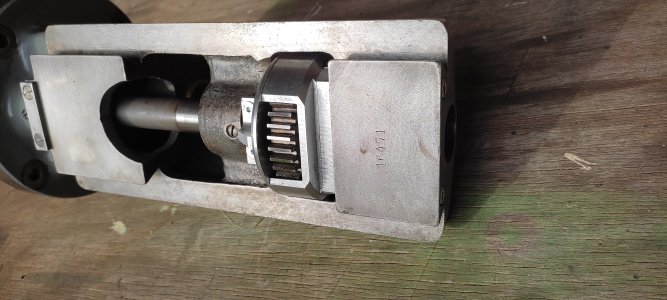
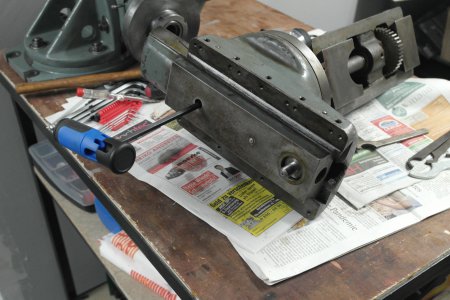
That's the slotting head right now:
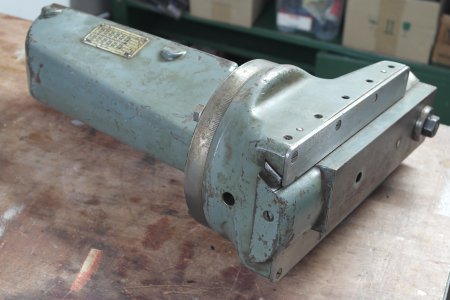
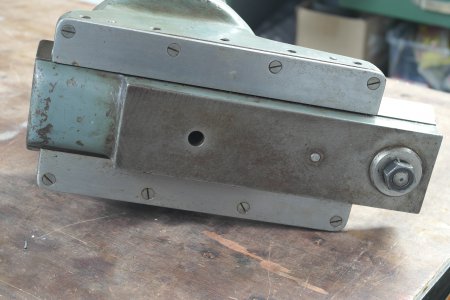
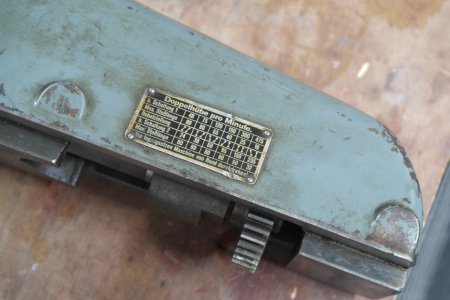
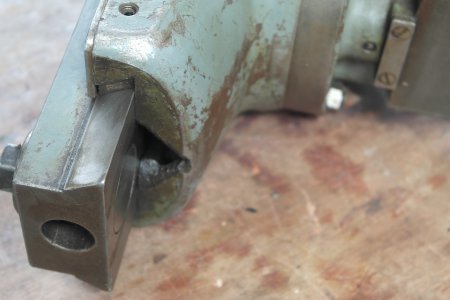
The gear guard is missing so I'll make a new one and the movement of the ram feels a little stiff, but maybe thats just some decades old grease. Other than that a small part of the housing casting broke of and I'll try to fix that up. I'll probably need some help or opinions from you.
But let's start... The disassembly is mostly straight forward: Unscrew things and then pull at things and they come right off.
There are only two minor non straight forward disassembly steps:
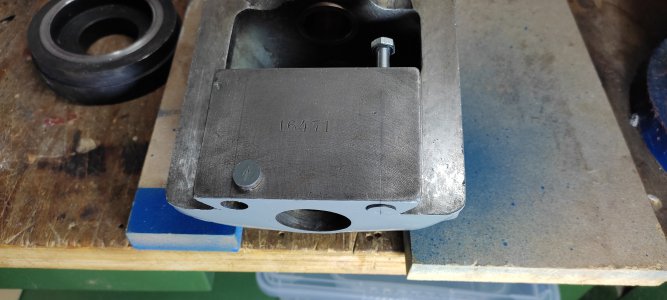
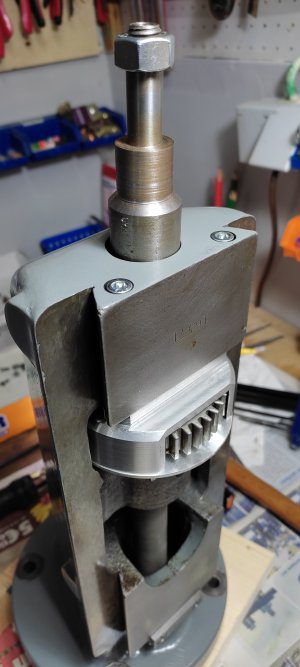
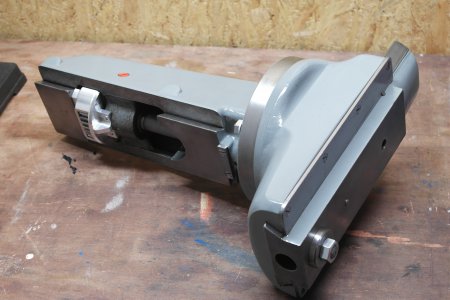
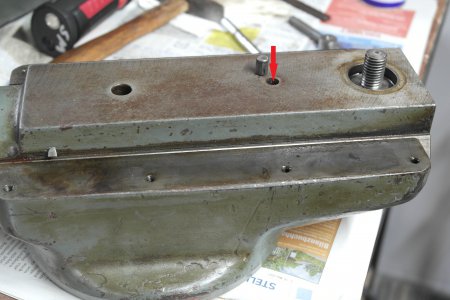
In order to separate the ram from the base there is a blind hole and the hex to unscrew it is only accessible when the ram is in a certain position:
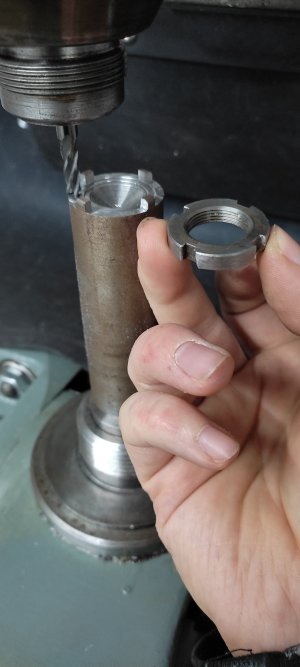
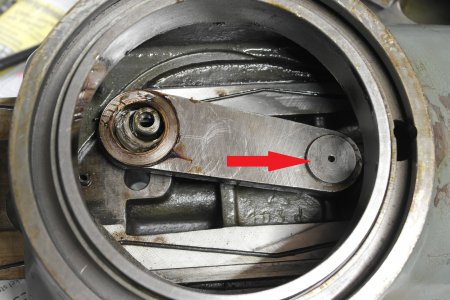
To disassemble the crank there is a pin on the other side that has to be knocked inwards till it falls out
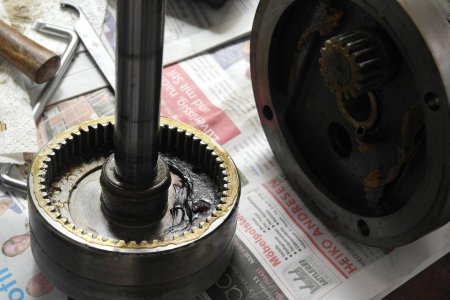
The gearing felt pretty stiff but that was only because of some old and hard grease, so it was already worth disassembling it to just get all that gunk out...
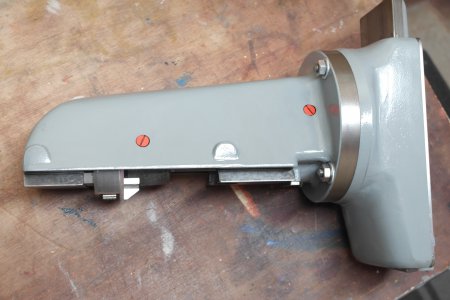
All the parts are now in a bath of degreaser and the next thing will be to repair the broken casting:
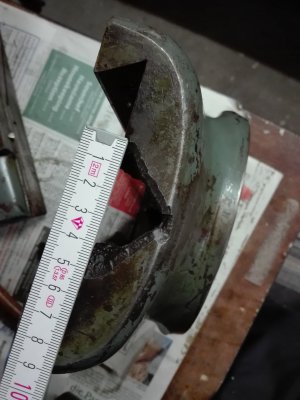
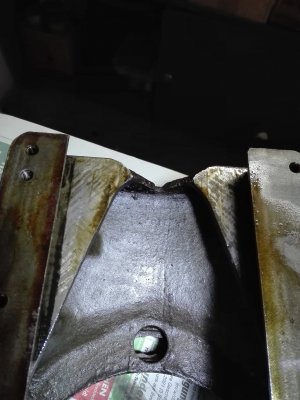
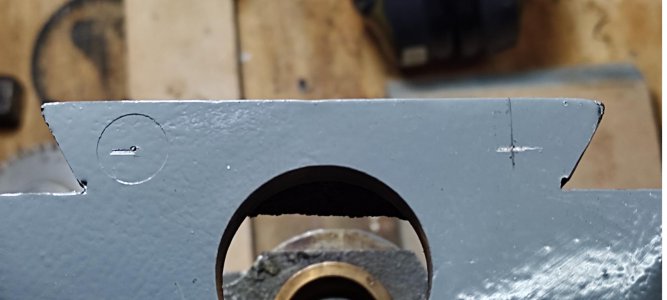
The broken part is in a non structural area and the the triangular hole is about 5cm (~2") wide and the wall thickness is 6mm (~0,24"). I have never repaired cast iron so can anyone help me out on what to do here? I thought of tig brazing the area since I already have all the equipment needed. Would brazing be a good or bad idea? Should I just close the whole area with the brazing wire or would I be better off to cut out a small triangle out of steel and braze it in place?
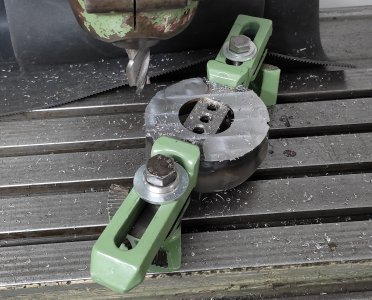
After that I would put the part on the mill and deck that top surface.
Thanks so far, -Marco
That's the slotting head right now:


The gear guard is missing so I'll make a new one and the movement of the ram feels a little stiff, but maybe thats just some decades old grease. Other than that a small part of the housing casting broke of and I'll try to fix that up. I'll probably need some help or opinions from you.
But let's start... The disassembly is mostly straight forward: Unscrew things and then pull at things and they come right off.
There are only two minor non straight forward disassembly steps:
In order to separate the ram from the base there is a blind hole and the hex to unscrew it is only accessible when the ram is in a certain position:

To disassemble the crank there is a pin on the other side that has to be knocked inwards till it falls out


The gearing felt pretty stiff but that was only because of some old and hard grease, so it was already worth disassembling it to just get all that gunk out...

All the parts are now in a bath of degreaser and the next thing will be to repair the broken casting:


The broken part is in a non structural area and the the triangular hole is about 5cm (~2") wide and the wall thickness is 6mm (~0,24"). I have never repaired cast iron so can anyone help me out on what to do here? I thought of tig brazing the area since I already have all the equipment needed. Would brazing be a good or bad idea? Should I just close the whole area with the brazing wire or would I be better off to cut out a small triangle out of steel and braze it in place?
After that I would put the part on the mill and deck that top surface.
Thanks so far, -Marco
Last edited:

