T
Tom Griffin
Forum Guest
Register Today
Last summer I made some built in cherry bookshelves and cabinets for the living room and finally got started on the pulls. There isn't a lot of metalworking in this project but I thought someone might enjoy seeing them anyway. It's always better to design something yourself than settle for something boring and impersonal from Home Depot.
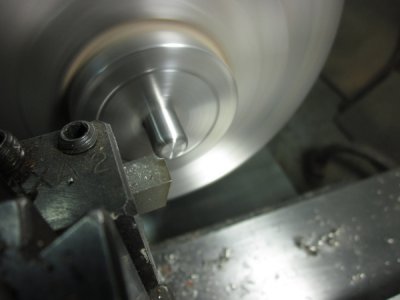
Our house is fairly contemporary so I thought something made of stainless and cheery would look good for pulls. After a few trial runs I settled on a 4.5" long piece of 3/8" stainless round mounted on two 1" high cherry pylons. The first step was to cut the stainless bars and face them to length. While they were chucked, I also turned a 1/16 radius on the ends.
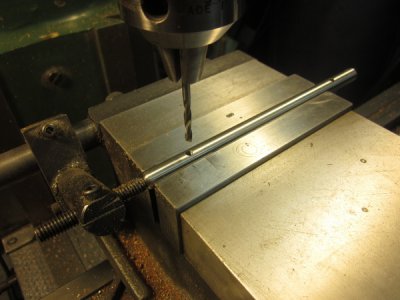
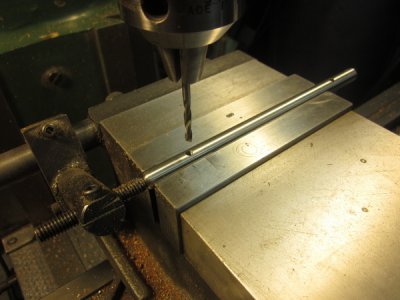
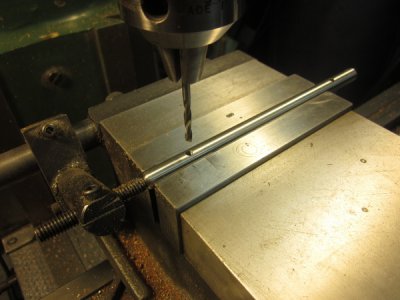
Next I set up in the mill and drilled and tapped two blind 8-32NF holes, each of them 1” from the end of the bars.
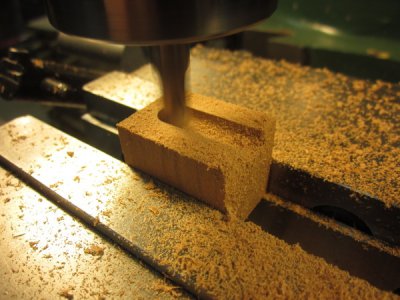
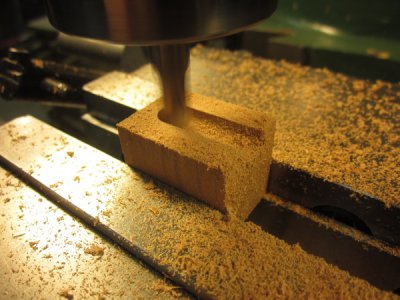
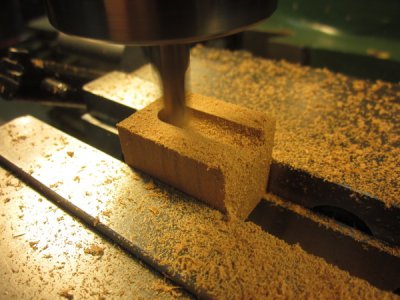
The pylons were band sawed to size and squared up on the belt sander. Then using the mill I cut a 3/16” radius for the bars to sit in.
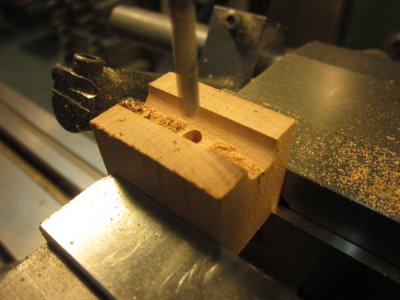
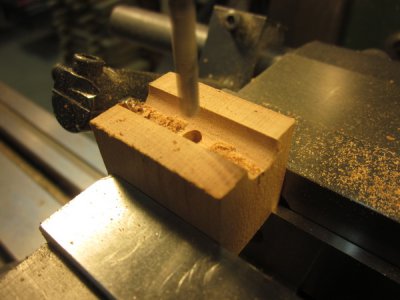
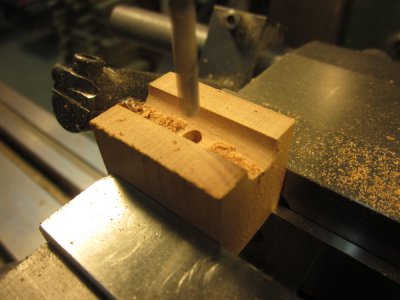
Next came a clearance hole through for the mounting screw.
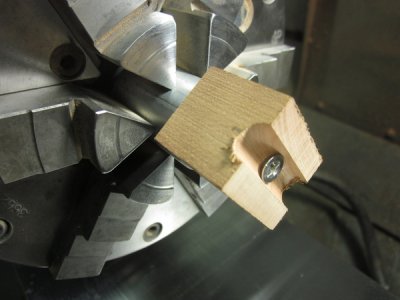
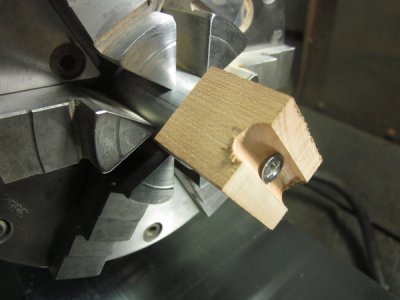
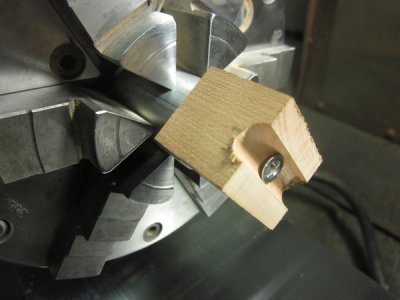
I made a quick and dirty arbor out of a ¾” diameter piece of aluminum in the lathe and put an 8-32NF hole in the end to mount the cherry blocks for tapering. An 8-32NF flat head screw was used to mount the blocks to the arbor.
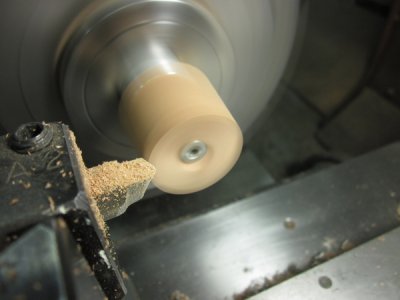
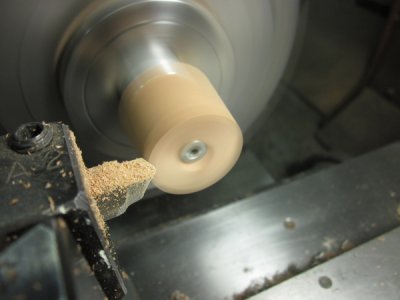
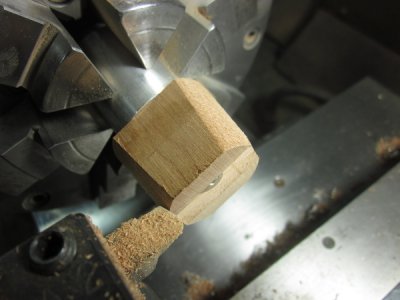
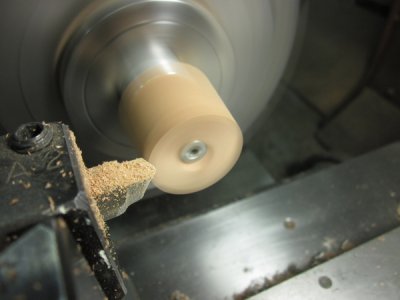
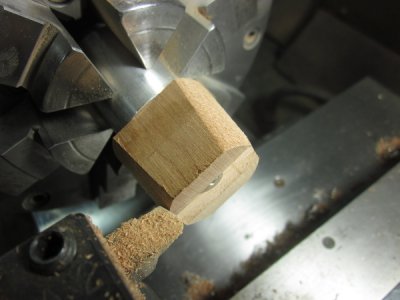
To turn the taper, the compound was set to 5 degrees and a sharp round nose tool was set well above center to make a shearing cut on the wood.
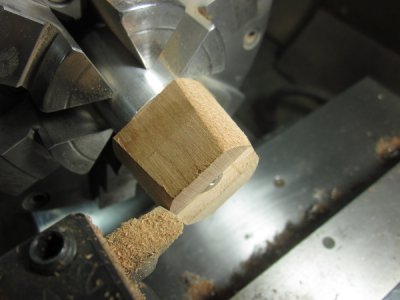
Then I cut a ten degree straight taper on each side using the belt sander. Belt sanding small parts like this is a great way to keep your nails short.
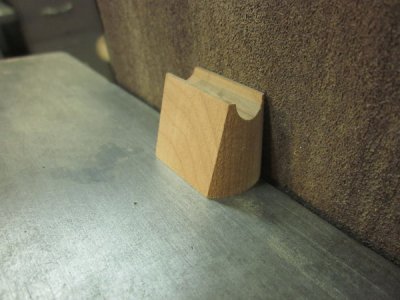
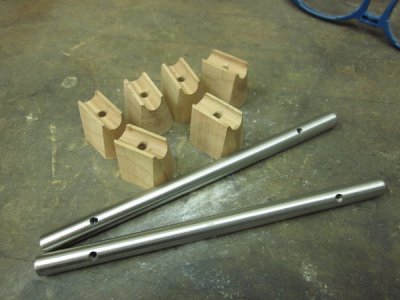
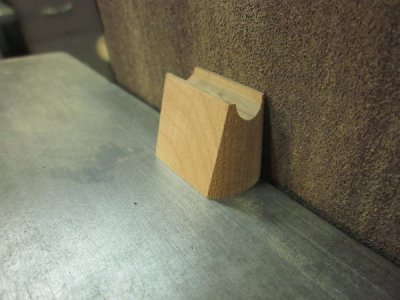
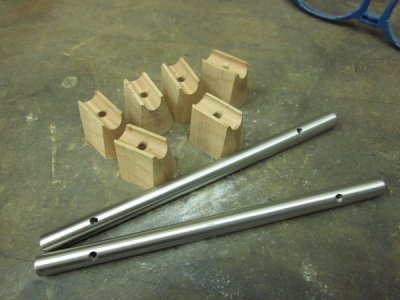
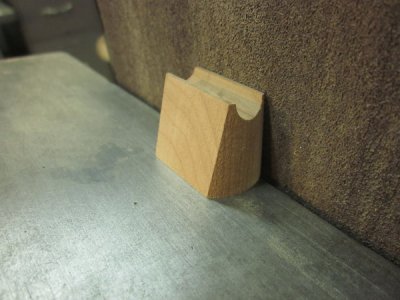
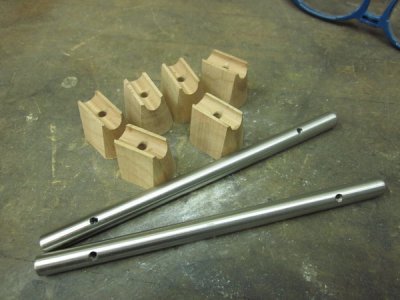
Here are some of the finished parts. I only made a few to start to make sure they are acceptable to the boss.
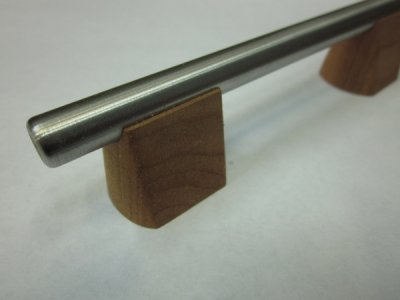
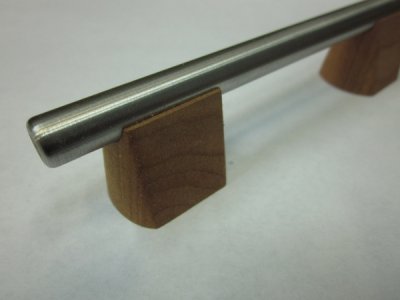
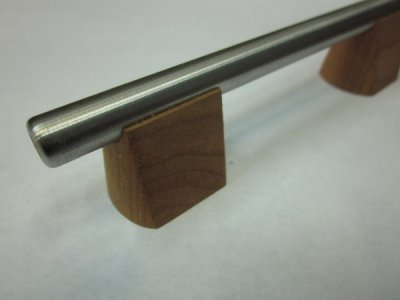
I little Tung oil really brings out the grain and color in the cherry.
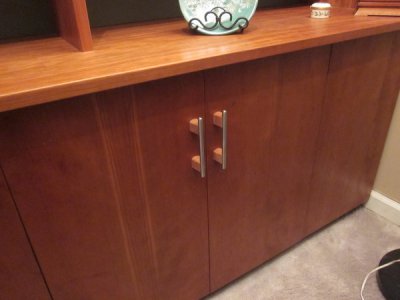
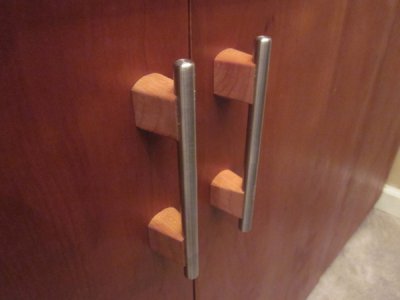
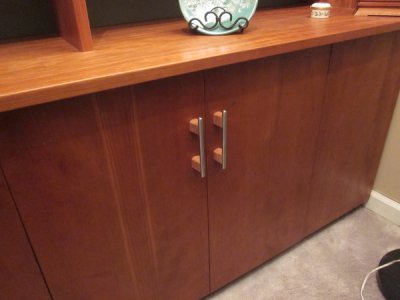
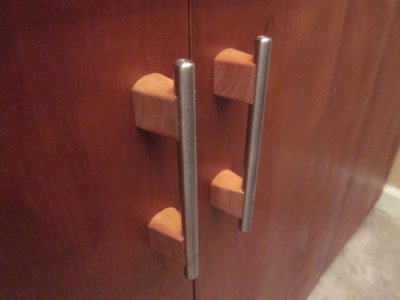
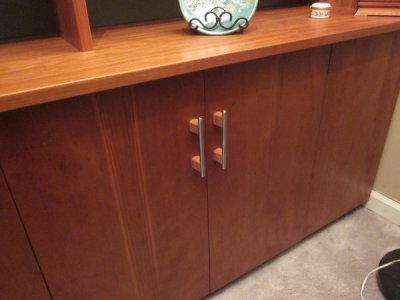
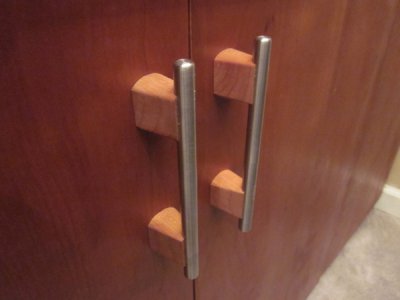
Here they are mounted to the cabinet doors.
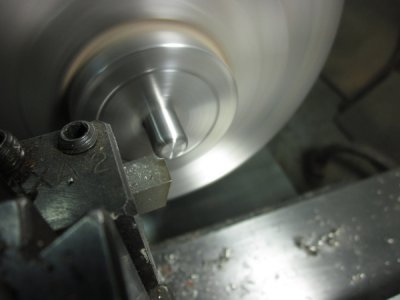
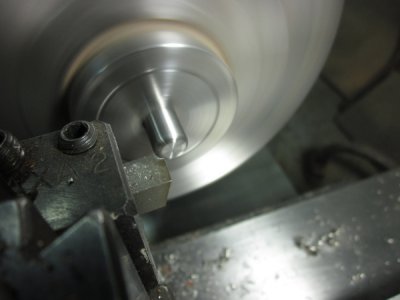
Our house is fairly contemporary so I thought something made of stainless and cheery would look good for pulls. After a few trial runs I settled on a 4.5" long piece of 3/8" stainless round mounted on two 1" high cherry pylons. The first step was to cut the stainless bars and face them to length. While they were chucked, I also turned a 1/16 radius on the ends.

Next I set up in the mill and drilled and tapped two blind 8-32NF holes, each of them 1” from the end of the bars.

The pylons were band sawed to size and squared up on the belt sander. Then using the mill I cut a 3/16” radius for the bars to sit in.

Next came a clearance hole through for the mounting screw.

I made a quick and dirty arbor out of a ¾” diameter piece of aluminum in the lathe and put an 8-32NF hole in the end to mount the cherry blocks for tapering. An 8-32NF flat head screw was used to mount the blocks to the arbor.

To turn the taper, the compound was set to 5 degrees and a sharp round nose tool was set well above center to make a shearing cut on the wood.


Then I cut a ten degree straight taper on each side using the belt sander. Belt sanding small parts like this is a great way to keep your nails short.

Here are some of the finished parts. I only made a few to start to make sure they are acceptable to the boss.

I little Tung oil really brings out the grain and color in the cherry.

Here they are mounted to the cabinet doors.


Last edited by a moderator:
