- Joined
- Apr 12, 2012
- Messages
- 579
A while back I bought a Jet 9x20 and quickly started not liking it's lack of features (for me it's a good machine but I am spoiled). More recently I was blessed with a 12x36 Jet. I had already done some mods to the 9x20, tumbler reverse, 4 bolt clamp, and a few others.
When the 12x36 was installed the 9x20 became a trainer lathe and didn't see much use. A year or so went by the 12x36 got a collet set and some other niceties. It had proven itself to work well. So I decided it was time to start dealing with a few more of the 9x20 problems. With no power cross feed it was bad enough but it felt like twiddling an etcher sketch knob.
The picture shows that the "bearing" surface is cam shaped (feft of the flange and bench block.
View attachment 41398
As I crank around on the tiny little wheel I kept expecting do do de do de doo doo de do POP goes the weasel! So I decided I'd do a Steve Bedair kind of mod and go with a longer mount
View attachment 41399
and a 7/16 x 20TPI lead screw. The bearing was a nice press fit 16x8x4mm and all was going so well. There I was with a piece of A-2 hanging out of the collet on the 12x36 just trying to find a method to get a good finish and on the second wimpy little pass with the second tool the curse set in! I had checked to make sure the tool left me with clearance to the end of travel (I'd even had to adjust the compound) with a full 1/4" I went with the RL-5 and at the end of a not quite optimal cut I found the feed lever felt as if it was welded solid. A quick glance down to make sure I was moving the right lever the right way and then a grab for the clutch just at the time of the crash.
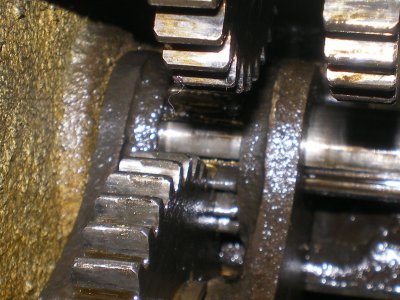
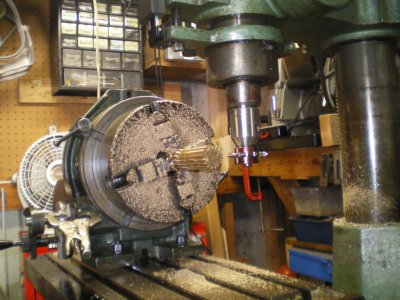
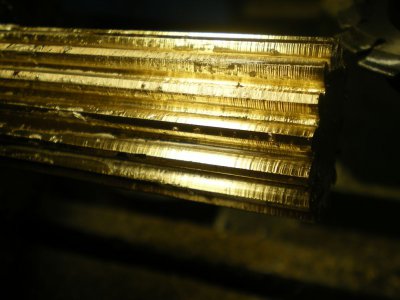
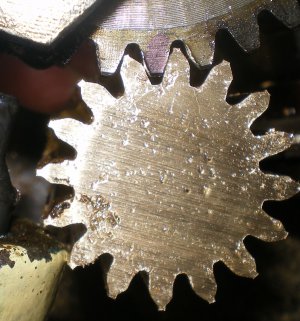
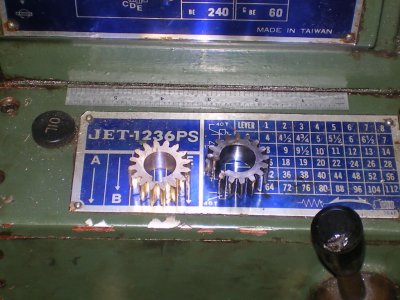
I've put the 9x20 back together So I have something to make the gear blank with and I'll be repairing the 12x36. It looks like the gear had been brazed before .
More to come over the next few days.
Steve who says craptastic things happen to me such as loosing the inline pictures.

When the 12x36 was installed the 9x20 became a trainer lathe and didn't see much use. A year or so went by the 12x36 got a collet set and some other niceties. It had proven itself to work well. So I decided it was time to start dealing with a few more of the 9x20 problems. With no power cross feed it was bad enough but it felt like twiddling an etcher sketch knob.
The picture shows that the "bearing" surface is cam shaped (feft of the flange and bench block.
View attachment 41398
As I crank around on the tiny little wheel I kept expecting do do de do de doo doo de do POP goes the weasel! So I decided I'd do a Steve Bedair kind of mod and go with a longer mount
View attachment 41399
and a 7/16 x 20TPI lead screw. The bearing was a nice press fit 16x8x4mm and all was going so well. There I was with a piece of A-2 hanging out of the collet on the 12x36 just trying to find a method to get a good finish and on the second wimpy little pass with the second tool the curse set in! I had checked to make sure the tool left me with clearance to the end of travel (I'd even had to adjust the compound) with a full 1/4" I went with the RL-5 and at the end of a not quite optimal cut I found the feed lever felt as if it was welded solid. A quick glance down to make sure I was moving the right lever the right way and then a grab for the clutch just at the time of the crash.

I've put the 9x20 back together So I have something to make the gear blank with and I'll be repairing the 12x36. It looks like the gear had been brazed before .
More to come over the next few days.
Steve who says craptastic things happen to me such as loosing the inline pictures.


 That supposedly starts the curse.