Criterion Boring Head Runout

Erichimedes

Registered
Registered
Joined
Nov 27, 2016
Messages
13
Hi all, just joined the forums, and I had a question for other Criterion boring head owners out there.

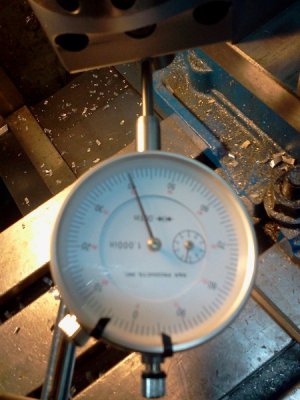
I just picked up a Criterion DBL-203 3" boring head on eBay. It appeared to be in excellent condition, so I went for it, and when I put it in my mill, it looked a little off to me. So I got the dial indicator out, and checked a few things. Not thrilled with what I found. The whole boring head seems to be offset about .016" or so at the tool holder. I put a piece of ground .75" in the center holder and centered slide so I wasn't reading offset in that direction, and it has about .016 of deviation perpendicular to the slide direction.

I took it off the R8 arbor, and couldn't find anything wrong. I put a dial indicator on the face of the arbor where the boring head snugs against it, and it was square as could be. I couldn't figure out how to accurately measure the location of the 1.5 x 18 threads, i.e. if they were centered with the spindle or not, but just looking at them, they don't appear to be off center by .016.

So the best I can figure is that the boring head's female threads are off center?! Anyone else with a Criterion want to measure theirs and see if it's similar in any way? Should I just not worry about this?

2016-11-27%2014.06.29_zpswadxavlv.jpg
Here's my measuring setup.

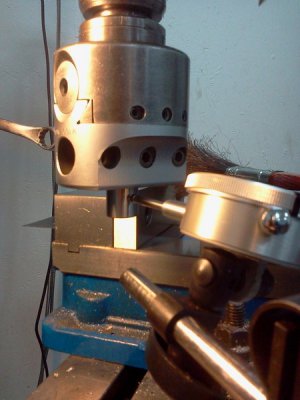
2016-11-27%2014.06.43_zpswpycd40p.jpg
Here's the set screw/gib side. (Sorry for the awful photo)
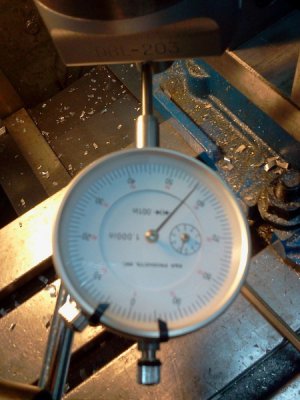
2016-11-27%2014.06.54_zpsere1e4d5.jpg
And here's the other side.

Thanks in advance for everyone's help.

Edit: fixed the pictures.

2016-11-27%2014.06.29_zpswadxavlv.jpg

2016-11-27%2014.06.43_zpswpycd40p.jpg

2016-11-27%2014.06.54_zpsere1e4d5.jpg

2016-11-27%2014.06.29_zpswadxavlv.jpg

2016-11-27%2014.06.43_zpswpycd40p.jpg

2016-11-27%2014.06.54_zpsere1e4d5.jpg

2016-11-27%2014.06.29_zpswadxavlv.jpg

2016-11-27%2014.06.43_zpswpycd40p.jpg

2016-11-27%2014.06.54_zpsere1e4d5.jpg

2016-11-27%2014.06.29_zpswadxavlv.jpg

2016-11-27%2014.06.43_zpswpycd40p.jpg

2016-11-27%2014.06.54_zpsere1e4d5.jpg

2016-11-27%2014.06.29_zpswadxavlv.jpg

2016-11-27%2014.06.43_zpswpycd40p.jpg

2016-11-27%2014.06.54_zpsere1e4d5.jpg
 
Last edited:
Being its a boring head , why worry about it ? You're going to offset the head when you bore and your spindle gives you your TIR .
 
Your pictures are very terrible. They were not posted properly. Can you retry posting them? If you are doing this thru Tapatalk, try again using the paper clip attachment in Tapatalk. All I'm getting on y computer is a "X" mark where the picture should be attached. Ken
 
Sorry guys, had to host the photos elsewhere. I think I've fixed them, but please tell me if you still can't see them.

mmcmdl, that's sort of my thought too. I mean, it's designed to operate with runout. That's the whole point. So I'm starting to lean towards not caring.

I'm still curious to hear others' opinion.

That runout does seem strange for a Criterion product .
 
Is you table trammed?
If not, it's possible that the additional length of the boring head beyond where your end mill is normally magnifies the existing error.
Sorry to ask such a basic question. I'm finding that many of my errors are set up and not the equipment. Read: my error.

Daryl
MN
 
mmcmdl, I agree. If it had been .002 or .003 I wouldn't have even given it a second thought, but .016?

Uglydog, yes, my table is trammed as close as my half thousandth indicator will get it. I measured the TIR of my shars collet as well, and it came in around 7 tenths. Although, even if the head wasn't trammed, the TIR on anything in the spindle would come out the same.
 
So, if I understand correctly? The boring head has a true position error of 0.008”. Frankly, I have never checked that or have had any concern for this. If your boring head is tight, translates smoothly and has a nice readable dial, then I would enjoy it. The head will still turn the cutter in a perfect circle. What you are looking at IMHO doesn’t mean anything, especially only 0.008”. If you are still unhappy? You can send it to me and I will give it a good home:)…Dave.

PS: just last week I made 15 of the same parts on my BP using an original BP boring head. The parts had a 1.202” hole in them. I have a R8 spindle. The cutter in the boring head was Carbide. The material was half hard brass. The production of all 15 parts involved tool changes and part changes for most of the steps in the making. Bottom line, I was amazed on how I could hold and repeat tenths with that BP boring head!!!! And I backed off the cutter one full turn on each part as well. It repeated through part changes, tool changes and settings holding tenths!...Dave
 
Last edited:
The problem could be off center threads on either the head or the arbor. Or both. But I wouldn't even worry about it as long as it bores a hole properly. The off center should not make that much difference.
 
You said that the offset was from side to side, not in line with the dovetail slide. In that case the dial indication will not match the change in size of the hole. The magnitude of the difference will also not be consistent, but will become less with more offset using the dial. You are creating a triangle as the slide moves, and the triangle becomes more flat and pointed as the slide is extended. Boring heads are by no means notorious for creating a hole to size by using the dial anyway, so I would not be too concerned, just aware of the issue and the geometry caused by it. The only other issue might be vibration due to offset, but boring heads make the machine vibrate anyway. I would just live with it...
 
Back
Top