- Joined
- Jul 15, 2020
- Messages
- 422
CNC plasma cutting complex shapes
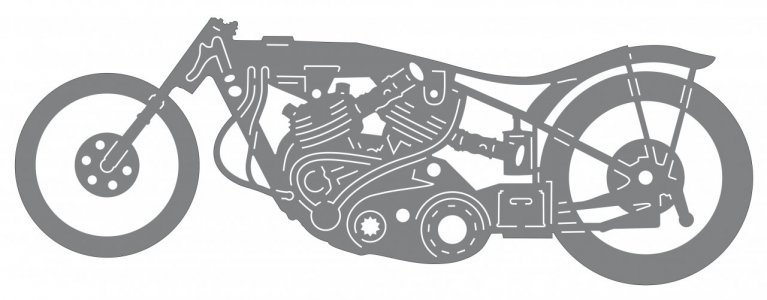
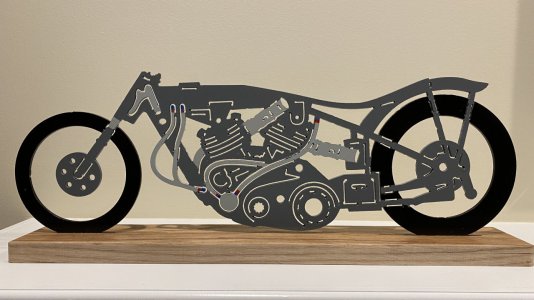
The plasma cutting process generally gets bad marks for the lack of detail possible compared to laser or water-jet. This is due to the significantly greater kerf width produced by plasma arc. However, it is possible to create a surprising amount of detail if certain methods are used in planning and creating shapes.
It is natural for us to look for the easiest way of accomplishing anything. There some relatively easy ways to come up with shapes to be cut. They can perhaps be scanned from an image, purchased on-line as a dxf file, or imported as clip art. While these methods may be ok for cutting simple brackets, they have definite limitations when creating complex original shapes.
Many of the dxf files available for purchase on-line were developed by artists with no plasma cutting experience. They may be too complicated for the desired size, they may contain lines and internal that are too close together, or cutouts within cutouts. Even if you can find one that is usable, it is unlikely that it will be exactly what you want.
While bitmaps such as drawings and photos can be scanned and automatically traced by some software, in practice this is easier said than done. The background must be in total contrast with the image. Photos must be very high resolution for the edges to be well defined. Lines should be thin and crisp. Often it will take more work to fix a scanned and traced shape than to create one from scratch. Clip art is usually cartoon-like and originally drawn without any intention of their being plasma-cut.
The bottom line is that if you are going to do complex shapes, you will have to do some drawing. Most drawing and editing features included with CNC plasma cutting table are simplistic, and lack a number of labor saving features. There are a wide variety of top-notch graphics packages available to help you create your own original shapes. Just Google "best drawing and shape editing programs" to get an idea of what's out there. Once you have selected a program and become thoroughly familiar with it, you will be able to create plasma-cut shapes with a surprising amount of detail.
I personally have used CorelDraw for a number of years. It has the ability to auto-trace photos and other bitmaps. It allows you to draw lines of any desired thickness quickly around any contour, and then fine-tune them in seconds to fit precisely. It allows you to easily maintain a given amount of space between lines and shapes (about .150" or 3.8mm for plasma). It also has the ability to let you automatically color lines and fill shapes to give you a near perfect idea of what your cut piece will look like.
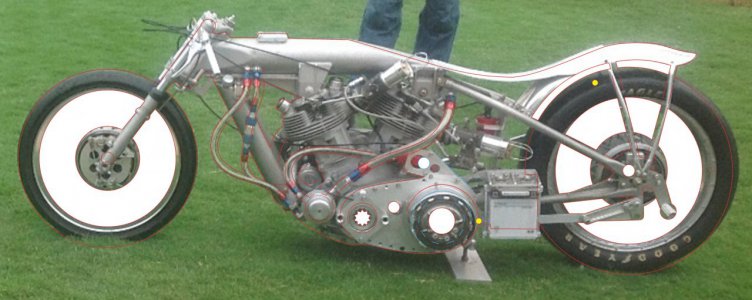
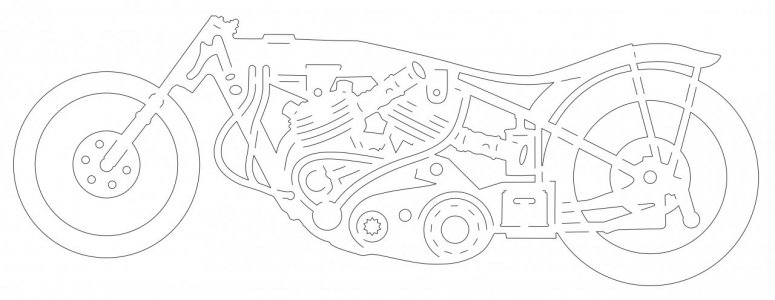
The following photos show a fairly complicated drawing created by manually tracing over a photograph. Note the small yellow colored circle which is exactly the right diameter to assure the proper clearance between objects. Lines and internal shapes must be shifted slightly from their photo counterparts to obtain the clearances. The thinnest eternal shape that can be satisfactorily cut is around .150" while slots and internal shapes can be slightly thinner.
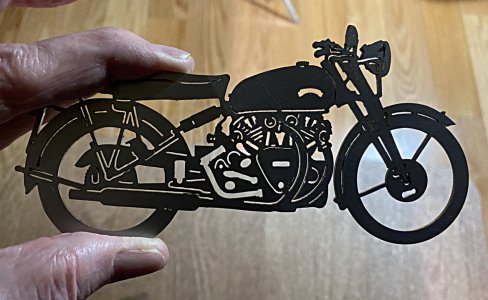
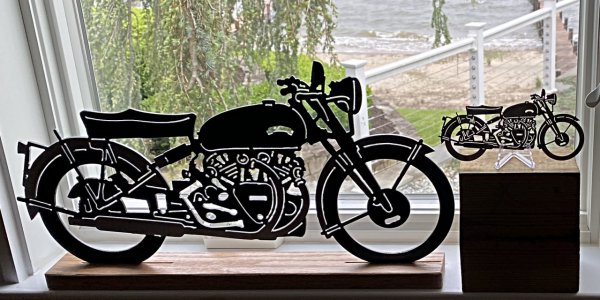
The first photo shows a photo with lines and shapes partially drawn over it. The second photo shows the finished outline. The third photo shows the CorelDraw drawing with fill applied to provide a preview of what the finished piece will look like. The fourth photo is the finished shape.


Last edited:

