- Joined
- Jan 25, 2015
- Messages
- 2,558
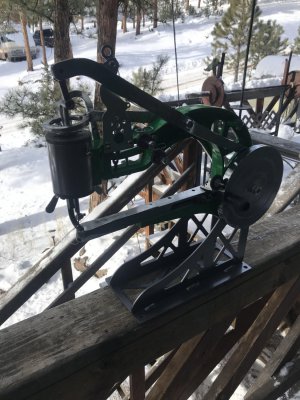
In my other sewing machine thread, I mentioned the cheap Chinese leather patcher to do thick leather projects. here's a sample picture of one:

Like all things chinese, it's pretty raw as delivered. No bearings, no bushings, threaded rod as pivots, sheetmetal bits and assorted “questionable” assembly. Not to mention dirt, casting sand and any number of ill fitting parts.
I suggested one to someone in my other thread who wanted to make holsters and it was derided as needing a lot of work and fettling to even make it work half decent.
But, I woukd say it looks "useable", perhaps with a little setup work:
Now, I don't have a lot of need for something that will "cobble". I generally don't work with leather that thick. But for 150 bucks, it wouldn't hurt to have the capability when I do need it. Not to mention, its basically a really long “free arm” design. Meaning, its great for sewing patches on the sleeves of arms, mending bags deep down inside a pocket and so on.
But I'm also a tinkerer, like most of us here. I figured I'd get one and then do a bit of work adding bushings and bearings where needed to smooth it out some, with a good bit of fitting and polishing where needed.
Then I saw this:
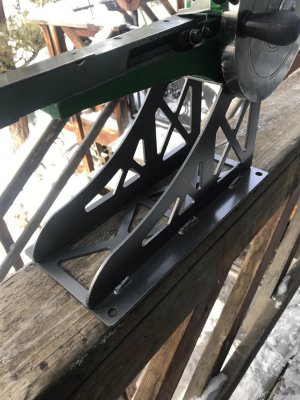
Oh yes please! That gent basically took the base (junky) machine and used most of the parts as "templates". He then refined the machine to a point where it's nearly art.
So when it gets here, I'll pu tit together and try it out Then, like the gent in the vids, I'll take it apart and start machining my new parts. Looking forward to adding some nice brass components to it to give it that "turn of the century" steam engine look.
Great, another project to toss on the already too large pile.....lol!
Last edited:


