-
Welcome back Guest! Did you know you can mentor other members here at H-M? If not, please check out our Relaunch of Hobby Machinist Mentoring Program!
You are using an out of date browser. It may not display this or other websites correctly.
You should upgrade or use an alternative browser.
You should upgrade or use an alternative browser.
Chambering Fixture
- Thread starter epanzella
- Start date
- Joined
- Apr 8, 2013
- Messages
- 2,021
So how do you set it up to chamber?
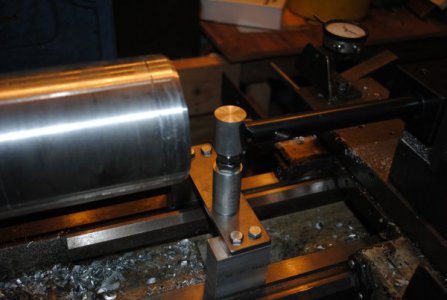
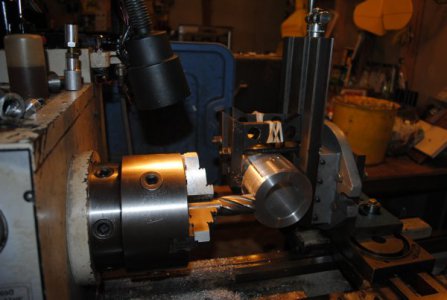
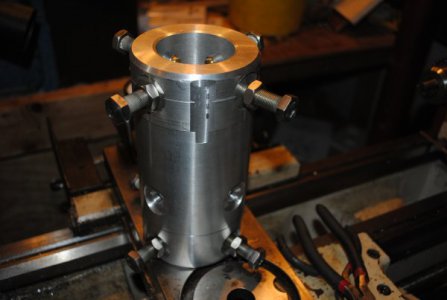
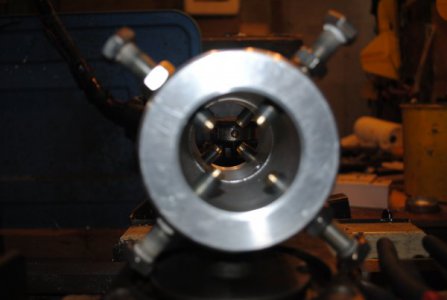
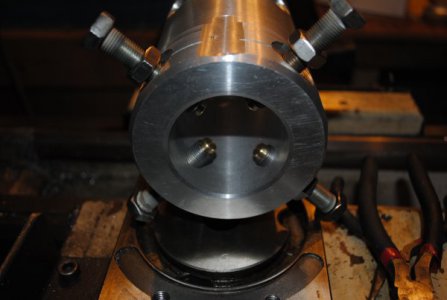
You indicate it the same way you would if you used the outboard spider and a 4 jaw. The bolts are all at 90 degree increments and lined up with each other. You don't use all 3 rows of bolts at the same time, you just pick any 2. For a rifle chamber you would use the front rom and the last row, essentially giving you a pair of 4 jaw chucks 7 inches apart. For a barrel stub I use the first 2 rows that are 2 1/2 inches apart. I don't have any long reach TI's so I use a long piece of music wire in a toolholder and indicate that. By running the carriage back and forth I can check the piece at any depth without changing the setup.
- Joined
- Apr 8, 2013
- Messages
- 2,021
No, not yet. My barrel has shipped so I expect it any day. The real holdup is that I had my knee replaced this morning so I don't know how long it will be before I can get down to my shop. (one flight down). When I had my other knee done I think it was two weeks before I could get to my lathe for short periods and then go back up and ice my knee. I tried to get all my tools and materials prepared so I could build my next rifle while recuperating. I built my McSavage last year while my other knee was healing. This year's project is an H&R 12 ga to .458 sml. I can't think of a better cure for cabin fever. I'll post some pics when I get going.Have you tried it yet?
- Joined
- Apr 8, 2013
- Messages
- 2,021
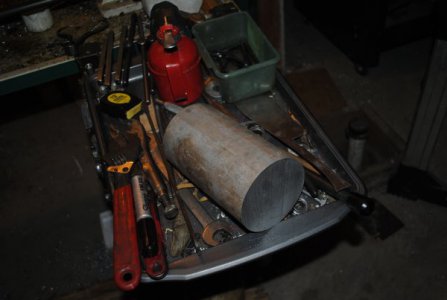
It's amazing how everything I do requires making a tool and most of the time making THAT tool requires the making of yet another tool. To make the chambering fixture I needed a way to divide in the headstock. Two rows of the bolts needed to be spaced 90 degrees apart and the third row the goes into the 4 jaw needed to be divided into 45 degree increments because there were 4 bolts and 4 flats. The simplest setup I could come up with is using a steel sprocket and an arm with a pin machined to match the radius of the slot between the teeth. The arm is driven by a threaded rod with a handle on the end. Sprockets are cheap ($10-$20 bux on avg) and are available fro 10 to 72 teeth. I got the 72 and the 50 since they
meet the requirements for all the projects rattling around in my head right now!
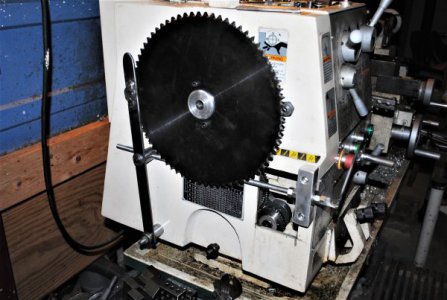
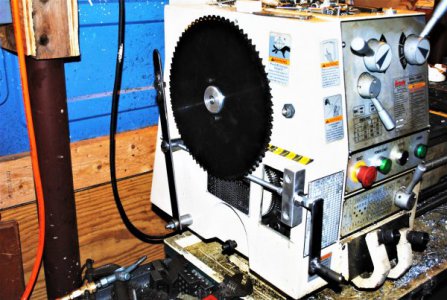
meet the requirements for all the projects rattling around in my head right now!


- Joined
- Apr 8, 2013
- Messages
- 2,021
Thanks!Well I wish you a speedy rebound from your surgery! Keep up with the physical therapy.
- Joined
- Apr 8, 2013
- Messages
- 2,021
So how do you set it up to chamber?
It's been 2 weeks since my knee replacement and I"ve been able to get down to my shop for short periods between ice packs. I'm just dialing in a 3 1/4 inch stub barrel for conversion of a 12 ga break open to a .458 smokeless muzzle loader. There's some pictures using the chambering fixture on the thread below;Have you tried it yet?

Short Barrel Chambering Fixture
I had put this in another thread but thought it would be better here. I'm starting a short barreled smokeless muzzle loader build that won't reach my outboard spider. My son had a 4 inch hunk of solid 6061 laying around so I decided to build a fixture like I've seen elsewhere on line. I have 3...
 www.hobby-machinist.com

