A few years ago I helped a friend that was converting a Toyota Echo from gas to electric. I made a steel plate for the transmission housing that mounted the big electric motor, and a coupler to connect the two shafts. During the conversion he changed from a hydraulic power steering to an electric unit, which was hard to find.
Recently, he discovered that the seals on the electric power steering unit had leaked, water got in and the integral bearing on the shaft was pretty rough:
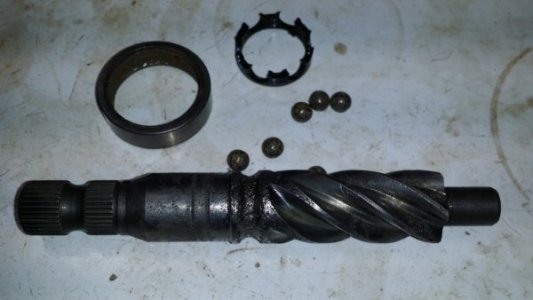

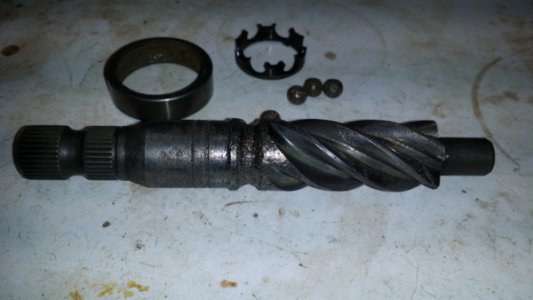

Since the electric steering gear was even harder to find now, he asked if I would attempt a repair.
He bought a new standard bearing with internal and external races, the new OD matched the old.
The plain round part of the shaft was 17.5mm and he found a new bearing with a 17mm ID.
I turned down that part of the shaft and shoulder where the old bearing ran.
I was concerned about how hard the shaft might be since it was the original inner race, but a carbide lathe tool cut it well.
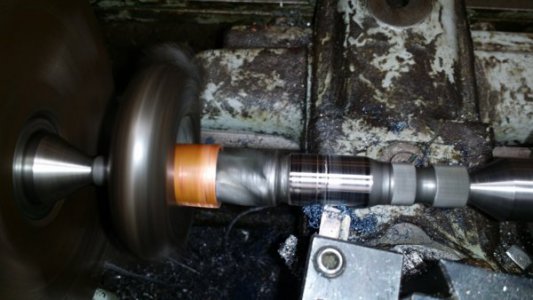

Here it is turned down and with the shoulder removed
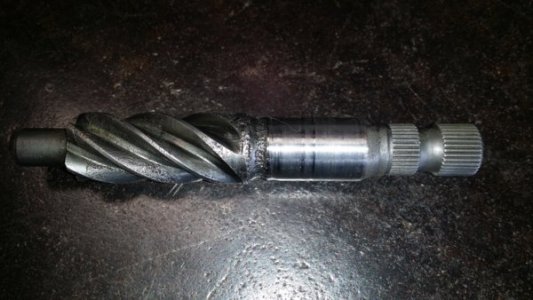

Then I needed to fill the badly pitted groove where the old bearing ran. I wanted to braze it up and thought I'd try using carbon from the acetylene torch to mask the helical gear on the shaft from the braze material. First I cleaned the shaft with a wire brush and alcohol, then covered the area I wanted to braze with masking tape.
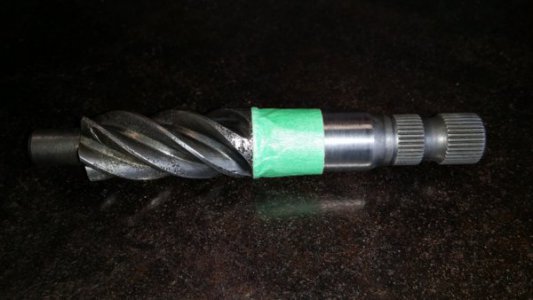

...and use the acetylene torch to carbon up the area I did NOT want brazed
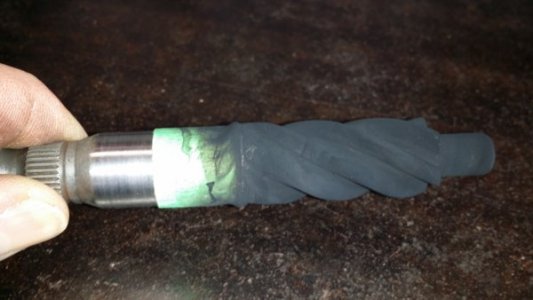

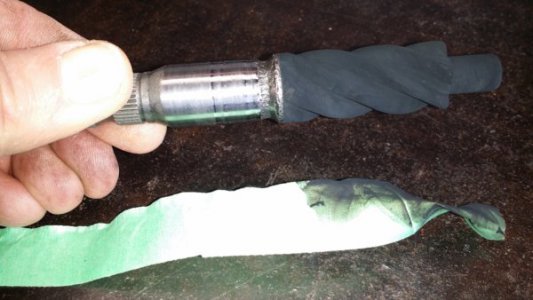

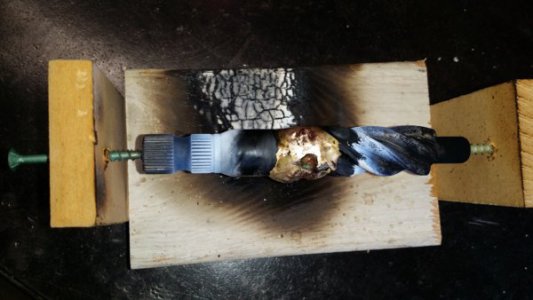
I threw together a quick wooden jig to allow me to braze it and rotate as required
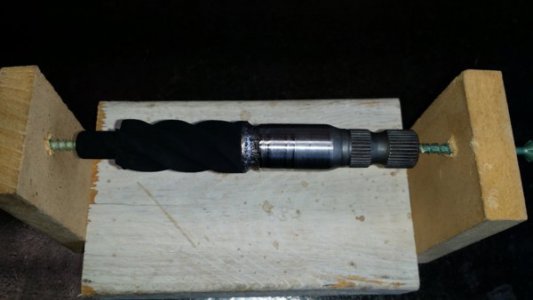

and brazed it with the oxy-acetylene torch

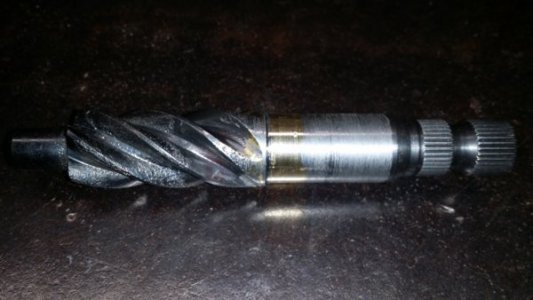
and then back to the lathe to clean up the brazing

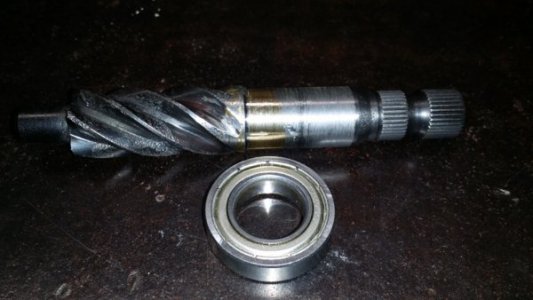

and finally here it is with the new bearing installed
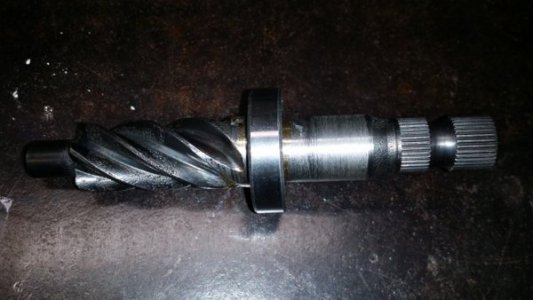

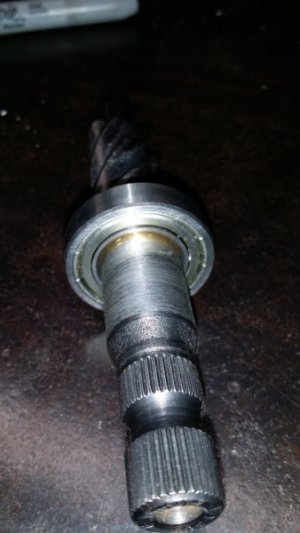

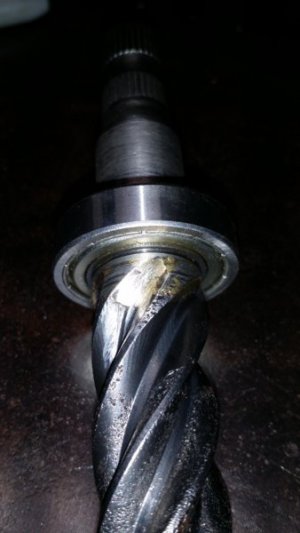

The new bearing was about 1mm thinner than the original outer race so I left a little room to position the new bearing to match up with the original housing.
An interesting project where I got to use a few different tools.
-brino
Recently, he discovered that the seals on the electric power steering unit had leaked, water got in and the integral bearing on the shaft was pretty rough:


Since the electric steering gear was even harder to find now, he asked if I would attempt a repair.
He bought a new standard bearing with internal and external races, the new OD matched the old.
The plain round part of the shaft was 17.5mm and he found a new bearing with a 17mm ID.
I turned down that part of the shaft and shoulder where the old bearing ran.
I was concerned about how hard the shaft might be since it was the original inner race, but a carbide lathe tool cut it well.


Here it is turned down and with the shoulder removed


Then I needed to fill the badly pitted groove where the old bearing ran. I wanted to braze it up and thought I'd try using carbon from the acetylene torch to mask the helical gear on the shaft from the braze material. First I cleaned the shaft with a wire brush and alcohol, then covered the area I wanted to braze with masking tape.


...and use the acetylene torch to carbon up the area I did NOT want brazed


I threw together a quick wooden jig to allow me to braze it and rotate as required


and brazed it with the oxy-acetylene torch


and then back to the lathe to clean up the brazing


and finally here it is with the new bearing installed


The new bearing was about 1mm thinner than the original outer race so I left a little room to position the new bearing to match up with the original housing.
An interesting project where I got to use a few different tools.
-brino
Last edited:
