My band saw comes with a table. The table can be mounted and used with the bandsaw arm in a vertical position.
However, in order to attach the table, I have to take out a proper sized Allen wrench, remove the two countersunk screws that hold the blade guide cover off, and screw the table onto it.
This is all I have to do, but in practice, this is very cumbersome.
So, I decided to improve it.
I came up with the following.
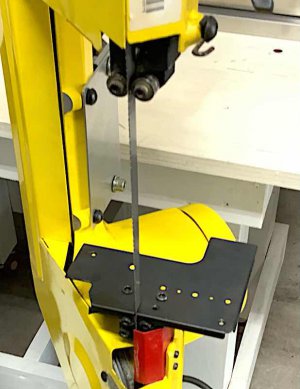
1) Change the cover of the blade guide to a bigger one that can support the table properly. The reason for the funny shape is that this is a material I picked up from my junk box.
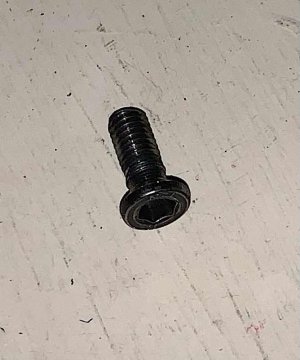
2) Make sure that the head of the screw that attaches this table support pops out slightly. For this purpose, I modified cap screws.
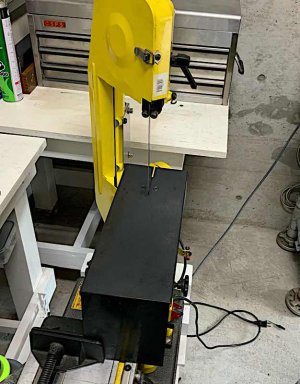
3) Fit the holes in the table into the heads of the screws on the table support, and secure the table legs with a bandsaw vise.
Fixing the table legs with the bandsaw vise will slightly pull the table toward the vise, and the table will be firmly fixed to the table support.
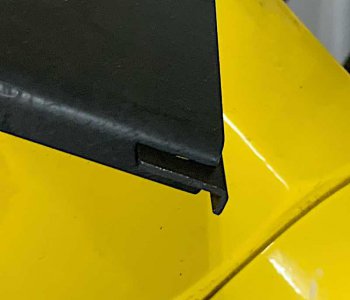
4) For safety, I made a small key to prevent the table from coming off. There is a cutout in the table support and the table, and this key is inserted into the cutout.
In short, to install the table, all I have to do is place the table on the table support and tighten the bandsaw vise.
Of course, when I want to remove the table, I just loosen the bandsaw vise.
Although not shown in the photo, I place a plywood sled on top of the table to do straight line cutting.
I changed the position and orientation of the handle that lifts the bandsaw arm to get it out of the way of the sled.
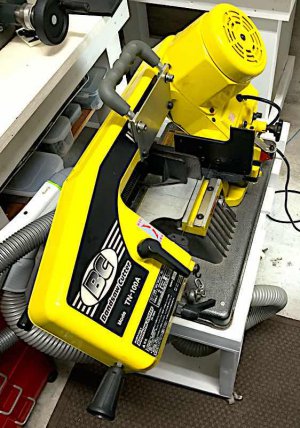
It's very convenient.
However, in order to attach the table, I have to take out a proper sized Allen wrench, remove the two countersunk screws that hold the blade guide cover off, and screw the table onto it.
This is all I have to do, but in practice, this is very cumbersome.
So, I decided to improve it.
I came up with the following.
1) Change the cover of the blade guide to a bigger one that can support the table properly. The reason for the funny shape is that this is a material I picked up from my junk box.
2) Make sure that the head of the screw that attaches this table support pops out slightly. For this purpose, I modified cap screws.


3) Fit the holes in the table into the heads of the screws on the table support, and secure the table legs with a bandsaw vise.
Fixing the table legs with the bandsaw vise will slightly pull the table toward the vise, and the table will be firmly fixed to the table support.

4) For safety, I made a small key to prevent the table from coming off. There is a cutout in the table support and the table, and this key is inserted into the cutout.

In short, to install the table, all I have to do is place the table on the table support and tighten the bandsaw vise.
Of course, when I want to remove the table, I just loosen the bandsaw vise.
Although not shown in the photo, I place a plywood sled on top of the table to do straight line cutting.
I changed the position and orientation of the handle that lifts the bandsaw arm to get it out of the way of the sled.

It's very convenient.
