Atlas V36 rebuild

jwmay

H-M Supporter - Gold Member
H-M Supporter Gold Member
Joined
Dec 3, 2017
Messages
2,153
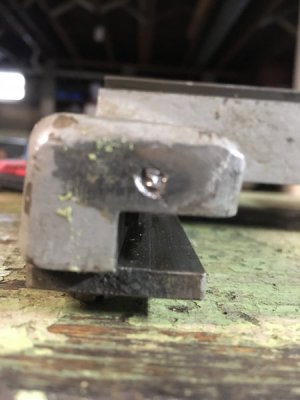
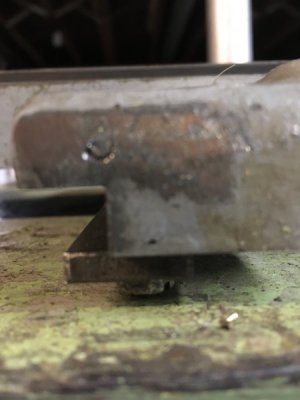
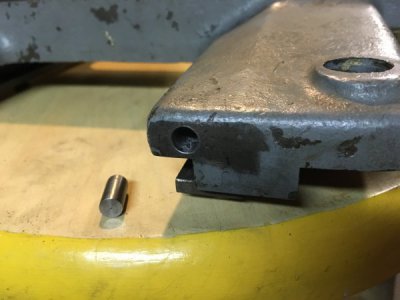
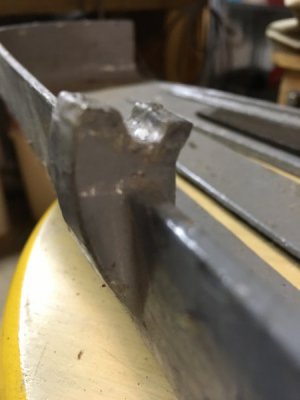
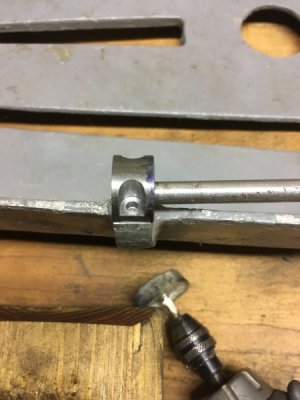
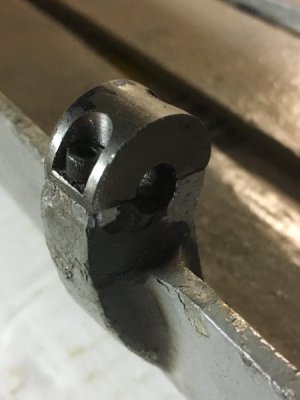
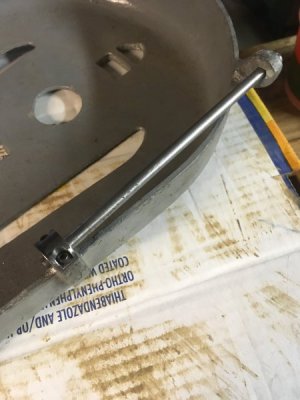
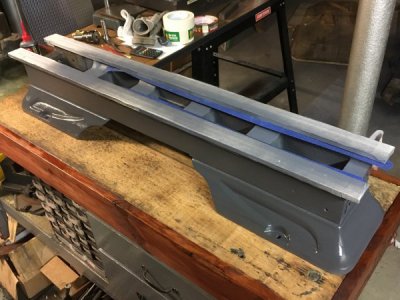
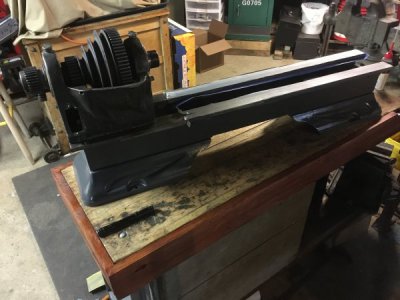
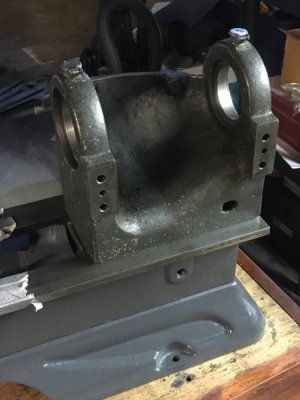
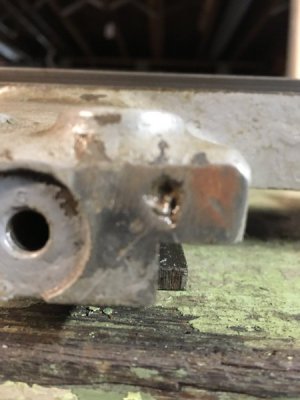
Well I suppose there may be some interest in this. So I’ll post photos as I get through it all. The machine was bought as a basket case. It was covered in rust, then covered in paint. But almost all of it is there, and it’s within my hobby interest to make it useable again. The goal is to have no more than 650 dollars in it at the end. I’m at probably 400 now. First off was the saddle, which had 3 out of 4 wiper retainer screws broken off inside the casting. Secondly was the belt guard, which had one broken hinge. Time will tell on whether this repair will last. Here’s pics.

5CA33C4C-AC2C-4722-9EA5-B4D39354DCA8.jpeg

F6547F3A-7F11-4611-AD8A-EECCB2731E94.jpeg

7947A631-E50D-4512-8983-9D0446357221.jpeg

2A713F02-9CBB-4498-B422-7BE434EE3E7A.jpeg
 
I don't know which strategies you used, but the January issue of Home Shop Machinist magazine featured a similar repair (welding/brazing cast iron). I made a mental note to remember that such a repair might be doable if necessary, while admitting that I hoped it wouldn't become necessary... Nice job!

Bill_729
 
Thank you. Bill, this guard is made of aluminum. My little hinge piece was super glued on before I drilled and tapped the holes 4-40. Then I used Loctite on the threads. Needless to say, I got lucky with the repair. I’m a hack.

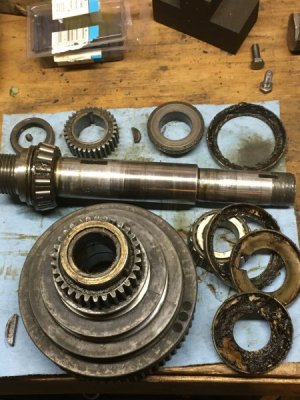
The Babbitt headstock has some issues. One being the spindle threads are messed up somehow, and two being the guy said the bearings were shot. I have a Timken headstock that’s been staring at me for three years from the dark recesses of the shop. I plan to use it instead. Here’s a couple progress pictures.289347289348
 
Did this today. Wondering about bearing replacement now. The races don’t have any ridges, but there are some shiny spots. I can’t find any obvious deformation. I should say that it didn’t seem like it needed a bearing change before I disassembled it. It was just too laborious to clean as an assembly. Now here I am...wondering if a preemptive bearing change is a bad idea. Surely 70+ years is a decent run for a set of bearings.

4BA75446-12D1-4E71-AE8B-F50EA1042662.jpeg

A65E5ED2-3077-4C4B-A239-EB9D795388AA.jpeg
 
It is often difficult to decide that. Unless there are obvious defects. If you buy replacements that are not marked for Class, you could be better off and you could not be. And even the ungraded ones are not cheap. If you buy Class 3, you will pay quite a bit for them. Although it may turn out to be double work if you do this and find excessive run-out, my recommendation would be to reassemble with the original bearings and check spindle runout at both ends. If you find the run-out to be less than 0.001" you will have saved a bunch of money.

Incidentally, if the lathe has Timken bearings, then the model number should be TV36, not V36.
 
Last edited:
I believe that’s what I’ll do. It wasn’t a terribly difficult task to disassemble it. If I later find that they should definitely be replaced, I’ll do it when I know.

I agree with your assessment of the model number. But it was a V36 when I bought it, and started the thread. I guess if my letter stamp is the correct size, I could update the data plate on completion.
 
A bit of bad news by the way. The threads on the other end of my spindle are damaged, and I’m currently unable to thread the preload nut back onto it. I’m going to have to dwell on this problem a bit. The little brass thread protecting plugs I’ve heard about were absent when I removed it, and it appears the set screws have really done some damage.
 
On the model number, as I said earlier, the most likely case is that the headstock isn't "original". The second most likely is that the bed and name plate are not "original".

On the problem with the threads and the missing brass, first thing to do is to get new brass plugs. If you need something else from Clausing, order two (or four) from them. They are cheap but shipping isn't. Otherwise, determine the ID of the threaded collar holes and by a foot of brass rod in that diameter. With something like a Dremel tool and cut-off disk, cut off two pieced between 1/3 of the tapped holes minor diameter. To make the threads usable again, by a thread file set. The last set that I bought came from McMaster (who should also have the brass rod). The source of the set that I retired last year is lost in the mists of time. The set was two pieces each about 1/2" square and eight or ten inches long. Use this to clean up the spindle threads. Then when you have the spindle back in the headstock, use the proper pitch face to clean up the threads until the collar will easily screw back on. When you have the threads cleaned turn the collar over so that probably the set screws and plugs won't be coming down on the bad spots.

Instructions for disassembly and assembly of the Timken headstock are in Downloads, along with a lot of other stuff. Access to downloads is available to all donors. Minimum is $10.00 per year.
 
Back
Top