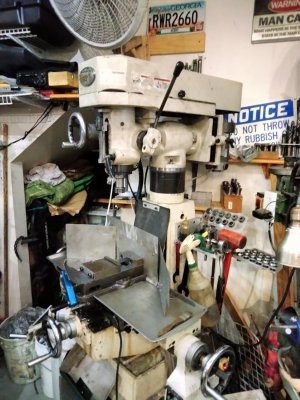
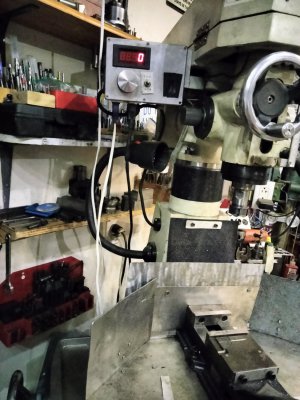
4" riser block for a 6x26 knee mill

mattthemuppet2

H-M Supporter - Gold Member
H-M Supporter Gold Member
Joined
Sep 28, 2013
Messages
4,395
This has been on my list for a long long time, as I've often struggled with Z height on my 6x26 mill, even more so now I have a rotary table and dividing head.

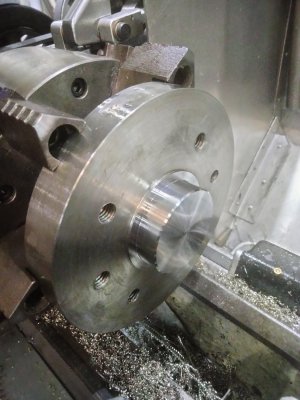
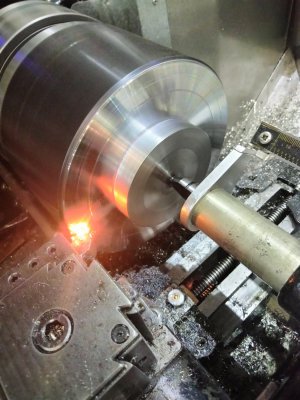
Started with a chunk of mystery metal 6" OD and around 3/4" thick. This was (more on that later) going to be the male end of the adapter.

Cut off what I didn't need and turned the stub
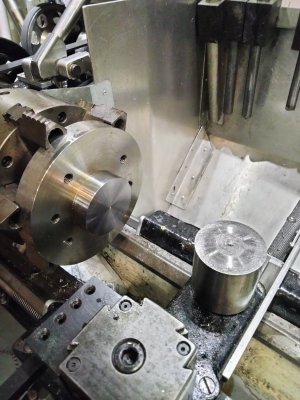
IMG20230717161025.jpgIMG20230717185017.jpg
Turned it around and turned down 1/4" or so to fit the mating part
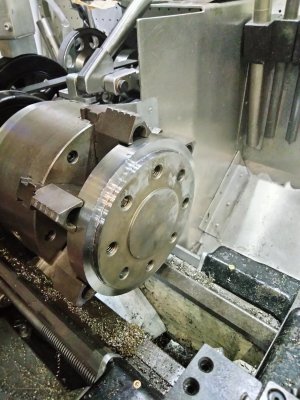
IMG20230718143540.jpg
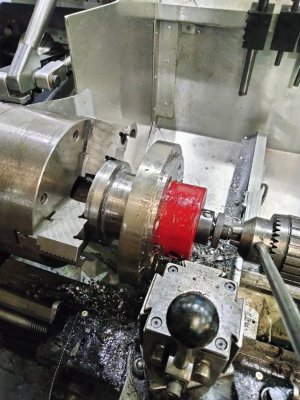
Then turned a ring to fit the stub, to be JB welded in place
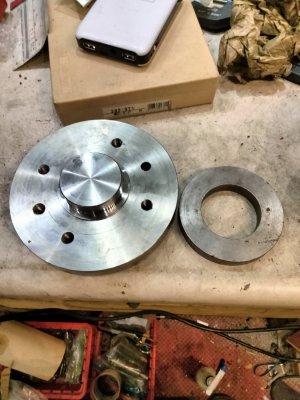
IMG20230718143824.jpg
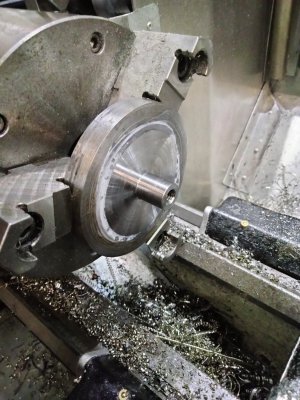
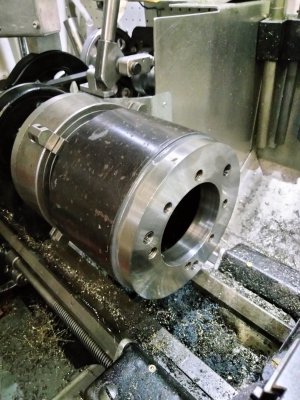
Started on the body. It's 6" od, 5" id with a 3/4" thick end, so really stout. I needed to cut out the female hole. Turned a center for support.
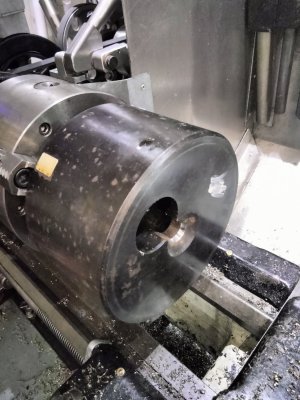
IMG20230718162735.jpg
Well that didn't work, snapped the end off my trepanning tool
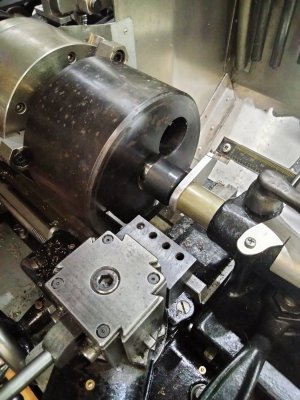
IMG20230718162936.jpg
Hole saw didn't work either. Chain drilling the hole with 1/4" solid carbide drills didn't work very well, one drill lasting 2 holes. After two dull and one snapped drill it dawned on me (I'm slow sometimes) that this whole piece is through hardened. Muthatrucker!
 
Hmm, change of plans. Hardened body will be the male part, not hardened disk will be the female part.

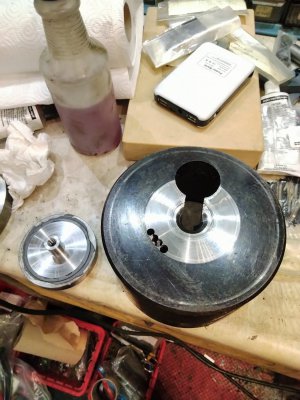
Liberated the spigot with a 3" hole saw
IMG20230719115323.jpg
Turned it down to fit in the hardened body
IMG20230719145934.jpg
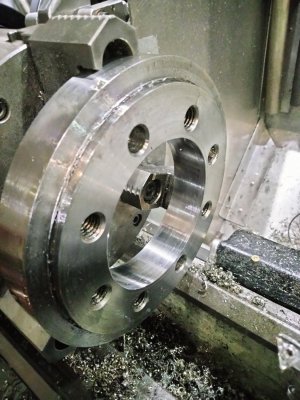
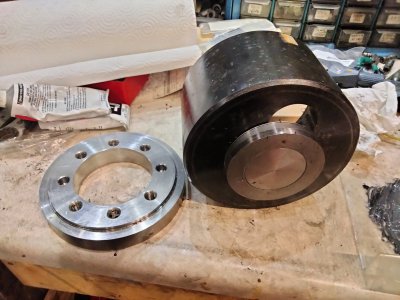
Bored out the plate to what I thought was clearance for the male spigot on the head.
IMG20230719163002.jpg
Parts
IMG20230719194254.jpg
Spigot JB welded into the bodyIMG20230719194912.jpg
 
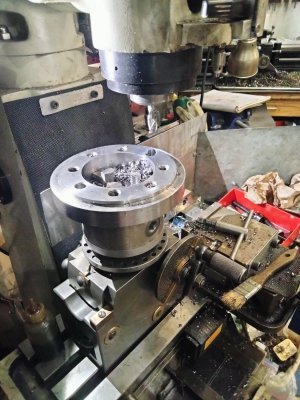
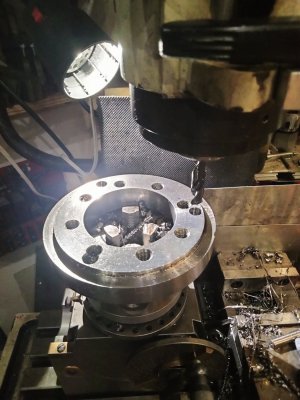
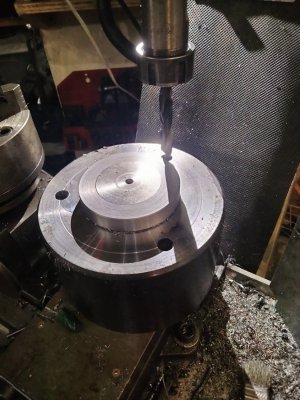
Bolt circle drilled for the plate. Had to use an endmill on one hole as it overlapped with an existing blind hole
IMG20230720110120.jpgIMG20230720111029.jpg
Filled in the hole in the body, then faced the body and spigot true to the center
IMG20230720185919.jpg
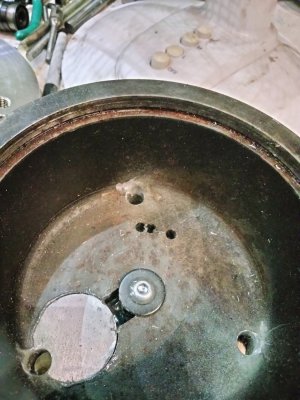
Then came the most butt clenching three holes I've ever drilled. 7/16" through 3/4" hardened steel. Managed them all without breaking my 7/16" solid carbide drill, but I did snap a 7/16" carbide endmill trying to get that lip on the inside gone
IMG20230721124600.jpg
Ended up using a Dremel with a stone to grind it out
IMG20230721125457.jpg
Lining up the two parts and JB welding them together
IMG20230721125616.jpg
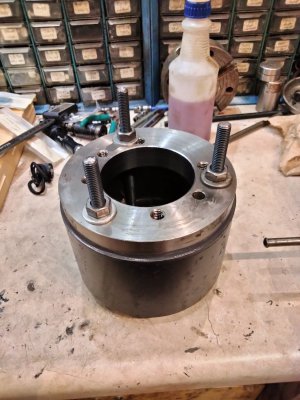
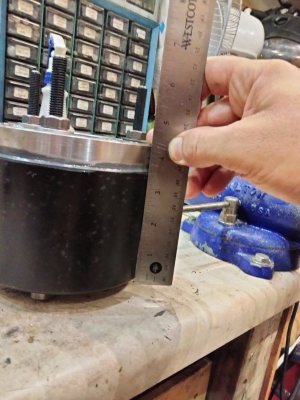
IMG20230721145738.jpgSitting at 4-3/8" height
IMG20230721145807.jpg
 
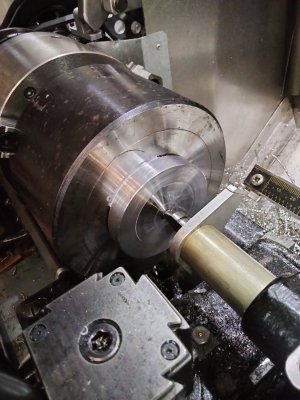
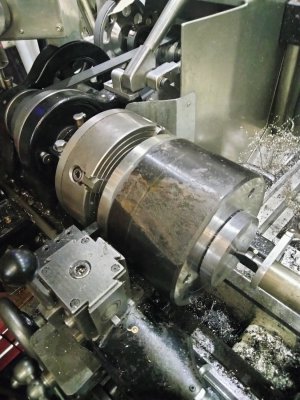
Now came an ill fated attempt to face both ends of the adapter at the same time, to make them as parallel as possible.
IMG20230724152544.jpg
Right at the hairy limits of my lathe - had to remove the cross slide cover for it to fit
IMG20230724152550.jpg
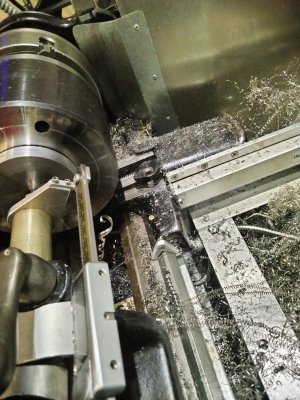
Well that didn't work, so did some HARD turning to face the body. Several inserts later that was done
IMG20230724153645.jpg
Then flipped around and did the other face. Guaranteed to be out a little bit, but I tried to minimize it as much as possible
IMG20230724192507.jpg
 
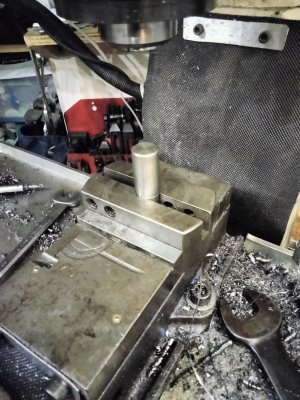
Now I needed to find a way to lift the head of my mill up enough to fit the spacer. I don't have an engine hoist and didn't fancy dead lifting it so I made a spud to use the knee

This was a Warner and Swasey turret tool that no one wanted, so I cut off the shank tried boring out the hole to 1". Guess what. It was bloody hardened. Came out ok though - spud is 1" bar turned down to 7/8", the largest R8 collet I have
IMG20230725162409.jpg
It works!
IMG20230725162034.jpg
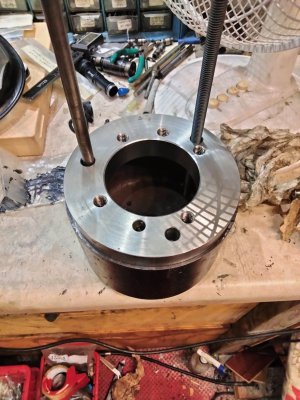
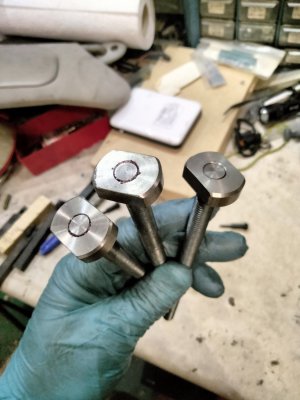
Got the dimensions of the studs (should have measured the spigot at the same time) and made some long ones
IMG20230726185541.jpg
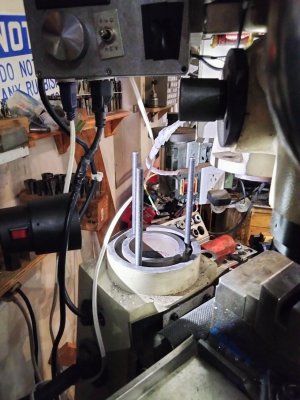
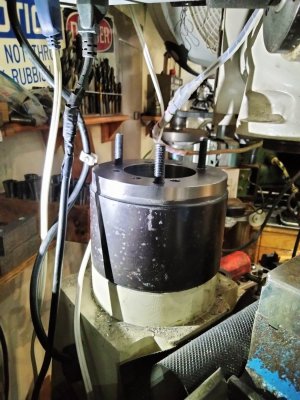
Installed them
IMG20230727112139.jpg
Got the riser and...... The hole is too small :( Asian tool variability bit me again. The interface on this mill is 3.150-3.160", not 3.120-3.125" that the plans I was following called for.
IMG20230727112342.jpg
Took the riser back off, stuck it in the lathe and took off 30 thou out so and it just fit. Close enough that I had to pull the head down with the studs and nuts
IMG20230727132538.jpg
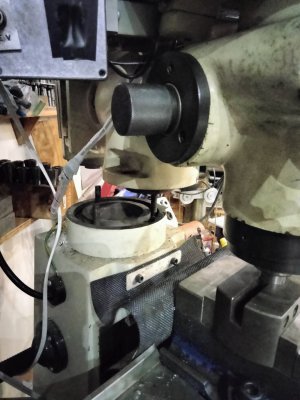
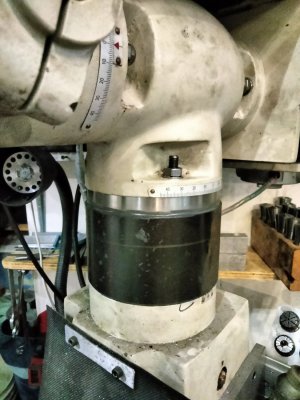
There you go, all installed. Ended up with an extra 4-1/4" head room, which will come in very handy
IMG20230727132517.jpgIMG20230727132526.jpg

Key dimensions on my mill:
4-1/2" bolt circle
6" od
3.160" female hole (3.125" on a HF 6*26)
3.150" spigot (3.115" on HF)
M10*1.50 bolts, with 1"*0.7"*0.305" ends

Now I need to check tram
 
Wow, that took some effort! Nice result, though!

Matt, do you have an oxy/acetylene set? I'm finding fewer people own them these days, but they were once considered as essential as a vise or an air compressor. Hard metals should never be an issue, just heat them up red and let them cool slow. You can even use a torch to make soft metals hard with a rapid quench. They are also good for stuck fasteners, tight fitting parts like bearing races and shafts, and joining metal with filler or braze. It might be time for Matt to get his early Christmas present, it's been a long year and you bestowed the Fungus upon the family by generously giving it your free time. Maybe make it easy on them by refurbing a Victor set off ebay.

On another note, the turret on my mill is 17". Fits in the lathe, but yeesh what a chunk of steel.
 
Thanks! It was going suspiciously well to begin with, but then it went back to my normal project trajectory :) Sure glad it's done though.

I don't have anything more than a MAPP torch unfortunately. I've thought about getting an oxy/acetylene set up, maybe once I move to the new house. Can you do similar spot annealing with a welder? My Christmas present is already selected - a 1/2" Milwaukee M18 impact wrench :D I'm hoping that by getting that I won't need to do anything on either of my cars for a good long while!

That's a big mill - though I imagine that I'd have less cause to make a riser block if I had a bigger mill. One day maybe, but this one does pretty much everything I ask of it.
 
Back
Top