- Joined
- Oct 19, 2020
- Messages
- 160
Thanks to everyone who gave me pointers in my post titled "3 tries and 3 fails to make 1 1/4 20 thread". Here is an update.
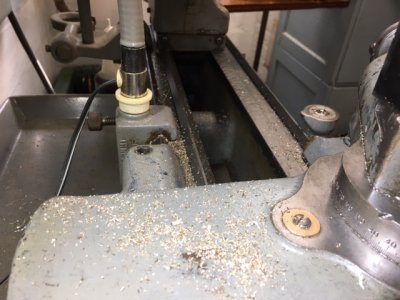
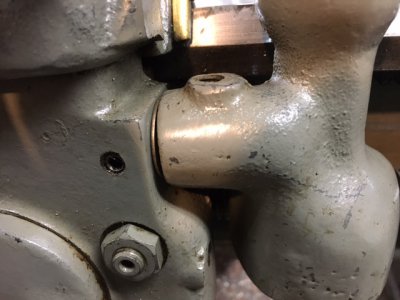
First I dealt with the issue of my South Bend 10K threading dial not engaging exactly on a line. I shimmed the mounting rod and the problem was resolved. The half nut now engages exactly on the lines. I also found out my threading dial will engage at 3 positions between lines. I have 8 lines on my dial so if my math is correct, I can engage my half nut in 32 positions.
And so I attempted another 1/4 20 thread. It worked well enough to accept my nut. I am making progress. Full disclosure: I did not use the same line each time. I just used the first line to come around.
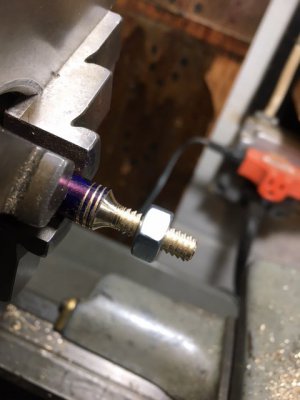
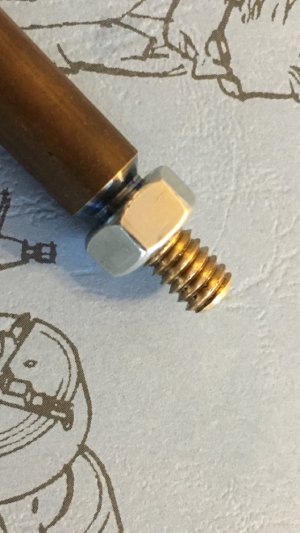
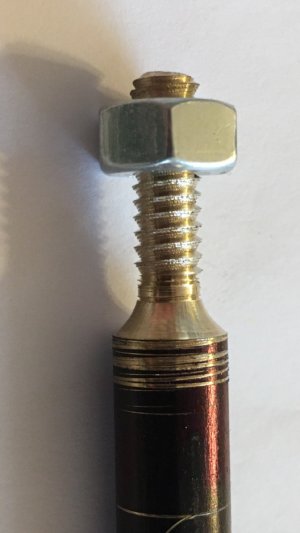
I think I still have a ways to go though. My problem is that the finish on the thread is not smooth. If you take a look at the image below you will see that the threads are jagged. You can count the individual ribs on each thread.
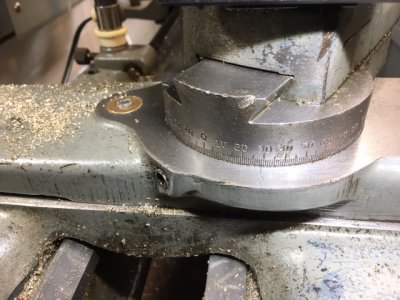
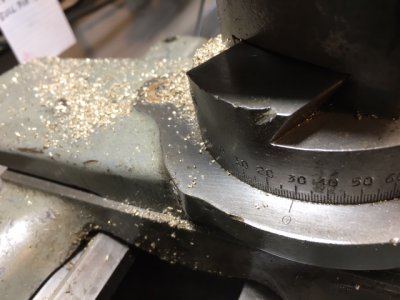
Here is a pic of my compound set at about 29 degrees.
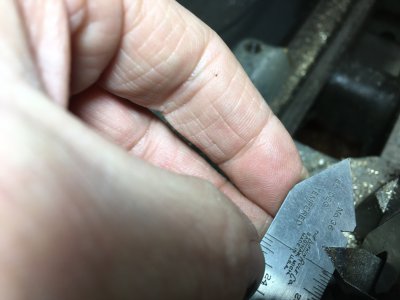
And here is a pic of my cutting tool.
So now I am wondering if any of you can help me get a better finish. One thing I need to try is to engage on the same number each time although I don't think I should have to and I am low on the patience I would need to wait for the number since I am running in back gears. If you look at the magnified thread, the individual small steps on each thread are very uniform. It almost seems like I don't have my cutting tool or my angles set properly. Why is the trailing edge of the thread so stepped? I'm thinking that each step is one pass of my lathe because the number of steps is about the number of passes I made to get the nut to screw on. My passes were between about 15 thou and 5 thou or so. Thanks everyone for your help.
First I dealt with the issue of my South Bend 10K threading dial not engaging exactly on a line. I shimmed the mounting rod and the problem was resolved. The half nut now engages exactly on the lines. I also found out my threading dial will engage at 3 positions between lines. I have 8 lines on my dial so if my math is correct, I can engage my half nut in 32 positions.

And so I attempted another 1/4 20 thread. It worked well enough to accept my nut. I am making progress. Full disclosure: I did not use the same line each time. I just used the first line to come around.

I think I still have a ways to go though. My problem is that the finish on the thread is not smooth. If you take a look at the image below you will see that the threads are jagged. You can count the individual ribs on each thread.

Here is a pic of my compound set at about 29 degrees.

And here is a pic of my cutting tool.

So now I am wondering if any of you can help me get a better finish. One thing I need to try is to engage on the same number each time although I don't think I should have to and I am low on the patience I would need to wait for the number since I am running in back gears. If you look at the magnified thread, the individual small steps on each thread are very uniform. It almost seems like I don't have my cutting tool or my angles set properly. Why is the trailing edge of the thread so stepped? I'm thinking that each step is one pass of my lathe because the number of steps is about the number of passes I made to get the nut to screw on. My passes were between about 15 thou and 5 thou or so. Thanks everyone for your help.

