- Joined
- Nov 5, 2012
- Messages
- 5
As I mentioned in my first post on this wonderful forum....I did have an SX2 but I have it no more.
Ok it was a a great machine...especially the speed control, lack of noise and size...you can pick it up and put it somewhere else...BUT..I couldn't handle the Z-Axis problem and even after the supplier modified one for me to an air ram system...it was poorly done and I decided the bite the bullet and get the big brother.
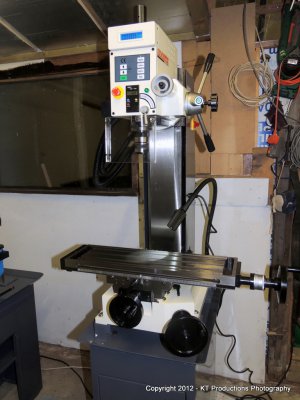
In the UK there is no real choice for a machine which is in between the SX2 and the X3 ST....and the difference is astounding...the SX2 weighing 65kg and the X3 weighs 165kg so this was a big leap. I have a workshop up a narrow path between an ironstone wall and the house...which is less than a metre wide....so I was pretty sure this was not going to fit.
But as you see...it did! We had to take the X/Y table assembly off of the bed entirely...easy! But it was a tight squeeze.
Am I pleased I upgraded....? Absolutely! The X3ST is a different animal entirely. The things I noticed...
1) Much much more solid
2) No problems with the Z-Axis
3) Quality of parts...especially the X/Y table is much higher...particularly the machining and tolerances. Had I not stripped everything to remove the transit grease anyway, I would not have had to adjust anything to mill something. It was well set up!
4) The table size and thus the versatility of the mill is way greater. A completely different league.
5) The Z "digital readout" is a great help.
Things I don't see as improvements...
1) The speed control and range is something I preferred on the SX2. The variable speed control is far more controllable than the step switches....
2) I would have expected cheap DRO gauges on each axis for this price
3) The Z height wheel is a pain...but conversely more accurate...I think I see a counterweight modification coming on!
So the pictures...
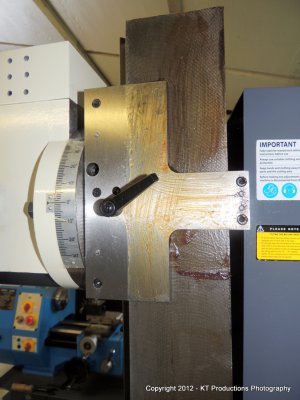
Here is the table:
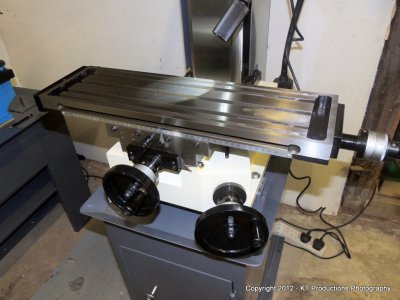
Nice machining and nowhere near as raw as the SX2 equivalent.
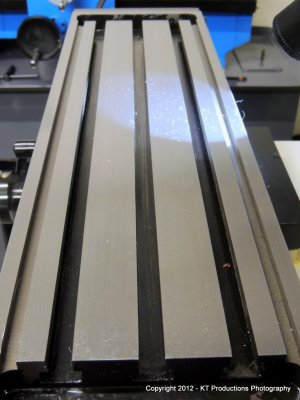
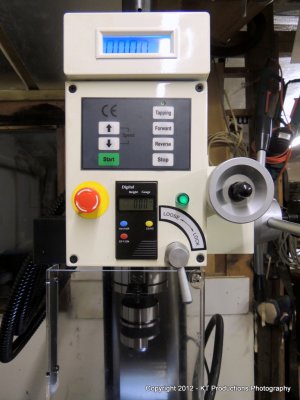
The controls are well laid out..just a pity they didn't use the infinitely variable controller for the speed...
The ARC TRADING dismantling/cleaning/lubrication guide was a real help....there is so much hidden shipping grease....
ALFIE (the New Alfie Workshop Dog) and I had a real laugh trying to figure out how to even start....
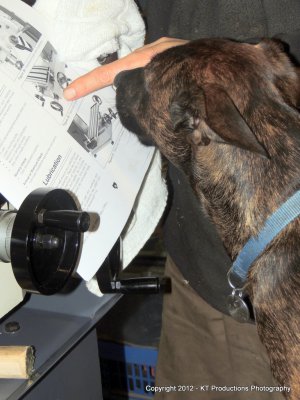
Note how we are using the "GRIZZLY" manual...it is fantastic and way better than the Chinese translation which came with the machine...which is not worth the paper it's written on!

ALFIE could even understand it and helped out cleaning the bed....
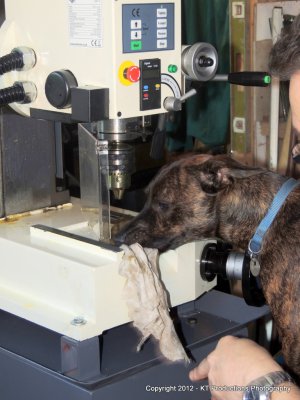
...until he realised that he didn't like the taste of the grease....
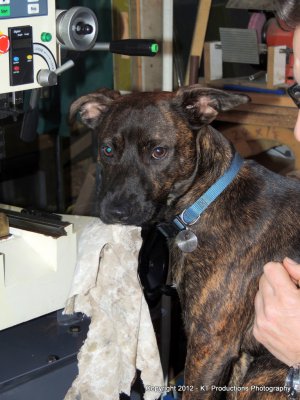
...not exactly his idea of the Chinese Take-away I had promised him!!!
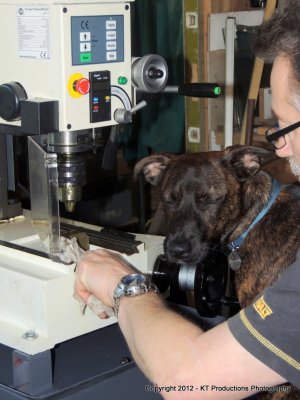
So I had to finish it off....
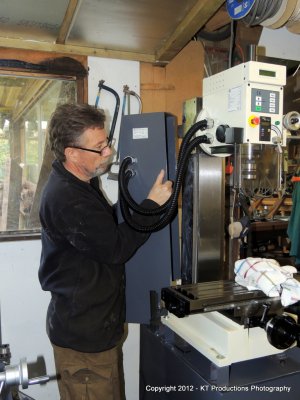
I removed the back electronics box as one unit and placed it on a ladder, cleaned all the evil red stuff off and replaced it with quality white grease...
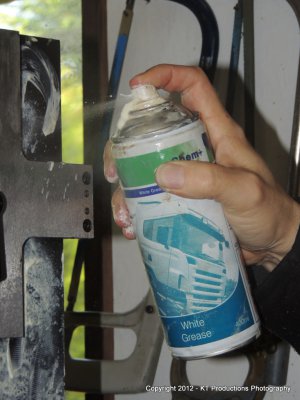
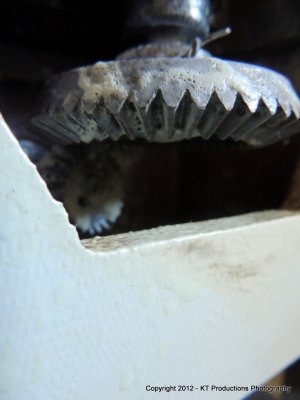
I was particularly careful to completely clean the Z Axis lead-screw and drive gears...
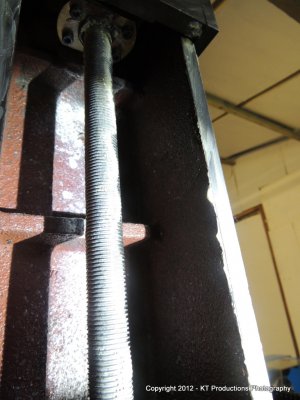
So after all the preparation (avoiding the spindle disassembly for now)....I was ready to start making some swarf....on an infill plane lever cap casting I needed to finish (after waiting for ages!)....
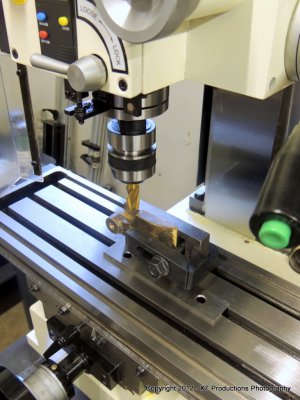
Now at this point I would like to state clearly that this is the first time I have used a mill in anger....so if I am doing something wrong in its use...PLEASE pipe up and give me some stick...and advise me otherwise! Above we see the casting clamped to an angle plate which is bolted down tightly and the piece is held with a clamp...shimmed up to clear the angle plate by a parallel on its side.
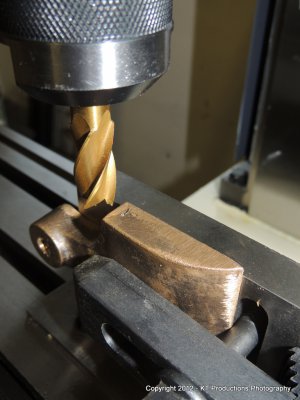
As you can see...the casting is a bit raw...and undulating so the top will need to be brought below the lowest point on the mill...but the sides are nicely square and parallel!
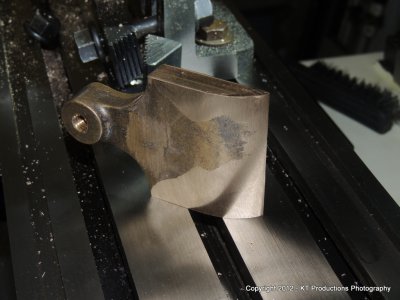
Once the sides were squared off they sit in the vise safely....
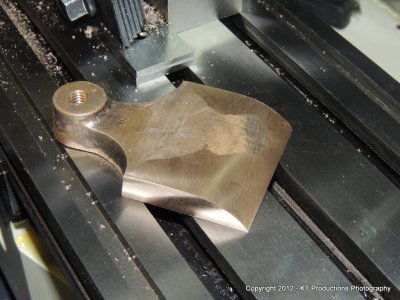
The disc sander took me to the point where I could see the pits to be cleared....
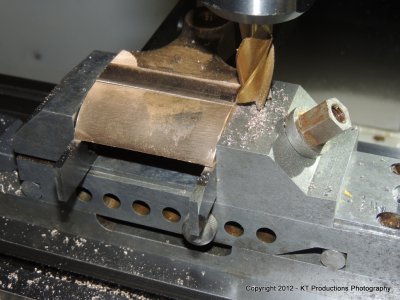
I won't bore you with each pass....suffice to say...it did what I wanted it to!
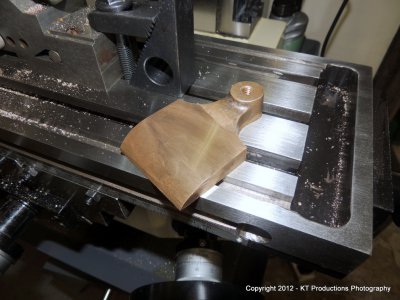
I can finish the easy bits now by hand...though I am tempted to fit the rotary table to do the round and perhaps make a "very different" lever cap screw....I'm bored with the knurled ones!
So...was it worth all the effort in selecting the X3 Super Tilt over the X2....hell YES!
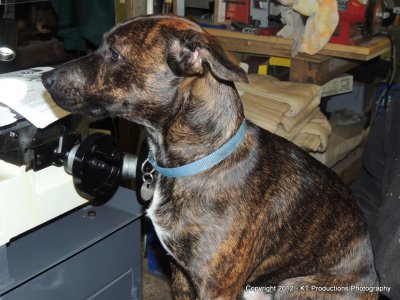
Even ALFIE thinks so!
I have no doubt that I will be posting excited project pictures here....hope it helps both me and others!
Cheers guys and gals.
Jimi


Ok it was a a great machine...especially the speed control, lack of noise and size...you can pick it up and put it somewhere else...BUT..I couldn't handle the Z-Axis problem and even after the supplier modified one for me to an air ram system...it was poorly done and I decided the bite the bullet and get the big brother.

In the UK there is no real choice for a machine which is in between the SX2 and the X3 ST....and the difference is astounding...the SX2 weighing 65kg and the X3 weighs 165kg so this was a big leap. I have a workshop up a narrow path between an ironstone wall and the house...which is less than a metre wide....so I was pretty sure this was not going to fit.
But as you see...it did! We had to take the X/Y table assembly off of the bed entirely...easy! But it was a tight squeeze.
Am I pleased I upgraded....? Absolutely! The X3ST is a different animal entirely. The things I noticed...
1) Much much more solid
2) No problems with the Z-Axis
3) Quality of parts...especially the X/Y table is much higher...particularly the machining and tolerances. Had I not stripped everything to remove the transit grease anyway, I would not have had to adjust anything to mill something. It was well set up!
4) The table size and thus the versatility of the mill is way greater. A completely different league.
5) The Z "digital readout" is a great help.
Things I don't see as improvements...
1) The speed control and range is something I preferred on the SX2. The variable speed control is far more controllable than the step switches....
2) I would have expected cheap DRO gauges on each axis for this price
3) The Z height wheel is a pain...but conversely more accurate...I think I see a counterweight modification coming on!
So the pictures...
Here is the table:

Nice machining and nowhere near as raw as the SX2 equivalent.

The controls are well laid out..just a pity they didn't use the infinitely variable controller for the speed...

The ARC TRADING dismantling/cleaning/lubrication guide was a real help....there is so much hidden shipping grease....

ALFIE (the New Alfie Workshop Dog) and I had a real laugh trying to figure out how to even start....

Note how we are using the "GRIZZLY" manual...it is fantastic and way better than the Chinese translation which came with the machine...which is not worth the paper it's written on!
ALFIE could even understand it and helped out cleaning the bed....

...until he realised that he didn't like the taste of the grease....

...not exactly his idea of the Chinese Take-away I had promised him!!!

So I had to finish it off....

I removed the back electronics box as one unit and placed it on a ladder, cleaned all the evil red stuff off and replaced it with quality white grease...

I was particularly careful to completely clean the Z Axis lead-screw and drive gears...


So after all the preparation (avoiding the spindle disassembly for now)....I was ready to start making some swarf....on an infill plane lever cap casting I needed to finish (after waiting for ages!)....

Now at this point I would like to state clearly that this is the first time I have used a mill in anger....so if I am doing something wrong in its use...PLEASE pipe up and give me some stick...and advise me otherwise! Above we see the casting clamped to an angle plate which is bolted down tightly and the piece is held with a clamp...shimmed up to clear the angle plate by a parallel on its side.

As you can see...the casting is a bit raw...and undulating so the top will need to be brought below the lowest point on the mill...but the sides are nicely square and parallel!

Once the sides were squared off they sit in the vise safely....

The disc sander took me to the point where I could see the pits to be cleared....

I won't bore you with each pass....suffice to say...it did what I wanted it to!

I can finish the easy bits now by hand...though I am tempted to fit the rotary table to do the round and perhaps make a "very different" lever cap screw....I'm bored with the knurled ones!
So...was it worth all the effort in selecting the X3 Super Tilt over the X2....hell YES!
Even ALFIE thinks so!

I have no doubt that I will be posting excited project pictures here....hope it helps both me and others!
Cheers guys and gals.
Jimi


Last edited by a moderator:

