The Bear Is Home!

planeflyer21

Registered
Registered
Joined
Jun 12, 2014
Messages
401
I'd really been wanting a 12x36 and had planned on the G4003. Wasn't too interested in the "G" model. After joining here I was seeing the alure of the PM1236. Last year was slow with plenty of unexpected expenditures, so the saving never seemed to materialize.

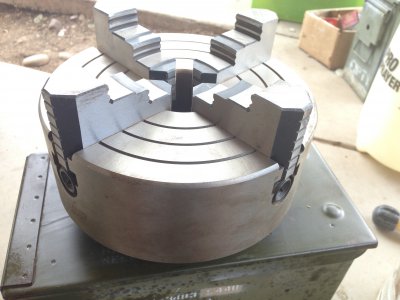
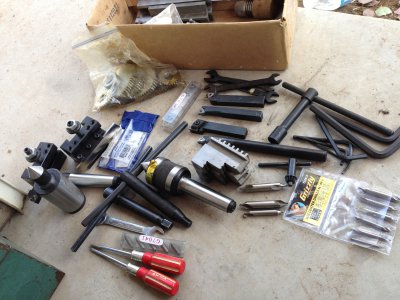
Despite all that, Craigslist was checked regularly and religiously. One day this G4003 popped up. The ad read "No lowballers! I know what I have here and I don't need to sell it, so I'll keep it if I don't get what I'm asking." $2400 with stand and extras. Called him up, he said he'd take payments if he got what he was asking. Went to look. He advertised it as "Less than 40 hours total." If there were 5 hours on it I'd be surprised! Plus he had some extra tooling (who hasn't gotten carried away in the catalog?).

A handshake was exchanged, and I picked up The Bear a couple of weeks ago! Then we got totally SLAMMED with students wanting training, so there it sits.

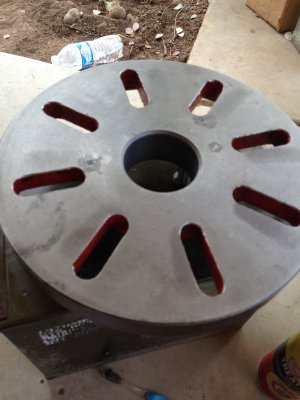
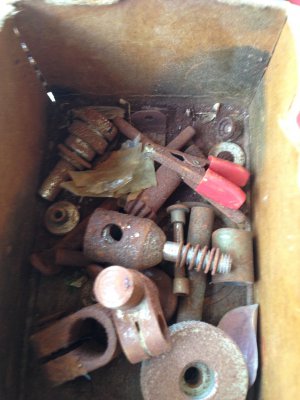
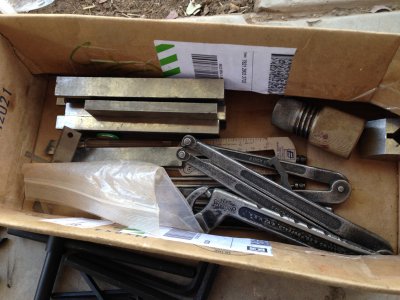
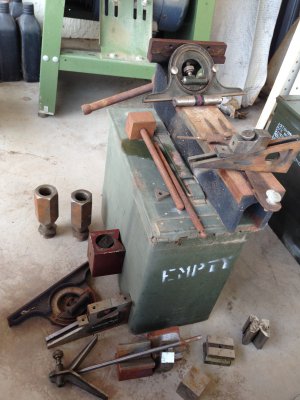
When I picked it up, the seller threw in a full tool box of accessories and a cardboard box of rusty items. "If you can make them work, good for you! If not throw them away. I don't want them." Among the extras, some Starrett gauges, Lufkin V-blocks, various gauge holders, pin wrenches/spanners. Wow!

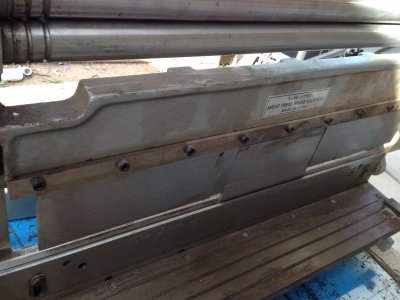
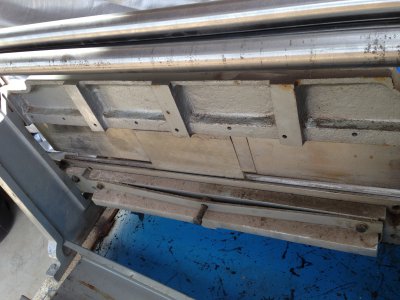
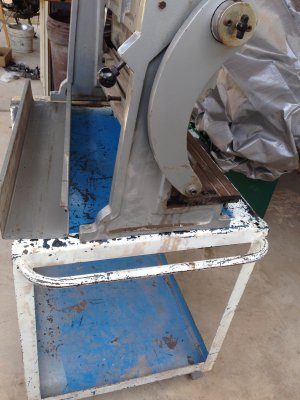
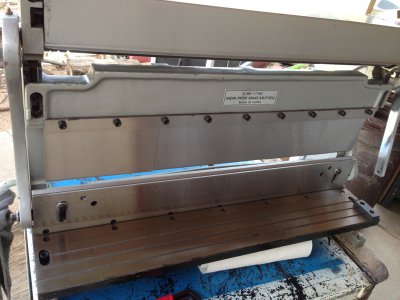
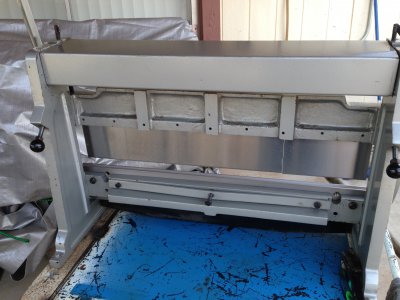
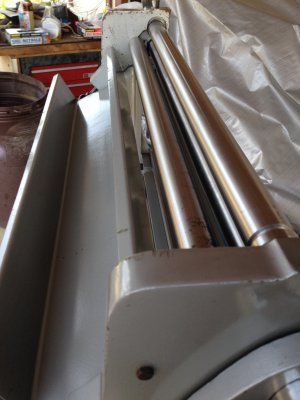
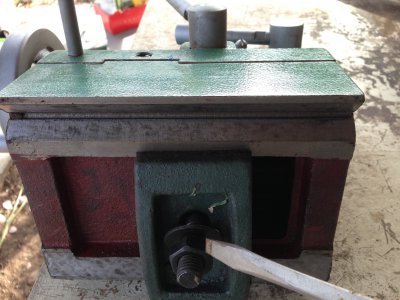
Also while picking up The Bear, he stated he was getting rid of his 3-in-1 brake/shear/slip-roll for sheet metal. We have been planning on getting one, just not this soon. For $200 I couldn't pass it up!

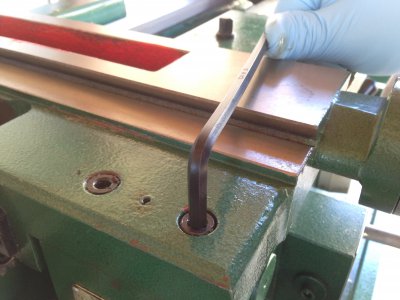
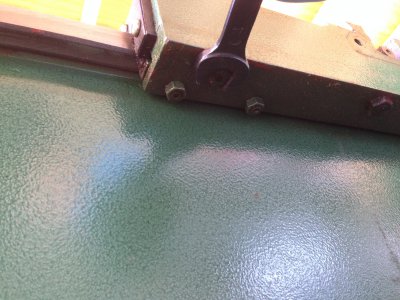
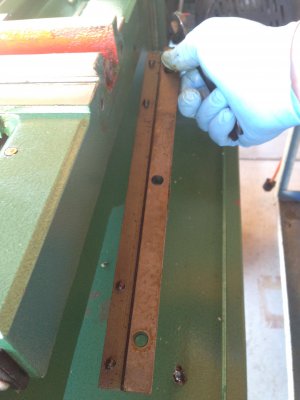
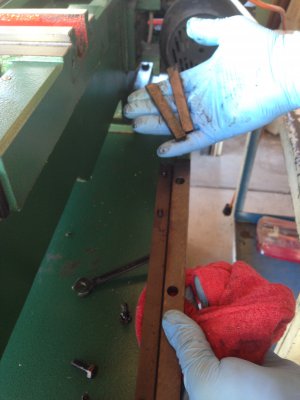
Spent Saturday afternoon and this (Monday) morning cleaning up the 3-in-1. It looks much better! It was still covered in Chinese packing grease. While the externals of The Bear are clean, I'm certain I want to take it all apart and thoroughly clean it as well. That will start tomorrow!
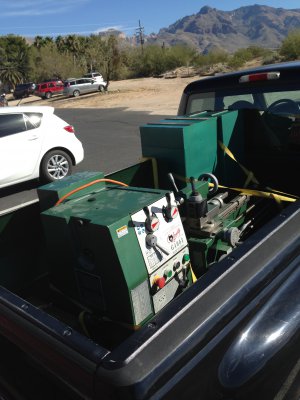
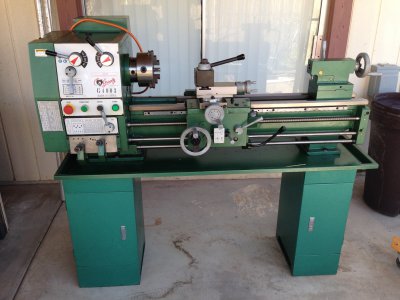
beartruck.jpg bearhome.jpg bear4J.jpg bearFP.jpg beartools.jpg bearxtra1.jpg bearxtra2.jpg bearxtra3.jpg tresenuno1.jpg tresenuno2.jpg tresenuno3.jpg tresenuno4.jpg tresenuno5.jpg tresenuno6.jpg
 
Last edited:
Holy crow! awesome purchase! Looks like showroom from here.
... And $200 for a 3in1 brake shear??!
 
The vicarious thrill of new finds, and resultant extras really does make this forum a wonderful place. Well done, and reported.
 
That is quit the collection. Some adjustable Pin Spanners, Collet and V blocks, new 4 jaw, new Face plate, insert turning tools, new center drills.
Then throw in the Brake/Shear/Slip roll and you have just about all you'll need except a mill.
That is a great buy. You came out real good with that find.
I wish I could find a Brake/Shear/Slip roll that cheap.
 
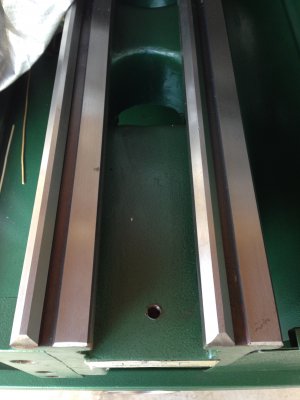
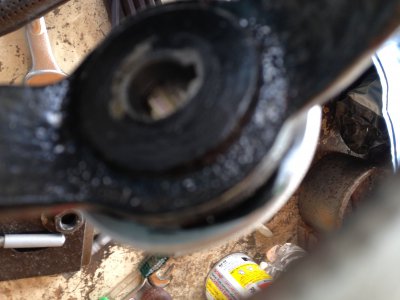
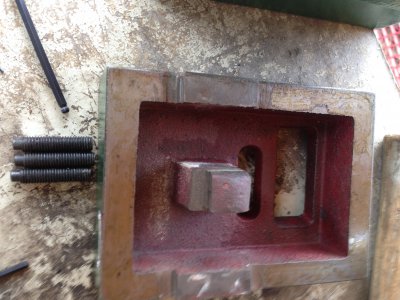
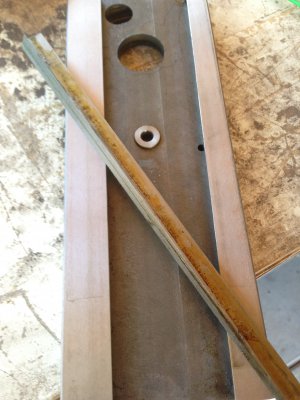
Got into the tailstock today. Removed it off the bed, so I could take it apart on the bench. The bed looks good!

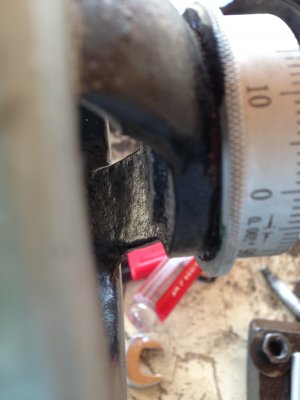
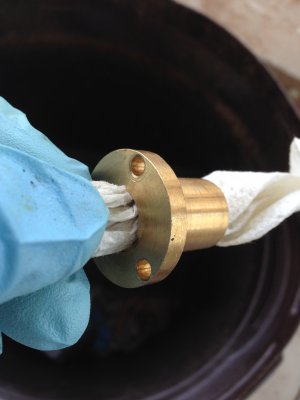
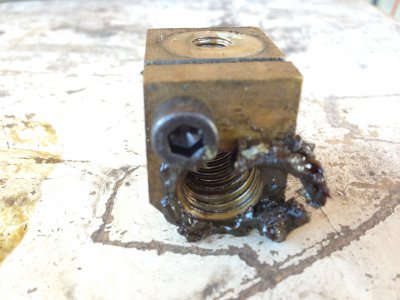
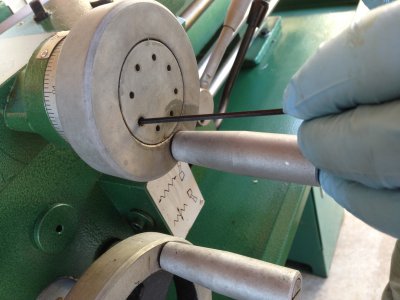
As has been mentioned before, Grizzly is very generous with the epoxy paint. So much so that the index ring was glued to the handwheel. Paint was also between the base and quill housing. Excess pain was removed with a utility knife blade.

A big praise, while the entire assembly was dirty, it was not bathed in the generous amounts of gritty iron dust that so many Chinese machines seem to come with.

Next will be the cross slide and saddle, possibly the apron.

TS1.jpg TS2.jpg TSBed.jpg TSClampnut.jpg TSHandwheelpaint.jpg TSDial.jpg TSQuillnut.jpg TSBase.jpg TSQuillhousing.jpg
 
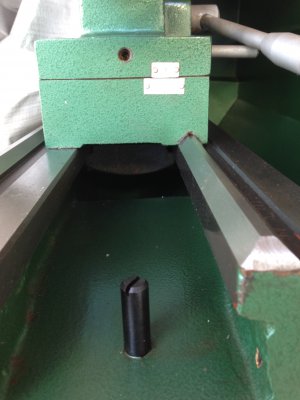
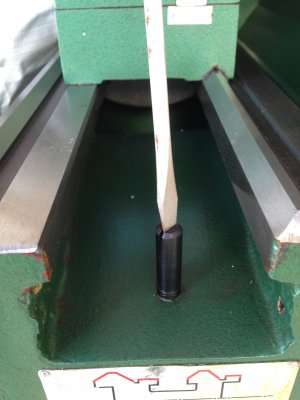
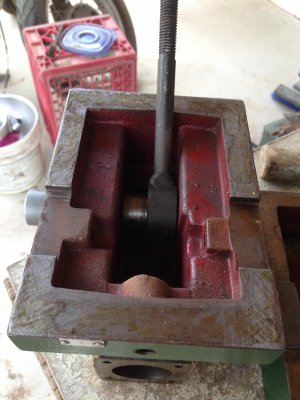
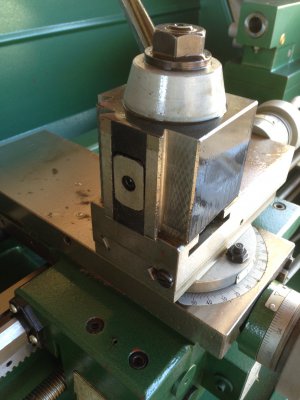
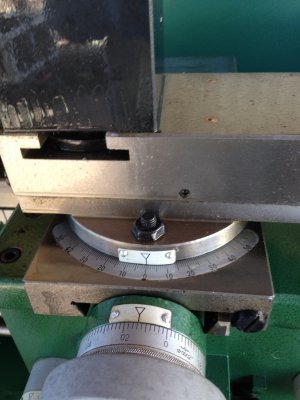
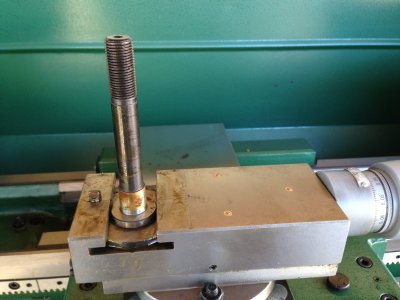
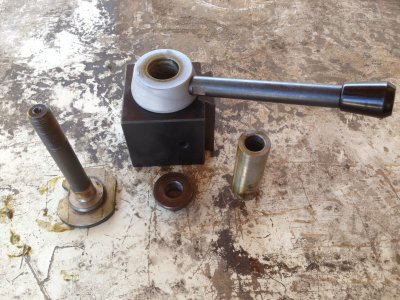
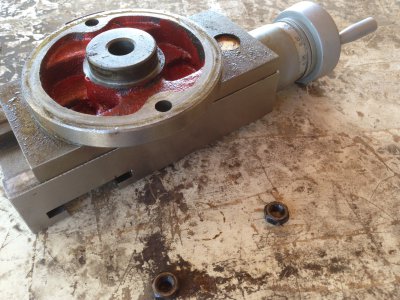
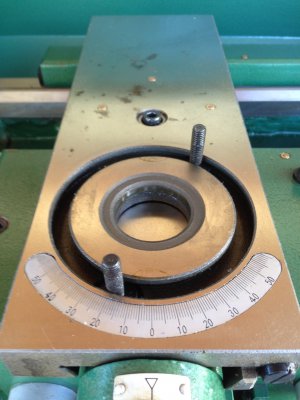
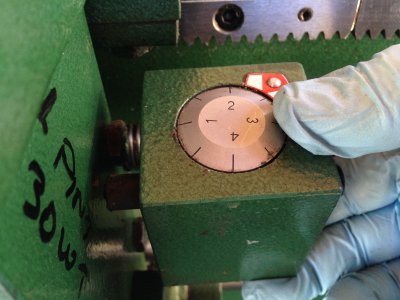
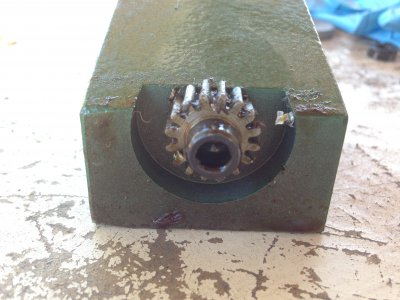
Spent all day yesterday pulling off the cross slide, saddle, and apron, cleaning them of gunk and China grease, then putting the apron and saddle back on. Still need to clean the cross slide, compound, and QCTP. Also removed the cover for and cleaned the selectors for the quick-change gearbox. Amazing how much easier it works now!

Being focused on the cross slide initially, I failed to notice there should be a definite Order of Operations for removing the saddle and apron! More on that once I get the photos sorted (my assistant took so many the battery ran down).

As with the tailstock, the factory was very generous with the epoxy paint. It was also dirty and the grease was the tan-ish chunky stuff.

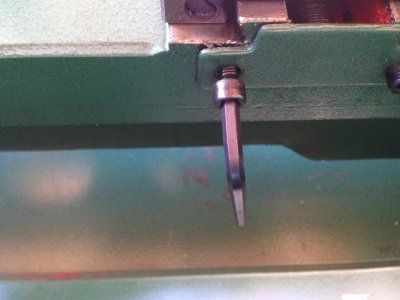
On a footnote, the bed wipers are absolutely awesome! When remounting the saddle, I thought that the retaining plates or gibs were wrong somehow. Nope. Turns out that the extra thick (compared to past machines) rubber wipers expand greatly when tightened, creating a binding force against the bed ways. I had to loosen the wiper retaining plates 3 or 4 times to achieve a smooth traversing back and forth.
 
Going to put up the photos my assistant took the other day. We ended up removing the compound, cross slide, saddle, and apron. The saddle wasn't really on my list but once I got started I wanted to keep going.

As mentioned above, it is best to follow a proper Order of Operations if they apron and saddle are going to be removed. The cross slide really has no tricks to it being removed.

Lathe Order Of Saddle & Apron Removal:

1: Remove the lead screw & feed rod coupling cover plate.

2: Drive out the roll pins connecting the lead screw and feed screw (and forward/reverse rod roll pin) to the quick change gear box.

3: Now you may remove the bracket at the tailstock end, which holds the lead screw and feed rod in place. (due to epoxy paint, this may require a bit of encouragement from a rubber hammer or mallet)

3b: There is a small stop pin in the bracket to control the movement of the forward/reverse rod. Mine was a little loose. Keep track of it!

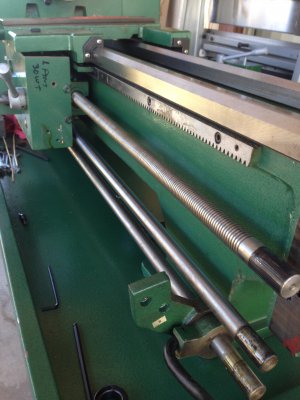
4: Remove the bracket from the ends of the rod and screw. The lead screw and feed rod may be removed from the Apron towards the tailstock end. CAUTION-carefully withdraw the lead screw, maintaining control to keep it clear from dragging on the half nut!

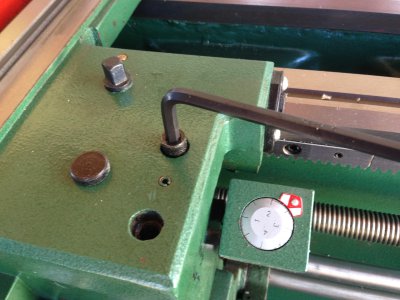
5: The G4003 has the worm and worm housing (which drives the Apron gear box from the feed rod) attached to the bottom of the Apron. It is easier to remove from the Apron while the Apron is still attached to the Saddle. This will allow the Apron to sit flat on your bench or table. It is retained by two 14mm bolts on this G4003.

6: The Apron may now be removed without interference from other parts. It is retained by 4 socket screws, one on each corner of the Apron housing. IT IS HEAVY! Place a support underneath to hold its weight while you remove the mounting screws!

7: The Saddle now has the ability to be removed. The rear is retained by one large rectangular bar and two gibs, and is held by four 14mm bolts. The front is retained by two small bars, each having two 14mm bolts. The front bar to the tailstock side of the Saddle has two through-holes and one threaded hole, the threaded hole being for the carriage lock screw.

8: Lift the Saddle off the bed.

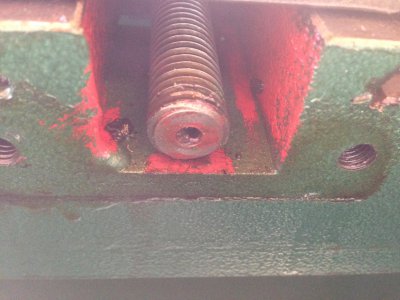
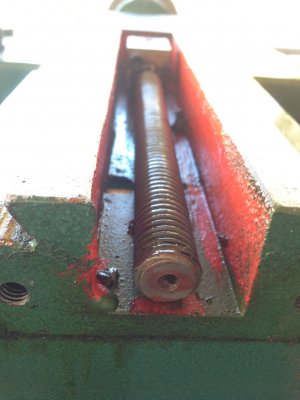
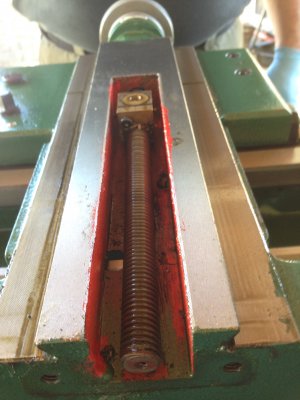
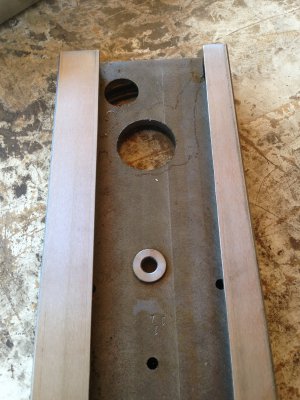
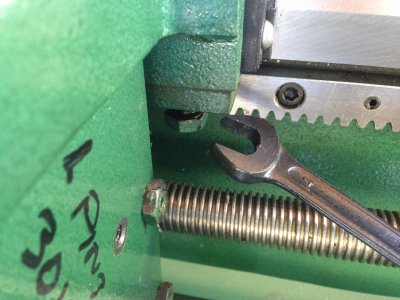
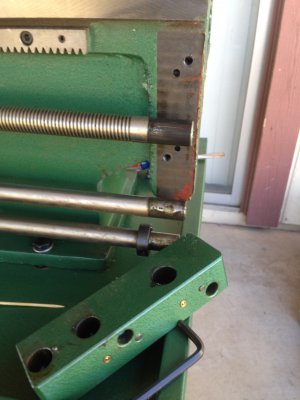
All the photos from this process are pre-cleaning and, as you can see, we failed to follow this order of disassembly. That alone probably added an hour to the entire process.

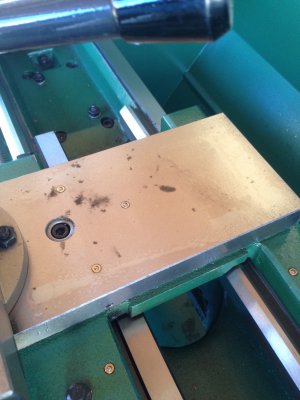
Unlike the tailstock mating surfaces, all the movement surfaces on the Saddle, Cross Slide, and Compound seem to be fit pretty well. As you can see, there is no wear. The previous owners did little more than turn it on and watch it run. I can count the number of chips on my fingers and toes, still having a couple for nose clearance operations.

IMG_1458.jpg IMG_1459.jpg IMG_1460.jpg IMG_1466.JPG IMG_1467.JPG IMG_1470.JPG IMG_1472.jpg IMG_1473.JPG IMG_1475.JPG IMG_1476.jpg IMG_1477.jpg IMG_1479.jpg IMG_1480.jpg
 
Back
Top