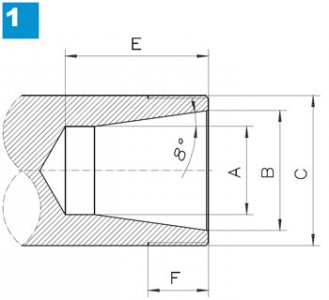
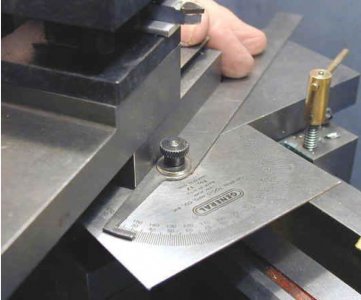
If you want an 8º taper,you'd better set your compound at FOUR DEGREES. And,with any cheap(or even expensive) lathe,I advise setting the compound at 90º(parallel to the bed),and running the carriage back and forth with an indicator against the side of the compound. This will tell you if the witness mark is properly situated. I often have had to file off the factory witness mark on swivel base machinist's vises,and re mark them after checking with an indicator. I even did this with my 6" KURT milling vise. Not cheap!!
Then,you have only the problem of IF the graduations are accurate,and concentric with the center of rotation of the compound. Also,I HATE those FAT,etched markings. They should be very thin for accurate settings,like on real high quality machines.
An accurate way to accurately set an angle is to clamp a long travel indicator to the bed,by which you can accurately tell when you have moved the carriage a given distance,say,2". Then,you also have a second indicator with sufficient travel mounted 90 degrees to the bed,and its plunger bearing on the compound,which is set to the desired angle. Then,you can tell the length of both sides of a 90º triangle formed by the bed and cross movement. You can tell the angle of the hypotenuse with trig.,which the angled side of the compound forms.
By the way,ALL this assumes your modern lathe has a compound that is made rectangular and ground(not belt sanded) parallel to the dovetails it slides on. Asian machines might or might NOT be actually ground accurate to the dovetails. You need to check this out,too. Take the top casting of the compound off the swivel base. Turn the compound over. Put a dowel rod against one end of the FEMALE dovetail. Measure the distance to the outside of the compound. Set the dowel against the other end of the dovetail,and measure that distance. If they are the same,you may accurately use the side of the compound as a datum surface for setting angles as described above. Use an accurate micrometer to do this,preferably one that can measure to .0001". If not accurate,mill the side of the compound that you will be using to set angles with.
You also hope that your inexpensive lathe's headstock is a true 90º to the bed. On larger Asian lathes,like 10" swing and up,the headstock is bolted to a surface ground flat area,not to the V ways,and can be swiveled. Generally,if the lathe will BOTH face its surface plate FLAT,and turn a true cylinder, without it being attached to the tailstock,it is good. Many lathes are set to face things slightly hollow,because it is good for turning flanges. This is normal. I am lucky. I adjusted my 16" Grizzly,and it is dead true. Other lathes I had always faced about 1 1/2 thou. hollow over 10",and that is within gov't. specs.
Didn't your mother ever tell you that making stuff was a pain!!


