Surface Plate: Objective Standards?

I made my statement from a Metrologist viewpoint. It's probably far beyond the real requirements for machine scraping, but if you are buying a surface place for use as an inspection tool, you should know what you are getting. All I was really saying is that the average guy can't calibrate a surface plate. I can't, that's for sure. But I do know how it's done, and have had it done many, many times.

http://www.hudler.org/pub/HP/02-5952-0820 - App Note 156-2 - Calibration of a Surface Plate.pdf

Great article. Actually makes sense to me!
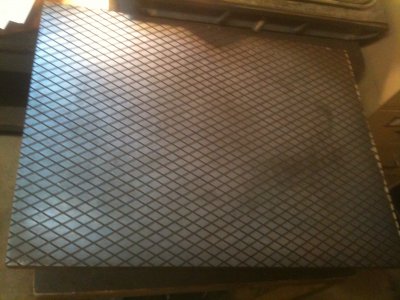
Measured my plate: 16x22 was $10 at the garage sale. To me the surface plate seems to be in good shape except for the visible wear marks.
The lapping plate is 18x24. I was working in the shop late one night last winter when there was a knock on the garage door. Guy said they were throwing it out at work, he heard I was into old and outdated stuff. Did I want it? He couldn't see it going for scrap. The lap plate looks nearly unused to my untrained eye.

I have so much to learn!
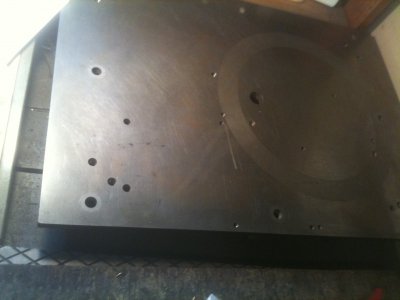
IMG_0744.JPG IMG_0745.JPG
 
Daryl,

The one plate looks like a cast iron surface plate that someone used as a bolster plate on a dril press or Mill. I would plug the holes with cast iron plugs. I know your taking a welding class, but I would never weld them up, many risks involved with welding. The other is a lapping plate.
Usually a shop has 3 of them so you can flatten them up rubbing 3 together when one gets worn.

I have been thinking about your question about checking a plate. I told you about how to "Map" the surface as I have for years done this to find a good surface on a plate that I can use to check parts while scraping inside a factory. The first thing I do is look for the tag on the plate to see whene it was certified and what the spec is. Now-a-days the company that inspects and laps the plate will give the customer a "map" of the plate showing in millionths how flat the plate is. As Tony points out the Metrology lab needs this. But as a machine shop owner who needs to know where his granite plate is worn and can't afford to fly in a expert there is a simple and effective method.

I lay out a Map of paralell lines on the plate usually 6" apart from left to right and front to back and diagonally corner to corner. I use a straight-edge or a yardstick to lay out the map, usually with a lead pencil lines on the plate. Then set a precision level on the lines and slide it along them, stopping every 6" and taking a reading. I also have a graph paper ready and have the lines on it as they are on the plate and record the readings. I think in tenths and will write + 1 meaning plus .0001" . or - 2, meaning minus or lower .0002". You should set the level down facing the same way as some levels are not calibrated. It is easy to see if the level is correct. Set it on a level part and flip it 180 degrees and see if it repeats.

I feel you can find the accuracy this way 99% of the time that a machinist or rebuilder needs.

Rich
 
Back
Top