- Joined
- Feb 13, 2023
- Messages
- 62
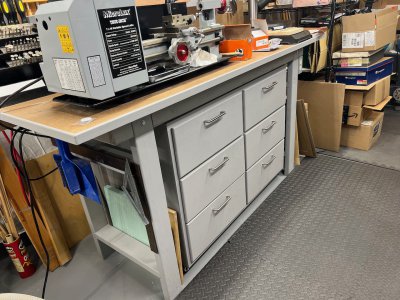
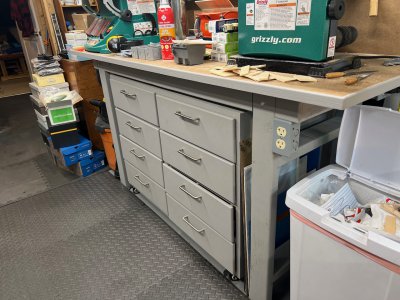
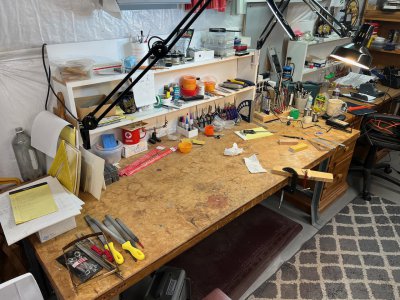
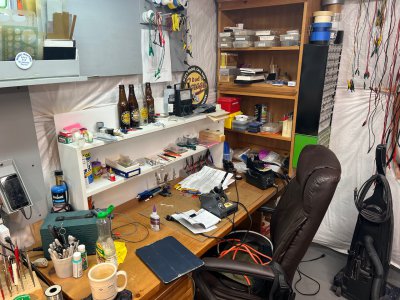
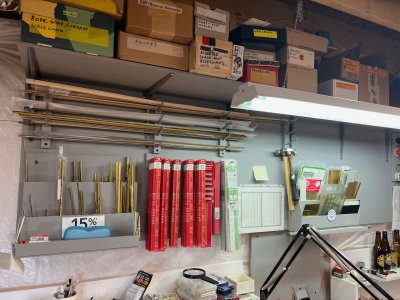
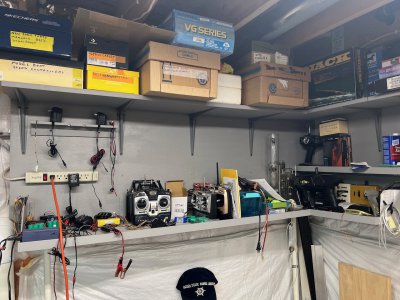
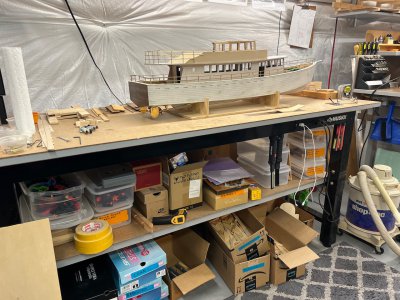
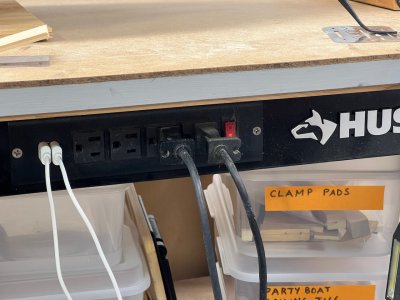
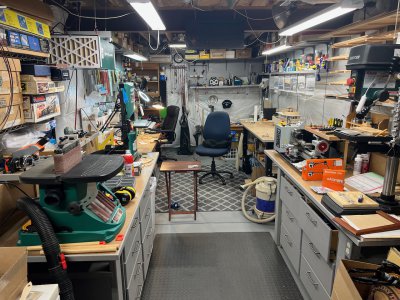
Thought I would show off my basement shop. It's about 11 feet wide by about 20 feet long with an 8 foot ceiling. Unfortunately no windows for ventilation. My desktop type power tools are mostly Grizzly except for the lathe which is Mirco-Mark (MicroLux). My shop is mostly to support my hobby which is scratch building scale radio control model boats and submarines. I'll show off my models in another section of this forum.
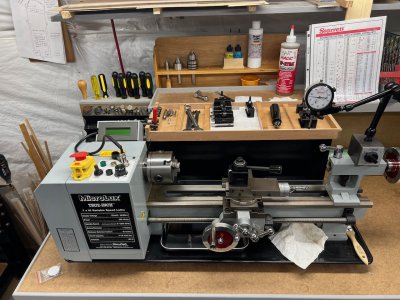
I'll start with my lathe. Being more a woodworker, I made a wood 'mount' for the tach I bought from LMS. I made a tray that holds most of the tooling that hangs off of the rear shield. And also a shelf at the back that holds my live and dead centers. There's room for more there as I add to it.
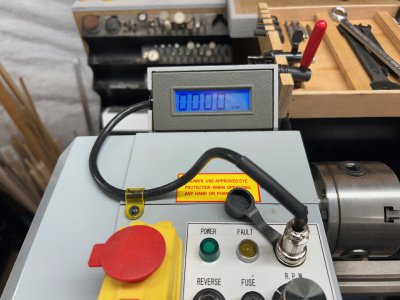
Here's the tach. It came with magnets on the bottom to attach to whatever. I had to have it mounted nicely so as to have a clear area above the spindle. Possibly mounting the Noga/DI there.
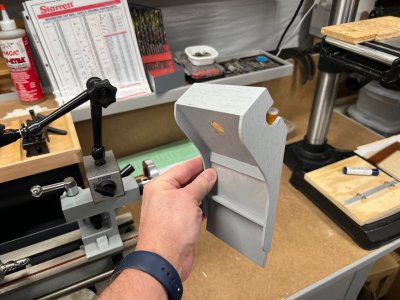
The holder was made from 1/8 luan. It stay attached to the back of the motor housing with a magnet removed from an old 5-1/4 20Mb hard drive from an old PC. The magnet goes where my thumb is.
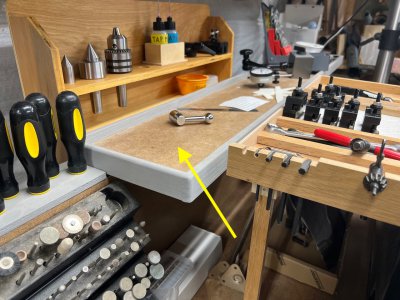
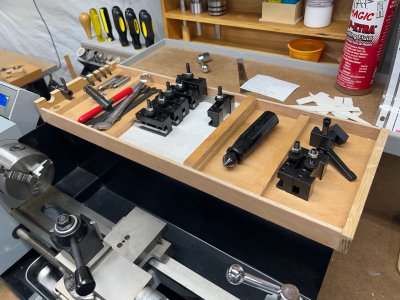
The tool tray is wood from discarded dresser drawers. I scrounge those from the curb. The dividers are a friction fit so I can move them around.
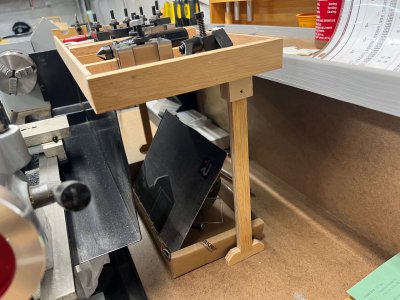
To hold up the back I have these removable legs.
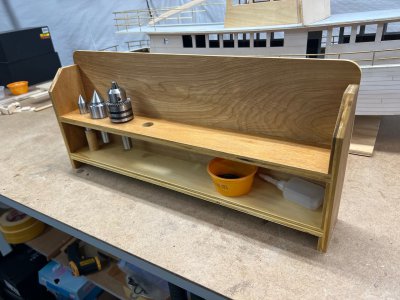
The holder for the centers, and other things. also made from discarded drawer wood. It is removable.
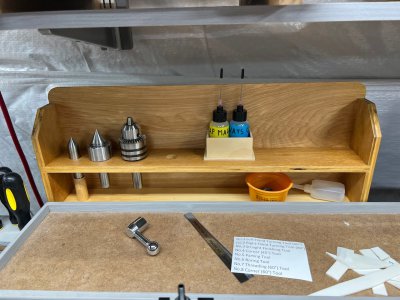
And free standing.
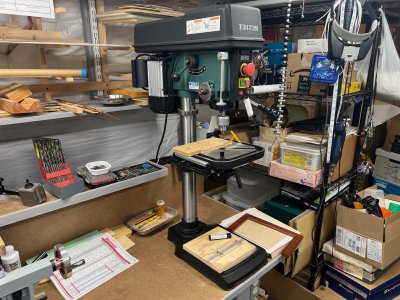
The drill press. This replaced a smaller one I had. When this one arrived, it was much bigger than I expected. Works out well for me.
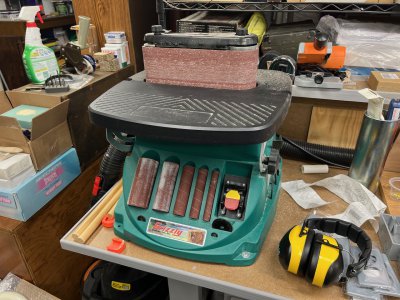
My oscillating sander. I get much use out of this one.
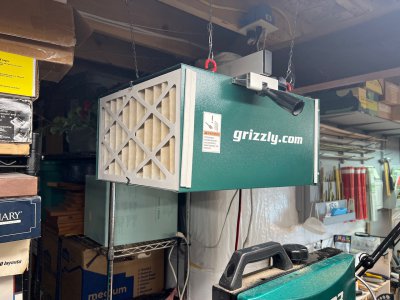
With all of the saw dust generated have an air filter. I also have a desktop air filter when I'm sanding on the workbench.
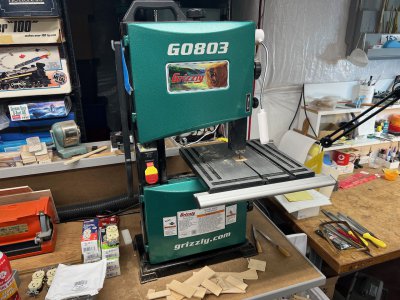
And the band saw, also gets a lot of use.
That's all I have time for now. More to come.

I'll start with my lathe. Being more a woodworker, I made a wood 'mount' for the tach I bought from LMS. I made a tray that holds most of the tooling that hangs off of the rear shield. And also a shelf at the back that holds my live and dead centers. There's room for more there as I add to it.

Here's the tach. It came with magnets on the bottom to attach to whatever. I had to have it mounted nicely so as to have a clear area above the spindle. Possibly mounting the Noga/DI there.

The holder was made from 1/8 luan. It stay attached to the back of the motor housing with a magnet removed from an old 5-1/4 20Mb hard drive from an old PC. The magnet goes where my thumb is.

The tool tray is wood from discarded dresser drawers. I scrounge those from the curb. The dividers are a friction fit so I can move them around.

To hold up the back I have these removable legs.

The holder for the centers, and other things. also made from discarded drawer wood. It is removable.

And free standing.

The drill press. This replaced a smaller one I had. When this one arrived, it was much bigger than I expected. Works out well for me.

My oscillating sander. I get much use out of this one.

With all of the saw dust generated have an air filter. I also have a desktop air filter when I'm sanding on the workbench.

And the band saw, also gets a lot of use.

That's all I have time for now. More to come.


