Sb Fourteen Project???

I make a little progress at a snails pace.
I see steady, constant progress!
I wish some of my current projects could move ahead so fast.
Thanks for sharing it.
-brino
 
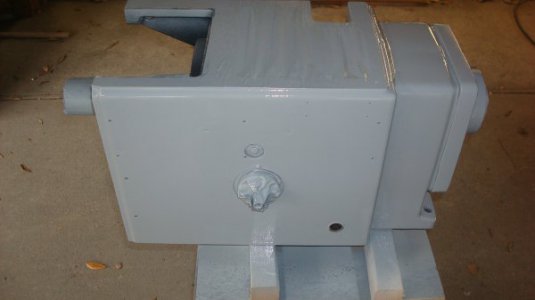
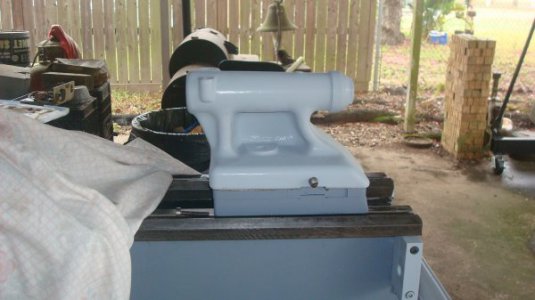
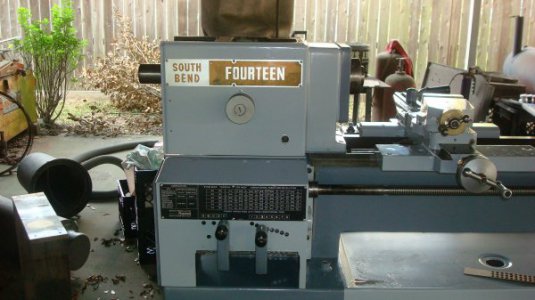
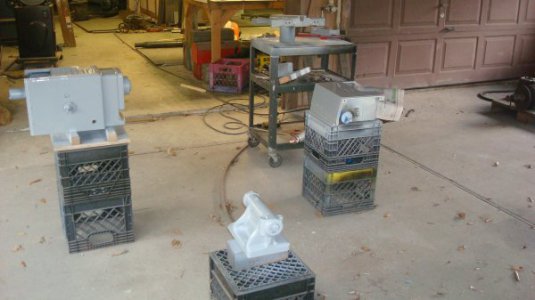
Guys,after spraying the primer then doing alittle sanding I had to apply yet some more body filler on places that my eyes had miss.Yep they are minor spots which I could have just pass them up and let it go but I'm in no hurry so taking my time.Its the weekend and the parts have been hanging for sometime so they are ready for the finish coat of paint which is the lighter shade of gray.Looking at the previous pics of the headstock which was painted a darker gray it just did not stand out so I pulled it and sand it down then spray it the lighter gray.I think now it will kinda stand out once I get the door cover and back panel on but not so much that its in your face moment.Looking at the pic of the tailstock it appears that its a different color but its not,its the same color just kinda in the sun alittle.Its cold outside so going to take Sunday off and just let paint do alittle more curing.Thanks for looking----krollDSC03266.JPG

DSC03265.JPG
 
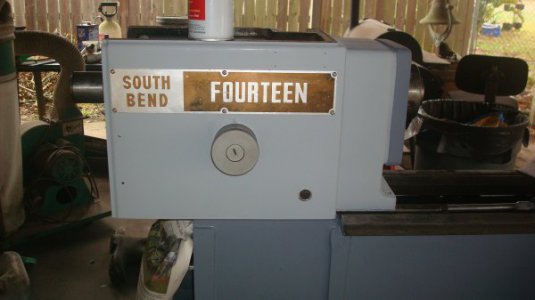
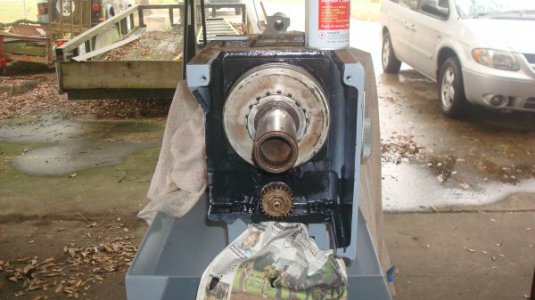
Morning guys,well the last few afternoon been working on putting the lathe back together but hit a snag.During the painting process I use the blue masking tape to protect those areas that did not want paint on but I took so long to finish up the paint that blue tape change over to that gorilla tape.Dang it was tough getting it off so had to use a razor blade to help.Then little thinner to clean those areas again,which all this added another afternoon of work.Anyway I did get the head on and adjusted the bearings to where it kinda feels right.I would turn the spindle by hand for alittle then check for play then repeat the process.You know this is the first lathe that has an oil pump which is kinda neat,so guessing when its running via motor it shoots out a stream of oil on bearning.I also finish painting the tail stock so I just seat it on the bed to get it off the work bench,I still need to install the ram and such then it will be finish except doing the alignment.The hand wheel that is going to be a project in itself,the rim of the handwheel I was thinking of polishing to a shine and paint the spokes or paint the whole hand wheel,I don't know yet.I did clean up the badge best I could but there is some kind of paint on it which can't get off.Another thing I like about this lathe is all the badges are on using screws and not those dang drive rivits,so I use those stainless steel button cap screws which I use those types on all my projects.Guys its taking me more time than if I just put it all back together and shoot one color paint but I like the two tone paint job cause it just adds alittle custom to the project so time really not an issue.Thanks guys for checking it out----krollDSC03269.JPG

DSC03270.JPG

DSC03271.JPG
 
Hi Kroll,

It's turned out great.
The "South Bend Fourteen" badge looks pretty good from here.
What a transformation from your first pictures to the latest ones!
Nice work.

-brino
 
Good morning guys,well with the help of others I was able to overcome my state of depression on an issue that came out of no where.I haven't made the repairs yet cause I wanted to get as many parts installed and just off the bench.So I am back to being optimistic and I am off this week so I should be able to make alot of progress on the lathe unless I hit another snag.
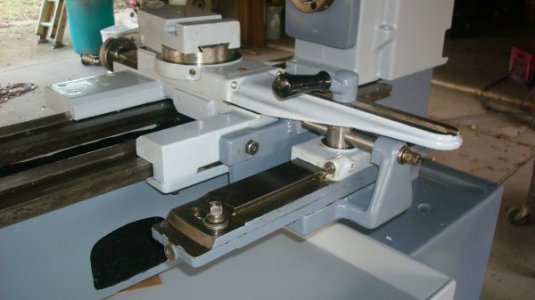
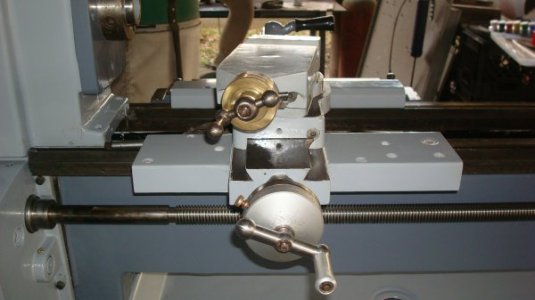
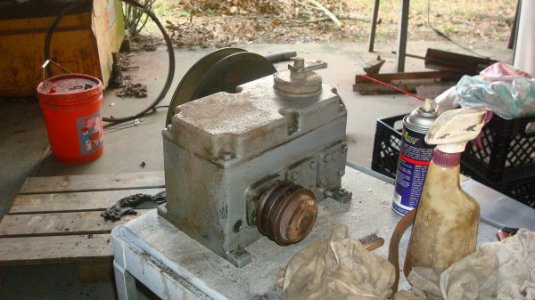
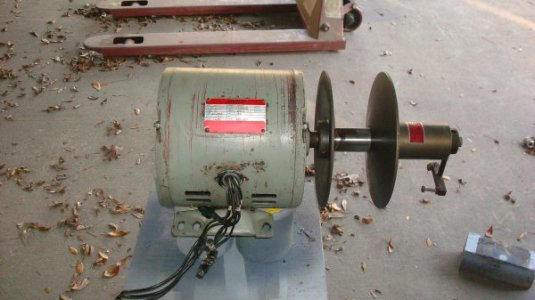
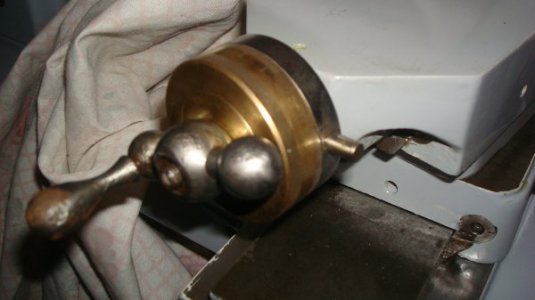
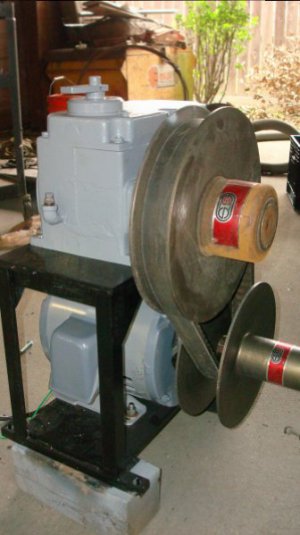
Guys I finish and installed the taper attachment which took alot of work taking it apart and just cleaning it up.As most know a taper attachment just don't get use that much so it just sets and rust up,collect dirt and oil and just get nasty.So I took it apart and set it in me cleaning tank and left it there for acouple of days.After the cleaning tank not wanting to deal with the flash rush I started cleaning some more,using wire wheel grinder to remove the rust.Then with some wet/dry sandpaper and a block just went over the machine surface alittle just to get rid of the little nicks and put a shine on it.So as you can tell this little attachment put a heck of alot of work on me which took maybe a good day or so.I also put the compound slide together and went together pretty good,I think after using it some the taper jibs will have to be adjusted some more.I be dang I don't know it the dial is original to the lathe but started cleaning it up discovered that its made out of brass,is this original?Now as you notice I haven't installed the apron yet,saving it for last and I hope I will be able to slide it down the acme thread rod so that can bolt it to the saddle.The QCGB was in pretty good shape,not teeth missing,guys most of parts in there had a very thick coat of wax guessing to protect from rust.The gears all look good so just sprayed a heavy coat of "Gear Shield Extra Heavy" by Lubriplate which this stuff seems pretty good stuff.Guys I have the motor and trans all cleaned up and ready for some paint,once painted will install both on its stand and try to wrestle it into place.So maybe by the weekend will have all my loose ends done,be able to concentrate on the apron,machine bushing,and start on the dreaded electric.Here afew pics as progress is being made,thanks for lookingDSC03280.JPG DSC03279.JPG

DSC03282.JPG

DSC03281.JPG

DSC03278.JPG
 
Hi Kroll,

I am no expert, but those brass dials look like a former owners upgrade to me.
Did you see a catalog number on this lathe?
If I had that I could go thru some old catalogs and see if I can find an original picture.

-brino
 
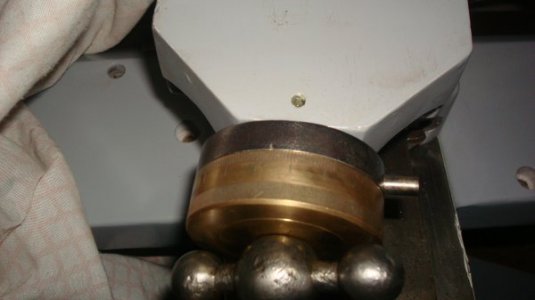
This is about the 3rd SB that I have refurbish,on all the dials were the same with a satin finish.I believe it was added but why would someone replace the original,who knows.I look it over pretty good and I just don't see any type of mistakes,just looks like it was professionally done.Its a two piece,the center slips over the shaft that has two setscrews to tighten to the shaft then the dial itself that slips over the center.The dial has no #'s just the marks which all look perfect.DSC03287.JPG DSC03287.JPG It has some knurling around the outer edge to grip and rotate to adjust then a thumb screw can be tighten.I can only dream of making a dial of this quality,if I could I would make one for my Atlas that I can see better.
DSC03286.JPG
 
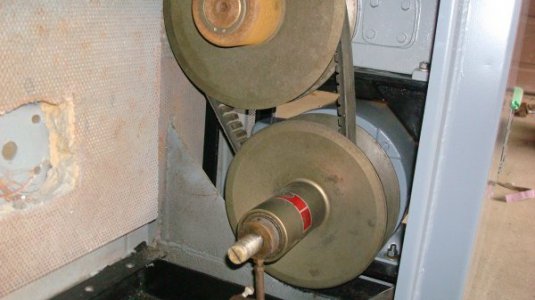
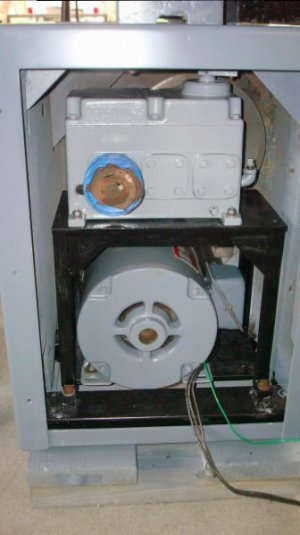
Dang,do I hurt! All the joints in my body,most of all my knees,which is what happens when installing the cradle for the motor and trans. in a very tight spot.Guys spent this morning getting the trans and motor bolted down to the cradle and getting the junction box mounted with a gasket.So after getting all this done I straddle the cradle and lifted it then scooted it into place but could not put it in its resting spot.After looking the top of the transmission was hitting one of the bolts that holds the bed down to the cabinet.So had to pull it all back out and remove that one bolts,then repeat all this again.Up/down,laying on my back,getting the linkage hook up to the trans. What a mess I got myself into,so after all this I started bolting down the cradle to the cabinet.The two bolts on the outside was OK but the other two on the inside I had to get into the cabinet so that I can get those bolts in which only my finger tips could reach.So after couple of hrs I finally finish getting the motor and trans installed to the point that I can say"this part is finish" but everything on me hurts even my finger tips,so I am on break for the rest of the day.Little humor guys ;) thanks for looking
DSC03290.JPG DSC03289.JPG DSC03288.JPG
 
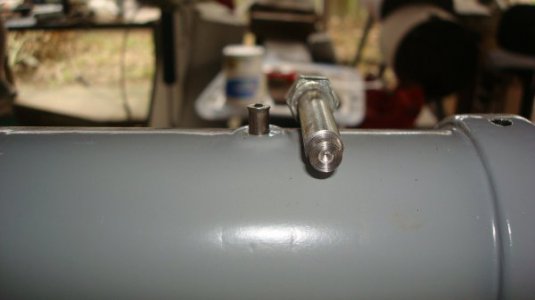
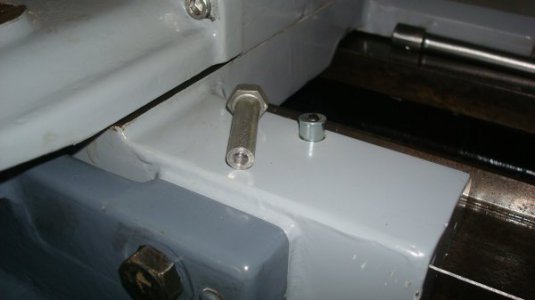
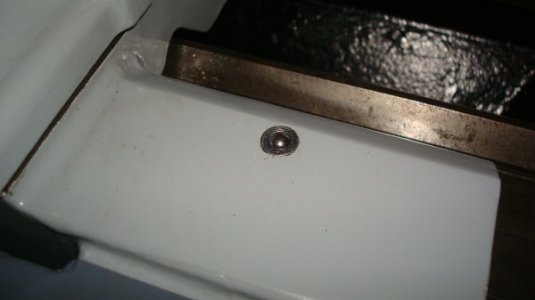
Morning guys,well yesterday afternoon I just did a little cleaning of the shop putting tools away and figuring out what else I have to finish.So not feeling like getting dirty again I though I would install few of the oil hole covers.So how hard can that be,well over all my projects installing them without damage was a struggle for me,till I came across the answer either here or somewhere's else.Yea I know its not big deal till you have to buy several of them then it becomes hard to see your moneys worth.Well the 3/16 are not to much from McMaster,1/4 not to bad but then price kinda goes up for the 5/16 but hold on those dang 3/8 oil hole covers and you need 6 of them at almost 10.00 ea don't pass out now.So you see why care needs to be taken to install these little treasures or golden nuggets.Using someone else's ideal I took couple bolts,cut the threads off then face the bolts and drill out a small hole using a center drill.Now I can install these like a professional.So I had an easy afternoon,for once it went well.
DSC03291.JPG DSC03294.JPG DSC03295.JPG
 
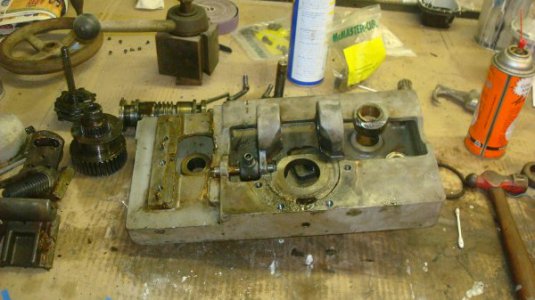
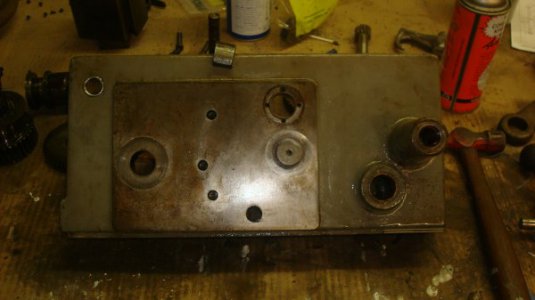
DSC03308.JPG Well guys I started on the apron,and it all came apart with no issues,so I was stressing over nothing(at moment).You know as I go along taking this lathe apart then the apron I get the feeling that I am not the first one.You know coming across something that's not original or maybe factory looking.Well that feeling came true while doing a good cleaning on the apron.My intent was just clean it and check out the teeth making sure none are missing and remove all the shavings down at the bottom.So removing one gear lead to another then before I knew it I had it down to just apron itself and at the bottom was a chunk of steel.I had put the apron in my cleaning tank washing it out but the chucnk of steep would not move.I look the apron all over trying to see there that piece of steel came from but found nothing.Finally getting it all cleaned taking it back to the shop I had to take a long screwdriver and just force it out.I had a curve to it so again I look to see where it came from,getting nervous again(stressing) So I wipe the steel off found that bunch of shaving were stuck to it.Set it down on my table and it stuck to one of the shafts.Well I be dang its a magnet.Someone put a magnet in the bottom when they had took the apron apart.Oh I feel so much better.On the top of the apron in the dark picture is the magnet.All in all the apron could have been left along,but again I now have piece of mind knowing all is well.Now to paint it and put it back together,just for your entertainment here thanks for looking---krollDSC03309.JPG
 
Back
Top