Sb Fourteen Project???

Kroll

Active User
H-M Supporter Gold Member
Joined
Dec 23, 2012
Messages
1,307
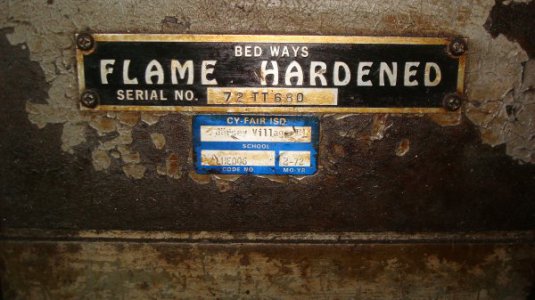
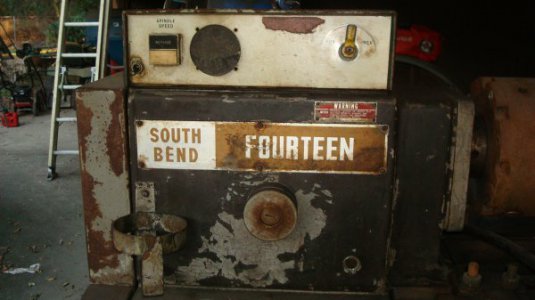
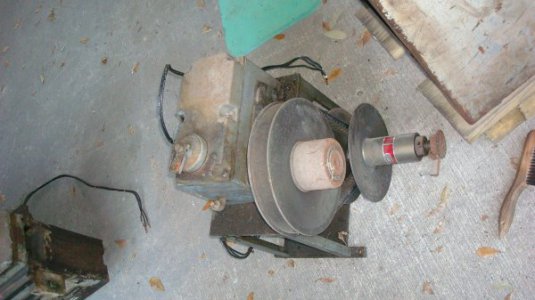
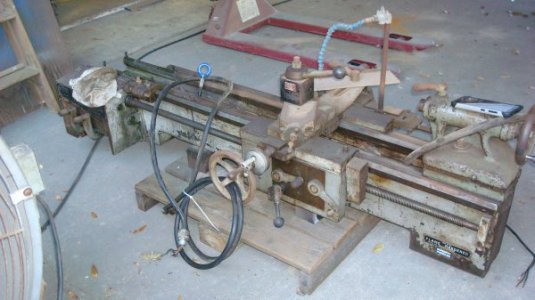
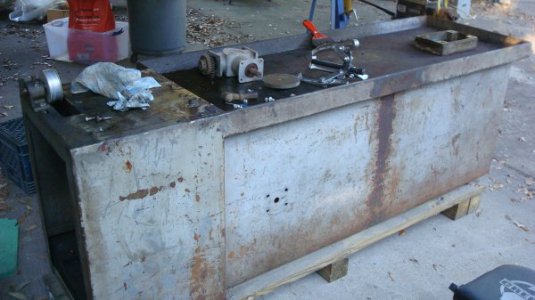
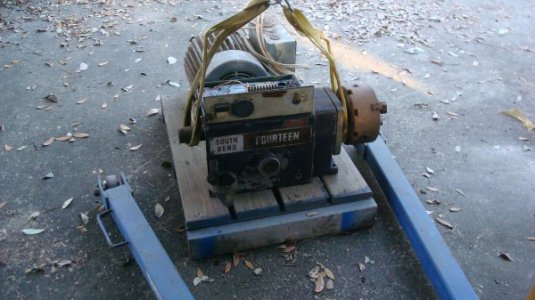
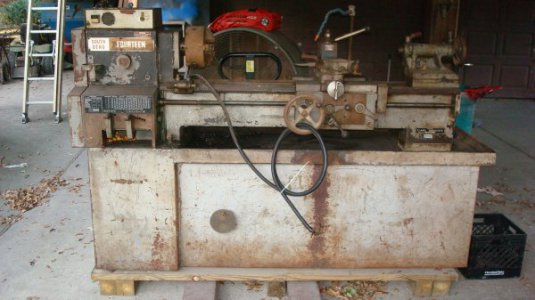
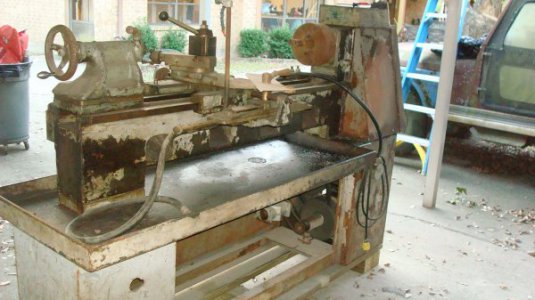
Good morning guys,well yesterday my next project arrived with a rotary phase converter.Dang what a package,which this is the first time I have ever seen a lathe like this it seems very HD.I went throught afew pages here in this section wanting to read up other members post who have gone throught a restoration project.For me I believe that this is just a take apart,do a cleaning and painting then put it back together and run it.I did find a manual here in this section up above which I printed to give me some direction.Sadly this is not my lathe but I sure wish it was cause I envision it turning out fantastic.Guys what makes me alittle nervous is the extent of the electrical,I guess this beast is variable speed?I will have to find a manual that tells ya how to operate this lathe cause its more advance than anything that I done in the past.If you have any kind of information or any links to Utubes or post or just a comment please let me know.Guessing this is a 1972 lathe???DSC03202.JPG Thanks guys for some direction----kroll
DSC03203.JPG

DSC03205.JPG

DSC03204.JPG
 
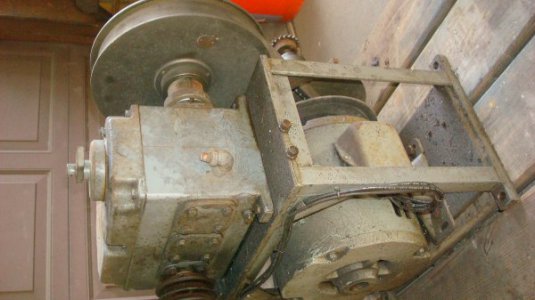
Good morning guys,well yesterday went pretty well breaking the lathe down into sections leading me to my next step which is cleaning the cabinet.Well each step forward there is always a step backwards which is I discover that the variable speed did not work.On the top of the head is the controls for the VS which has missing parts then where the reeves pulley(?)is guess there should be some wiring going to it. I have no ideal how this lathe work,I really think that it was push to back of the shop where it seat for yrs.So I have to figure out the VS,and figure out how to maybe fit in a VFD into this setup.Later today I will post some pics of the VS to see if anyone has been able to work throughs this.

DSC03210.JPG

DSC03211.JPG

DSC03212.JPG

DSC03213.JPG
 
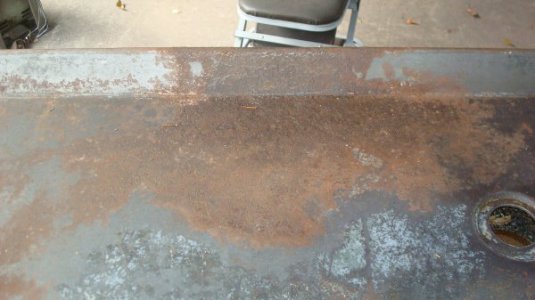
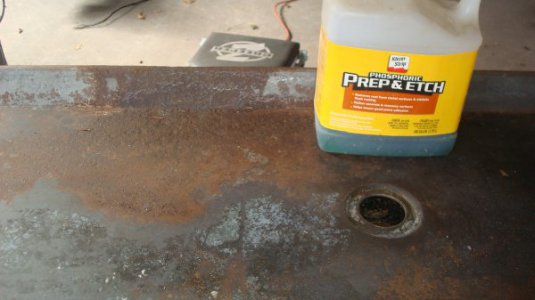
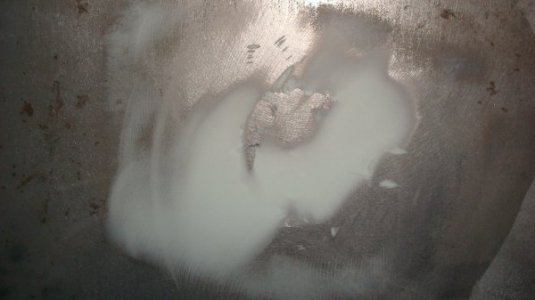
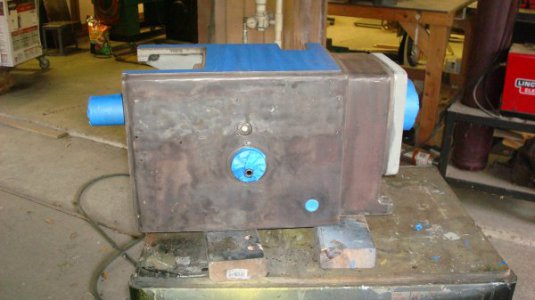
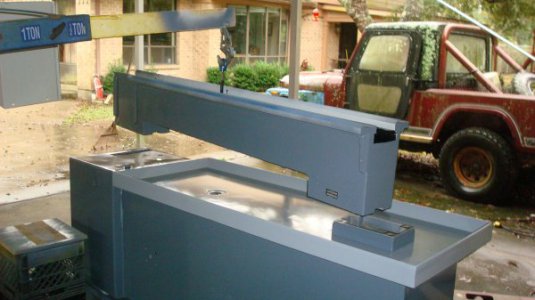
Good morning guys,well Thankgiving is behind us now so back to my SB project.One of the things that I discovered is how the VS works since the electronics has been abandon due to parts that may have burned up or who knows why.But what the previous owner did was install a crank on the front of the cabinet thur some gears that is chain driven ties into the reeves pulley.So as you turn the handle it will either speed up or slow down the rpms.That part is great but operator (me) does not have a clue how many rpms the spindle is turning,so that will lead to another question at a later date on how I can over come that problem.Anyway as you can see in the pics above for some reason the inside of the chip pan and along the front of the chip pan and down the cabinet is a very well rusted area that is pretty bad and will require some additional attention.So I cleaned up the cabinet and the rusted area's I treated with some Prep & Etch then I use some body filler to kinda smooth out those areas which took up a couple of days just to let all cure.So while those areas were cooking I had couple holes to plug with some 1/8 metal which welded that together then use some more filler the sand the cabinet one more time before spraying primer.We all like pictures so here afew in no kind of order,thanks for looking---kroll

DSC03217.JPG

DSC03219.JPG

DSC03224.JPG

DSC03234.JPG

DSC03235.JPG
 
Hi Kroll,

I am watching this thread.
Thanks for sharing it! :encourage:

-brino
 
Good morning guys,well yesterday went pretty well breaking the lathe down into sections leading me to my next step which is cleaning the cabinet.Well each step forward there is always a step backwards which is I discover that the variable speed did not work.On the top of the head is the controls for the VS which has missing parts then where the reeves pulley(?)is guess there should be some wiring going to it. I have no ideal how this lathe work,I really think that it was push to back of the shop where it seat for yrs.So I have to figure out the VS,and figure out how to maybe fit in a VFD into this setup.Later today I will post some pics of the VS to see if anyone has been able to work throughs this.
 
Good afternoon guys,well I started my day this morning by donating to one of the many great guys on this forum which has help me from the first day that I join this fantastic forums.
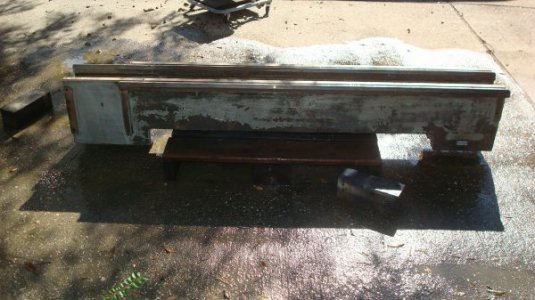
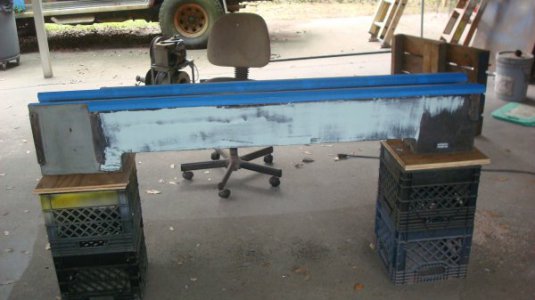
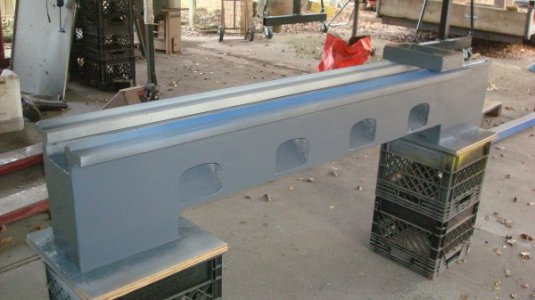
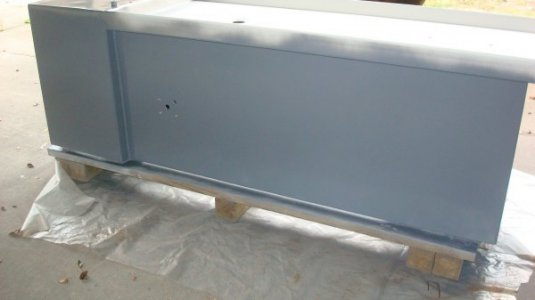
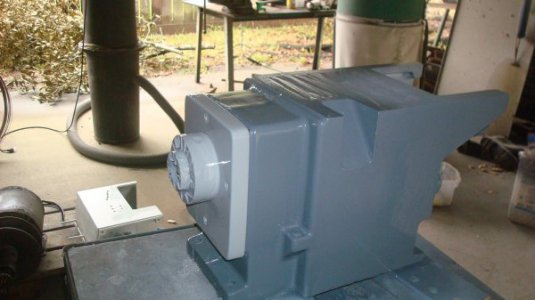
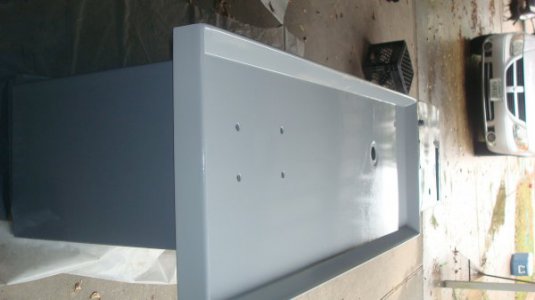
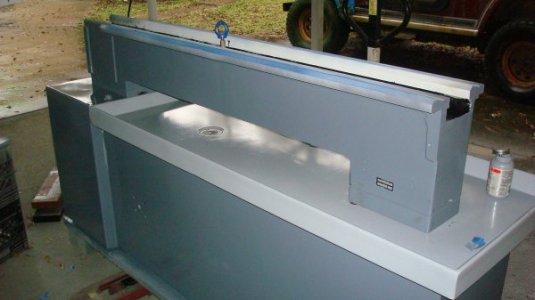
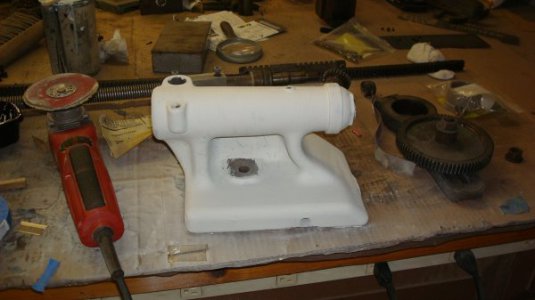
So I started cleaning all the other major parts removing the flaking paint,rust,grease and oil by using Zeps Purple Industrial Cleaner.Guys this stuff will remove paint but if you get a drop on your arm you will know pretty quick,it does work.Anyway you know there's not much excitement in degreasing parts,but I am making alittle progress which I wanted to get several pieces prep for primer so that I can get the most out of mixing up a qt. of SW's industrial paint.Looking at the pic of the bed I sprayed the finish coat of paint so calling it good,but on the inside of the bed and the channels I am going to use a brush and paint it black which will hide that area or make it kinda invisible if that makes sense.Now of the cabinet I am going to sand it with 320grit one more time and apply a second coat of gray.As you can see the chip pan is still primer,I want to finish the cabinet then mask it off and spray the pan a lighter gray.Tomorrow I believe its going to rain so no more painting till after it clears up,so I will start cleaning up the transmission and the motor.I think that I will just clean these up and repaint them but no primer cause the paint its self looks like its in good shape just dull.The pics here are in no order,just for entertainment.Thanks for looking

DSC03245.JPG

DSC03244.JPG

DSC03243.JPG

DSC03242.JPG

DSC03241.JPG
 
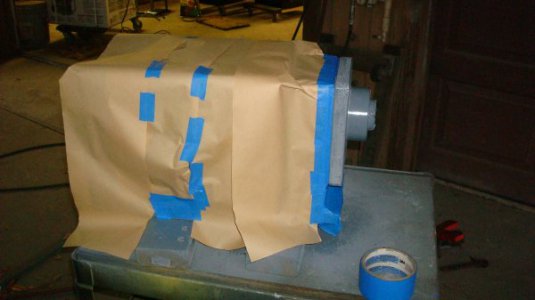
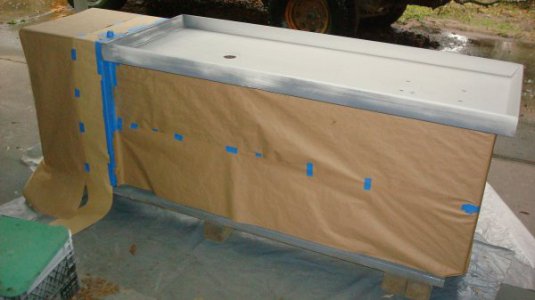
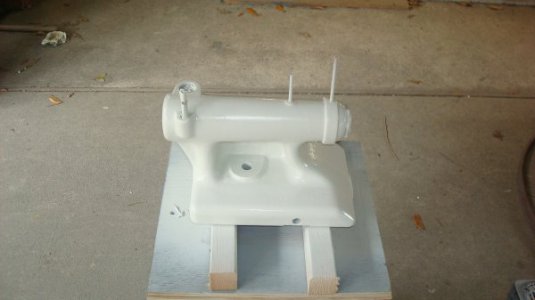
Good afternoon guys,well I thought I would post some pics of my progress which is not alot due the time I get home and it getting dark around 5:30 to where I can't see.My spray booth as you can see is under the car port which makes it seem darker than what it is but it sure helps my painting look better than what it is.So during the week done some priming and then applying the finish coat.And this Saturday morning I mask off the surface that I did not want painted and I keep in mind that I could not leave the masking tape on to long cause I know it would peel off the finish paint that I applied during the week. So I sanded the primer of the pan and front part of the headstock and spray it the lighter shade of gray.For the most part on the flat surface of the chip pan it has alittle orange peel,not perfect but I let it pass.With it being cool here the paint is kinda sensitive so I will have to be careful and give it afew days to cure.And my little boss was helping me with my project,thanks for looking guys---kroll

DSC03251.JPG

DSC03252.JPG

DSC03250.JPG

DSC03249.JPG

DSC03248.JPG
 
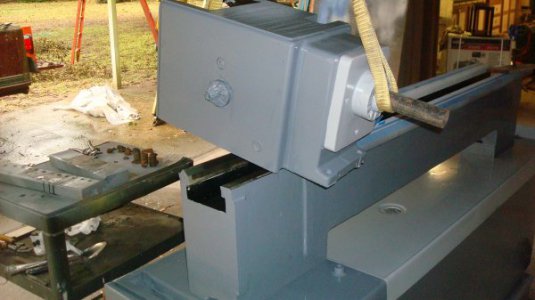
Guys this pass weekend and this afternoon I made alittle progress,enough to do another post with some pics.What I did was black out the inside of the lathe bed and the headstock,did alittle to the cabinet.You know those places that you really don't see that well or look at.But I did get around to mounting the bed on the cabinet and installing the headstock.After getting it installed I think that I wish I would have painted the headstock the lighter shade of gray.So after doing all this I set down in the shop chair enjoyed just kicking back.Pics are in no order just something to look at.

DSC03254.JPG

DSC03255.JPG

DSC03256.JPG
 
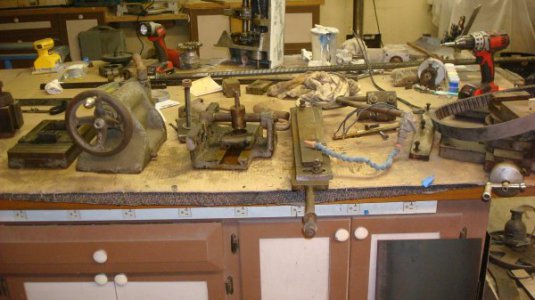
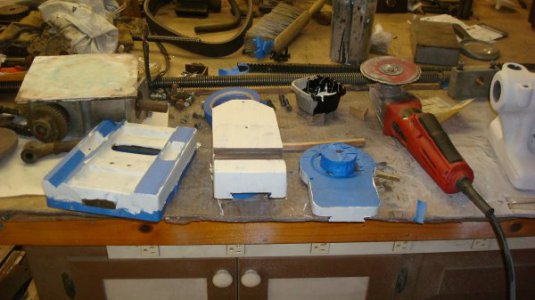
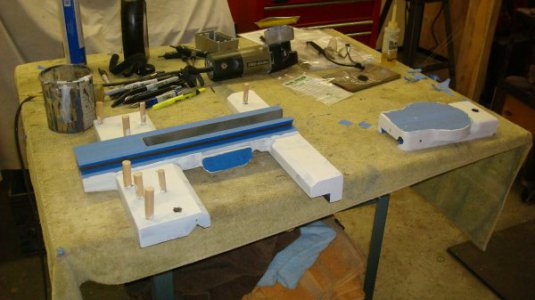
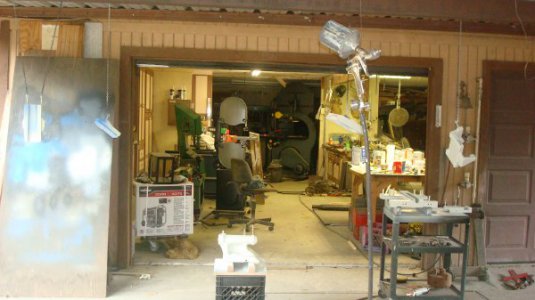
Well guys,I make a little progress at a snails pace.Cleaning all the small parts are kinda a pain,you know taking the compound slide apart braking it down.After degreasing then cleaning again with thinner I apply a layer of body filler on those areas that were rough.After couple days I sand the areas down then brush on the first coat of primer.Not trying to get it perfectly smooth(been nice if I could) but just to get some paint on to keep the metal from rusting and filling in areas and over the filler.Next I sand all the pieces you see in the pics down smooth which did sand down to metal in some areas.After the sanding I hung the pieces up and spray another good coat of primer which did come out smooth.So going to give these pieces some air time for couple days then sand just alittle then shoot the finish coat of paint.You won't see the apron saving it for last.Figure if I get all the small pieces finish and install on the lathe I will have little room for taking the apron apart.Thanks for looking guys,enjoy the pics----kroll
DSC03259.JPG

DSC03261.JPG

DSC03260.JPG

DSC03262.JPG

DSC03263.JPG
 
Back
Top