Restoring a Rockwell/Delta Disc/Belt Finishing Machine

Firestopper

Registered
Registered
Joined
Nov 7, 2018
Messages
186
A 6" vise is overkill for a RF45 style mill. A 4" is more appropiate for that size mill & IMO 5" max. I have a 5" GMT vise on my PM45 & it's slightly too big. Not enough Y axis travel to make use of the 5" full capacity. Better to save your money rather than getting something too big & most importantly the weight. I take my vise of the table quite often, a 6" is still light enough for me to be carried by hand but I'm glad I have a 5". I also have a 4" vise as well. I prefer the 5" though.

But those GMT 6" Premium vises are pretty nice. I'd love to have one but don't need one on my current mill. But if you plan on upgrading to a full size knee mill in the future than the 6" will be perfect.


Here's what the 5" looks like on my mill.
Img_1921.jpg


I couldn't even complete this cut without my bellows & DRO scale getting in the way. Not enough Y travel & the 5" vise is not even maxed out.
Img_7597_zpscb8b5dd7.jpg


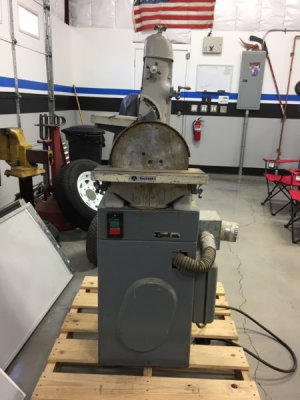
Here's what a 6" vise looks like on another PM45 (gt40's)
View attachment 253544
IMG_0452.JPG

IMG_0455.JPG

IMG_0519.JPG

fullsizeoutput_540.jpeg

fullsizeoutput_541.jpeg

IMG_0474.JPG

IMG_0475.JPG

IMG_0476.JPG

IMG_0477.JPG

IMG_0478.JPG

IMG_0494.JPG

IMG_0503.JPG

IMG_0504.JPG

IMG_0484.JPG

IMG_0467.JPG

Screen Shot 2017-02-19 at 11.16.29.png
 
Last edited by a moderator:
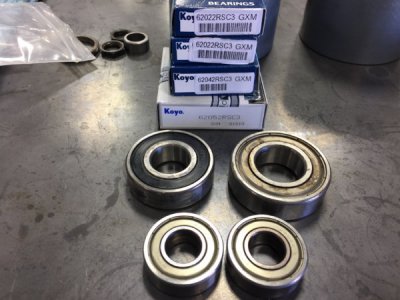
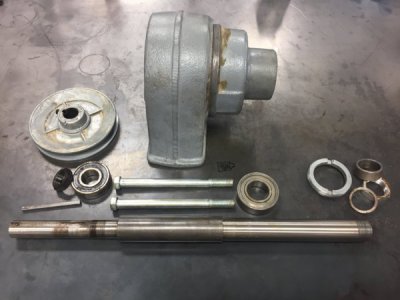
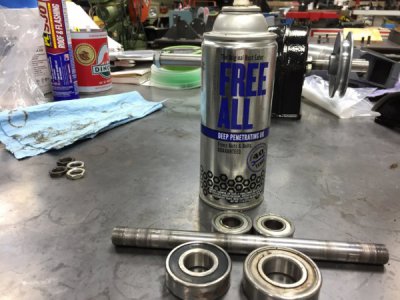
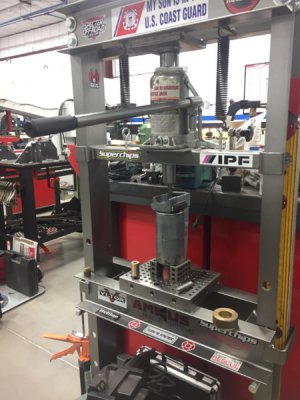
This taken from vintage machine for pressing out upper idler shaft and bearings:http://wiki.vintagemachinery.org/Delta6x48Shafts.ashx I did set it up similarly, but I supported the base of the yoke with a section of faced pipe to prevent any flexing. I also used this penetrating oil to presoak the shat. I have used many different oils, but I would recommend this stuff "Free-all", its really the best I have found hands down. Its saved me many times and this was no different.
IMG_0471.JPG IMG_0517.JPG
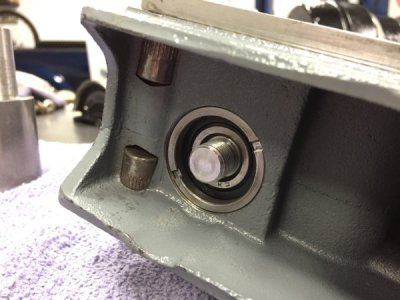
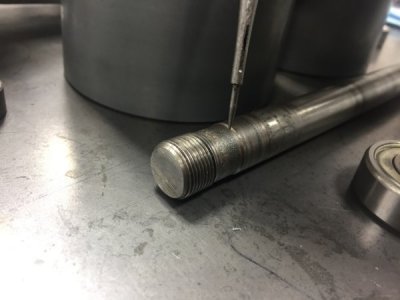
The bad news (sort of), the vertical play on the idler assembly was caused by worn shaft end. I was prepared to turn a new shaft when my son found one online for $34. The replacement shaft is precision ground and sold by Renovoparts.com P/N 406031080001. $10. shipping is a rip-off but for a precision ground shaft $45.57 was a no brainer.

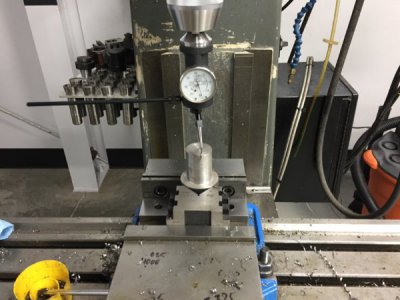
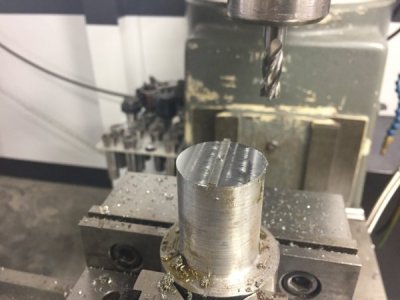
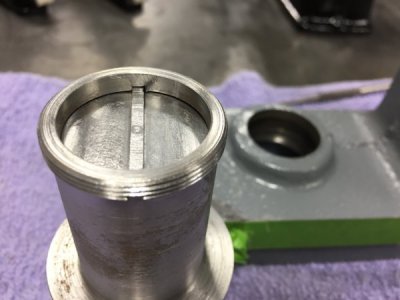
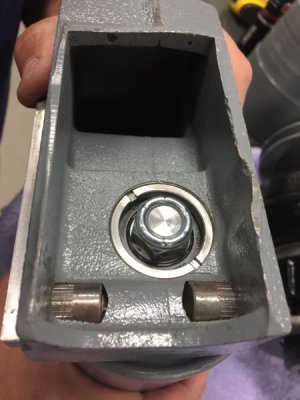
This brings me to where I'm currently at in the restoration project. The last thing to add was a tool I milled for torquing down the bearing retainer. Many guys will simply use a chisel for this, but its a tight fit and one could easily damage the threads making it hard for the next guy to replace the bearings 30 years from now haha.

I got to use the new Blake I got for Christmas. It makes centering fast and easy.
IMG_0505.JPG IMG_0506.JPG
IMG_0509.JPG .
IMG_0515.JPG
More to come.
 
Last edited by a moderator:
Congrats on the machine find, that's a great old school machine and worthy of a restore. I enjoy seeing this kind of stuff.
 
Thanks woodtickgreg,
Been looking for this baby for some time. I forgot to post the photo of the damaged idler bearing shaft.

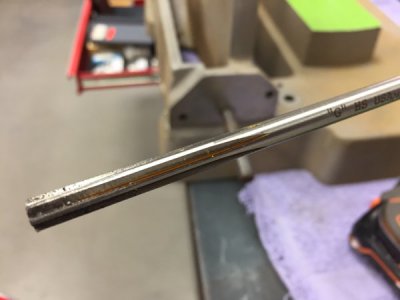
Here you can see (end of scribe) the wear on the shaft where the inner bearing race was sloppy.
IMG_0468.JPG
Thanks for looking.
 
Last edited by a moderator:
Nice machine you have there. Should come in very handy when you get her done. Cheers, Mike
 
Thanks Mike,
Should be done soon. Looks like I'll be back to work on lite duty this week, so leave the weekends to finish this up. Actually looking forward to a workweek.
 
Nice write up, Paco. Restoring these old machines is half the fun of owning them and your pics allow us to share in that.
 
Thanks Mikey,
I looked high and low on internet and found some helpful information. I wanted to share more info than I found in hopes of helping others with a similar machine.
 
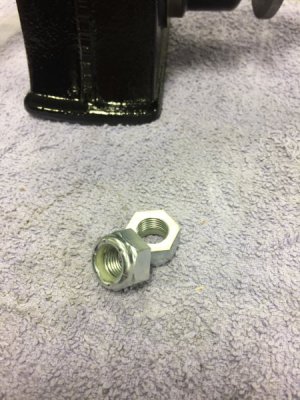
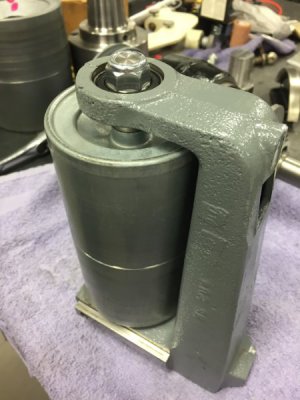
The new idler shaft came with 1/2"-20 threads. The original shaft has 9/16"-24. I could not justify spending $32.00 plus shipping for four 1/2"-20 jam nuts. A quick trip to Ace Hardware and I came home with two Nylock nuts for under a buck. The problem is the nuts are too deep and the threads on the shaft would never get into the nylon portion. I set them up side by side and took .135" off on the mill. Now they resemble a nylock jam nut and worked out well for this application. The rebuilt idler spins smoothly with zero play.
IMG_0527.JPG IMG_0529.JPG IMG_0528.JPG
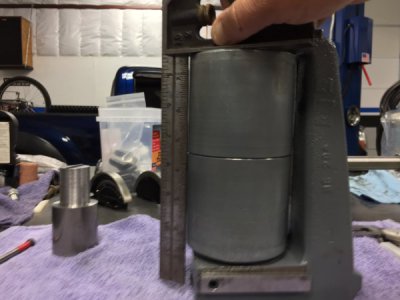
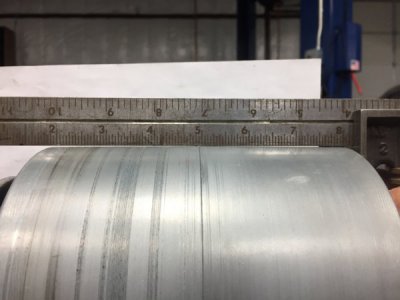
This photo shows the needed crown on the rollers for proper tracking of the belt. One of the things needed when rebuilding the idler rollers is to turn a 1 degree taper towards the center of each roller. This machine did not require this as the rollers are in good shape.
IMG_0524.JPG
The lower roller where placed on the main shaft and the same method was used to check the crown. Hard to see but they also checked out fine.
IMG_0532.JPG
IMG_0534.JPG IMG_0533.JPG
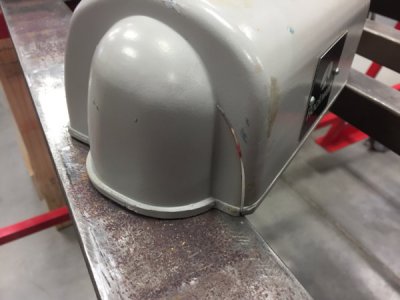
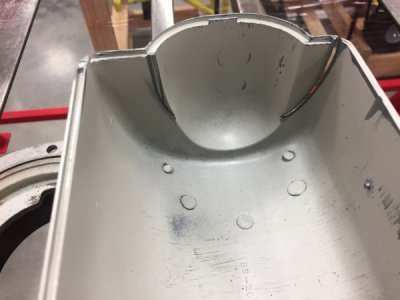
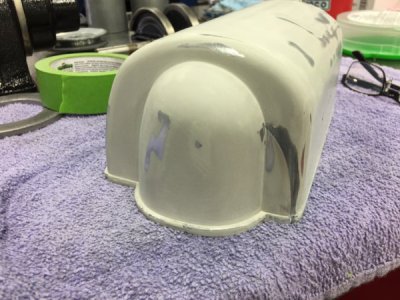
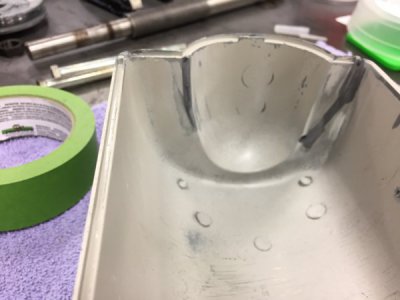
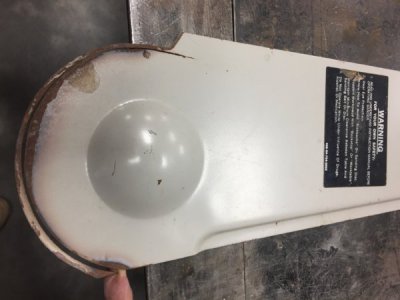
This photo shows the belt end cover. The poor tracking resulted in grooving through the lower portion. The mild steel cover will be mig welded and ground back to the 16 gauge thickness allowing the repaired section to fit back into the retention groove in the lower housing when finished.
IMG_0535.JPG
Thats all I have for now.
Thanks for viewing and I hope someone can use the information.
Turn and burn..
Paco
 
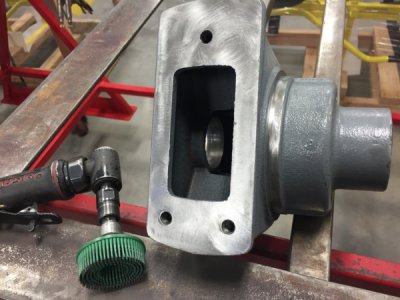
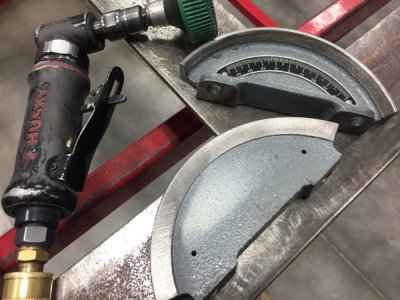
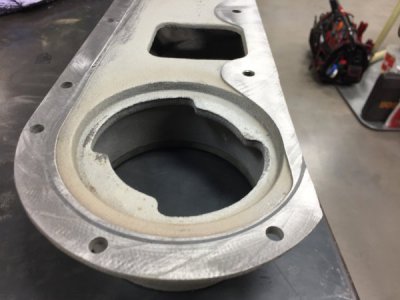
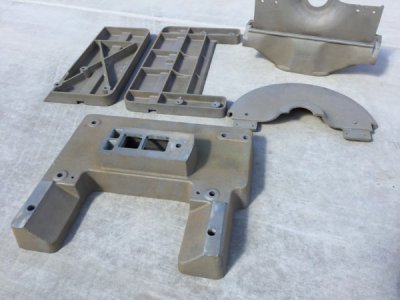
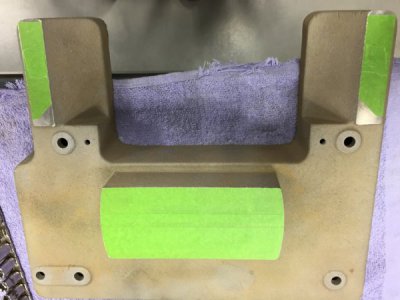
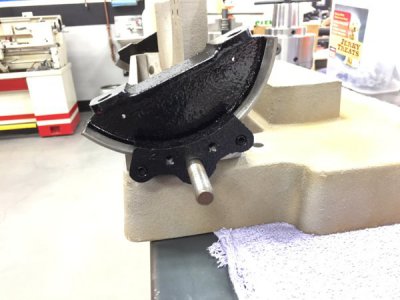
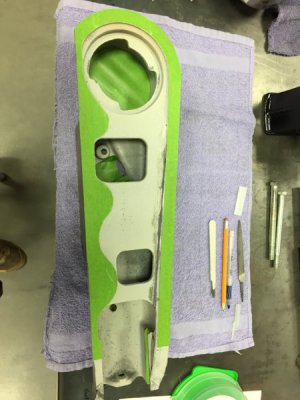
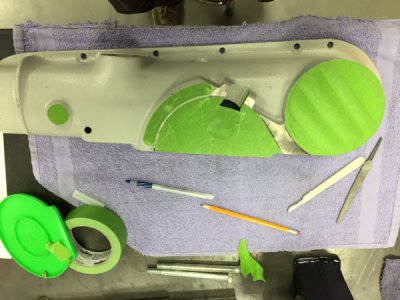
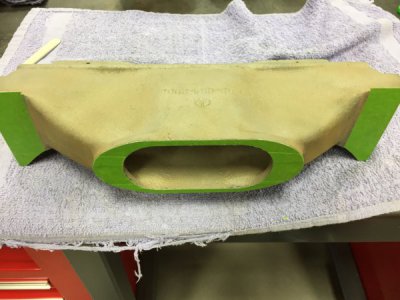
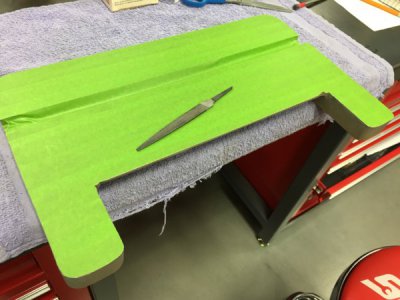
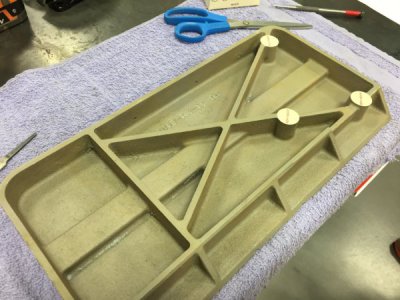
Got the main cast iron components blasted and masked off for painting. The cast was loaded with dried adhesive from gluing the sanding disc on over the years. Also mocked up the trunnions to verify smooth sliding and discovered the holes for the guide roll pins required a tiny bit of reaming. A "G" ream did the job allowing the trunnion to slide in and out smoothly.
IMG_0545.JPG IMG_0550.JPG IMG_0547.JPG IMG_0549.JPG IMG_0548.JPG
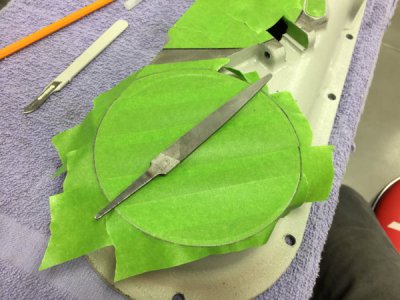
A trick I've been using for many years for detailed masking is to use a fine file to cut/trim the masking tape around edges.
IMG_0495.JPG IMG_0499.JPG IMG_0496.JPG
IMG_0551.JPG IMG_0555.JPG
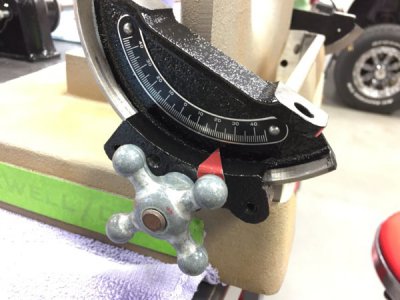
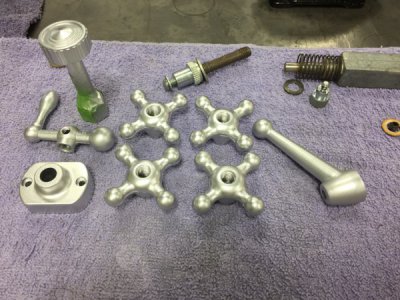
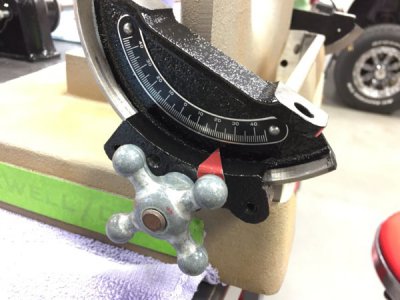
Also got the knobs cleaned and painted with silver heat paint. A final cure in the grill at 200 degrees for 20 minutes will make for a durable finish.
IMG_0557.JPG
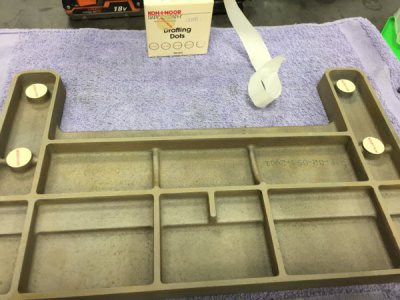
The bottom of the tables mounts where recessed and hard to use the file technique for masking, so I used drafting dots which where the same diameter.
IMG_0553.JPG IMG_0556.JPG
Plan on shooting paint on Saturday.

IMG_0548.JPG
 
Back
Top