- Joined
- Jan 20, 2016
- Messages
- 173
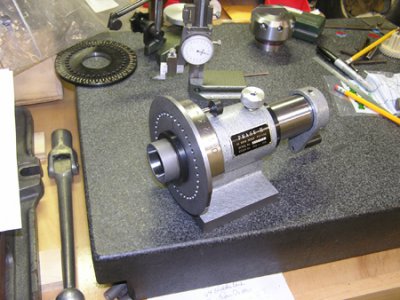
5C collet spin indexers all only come with 36 holes for 1° indexing, and don’t come with the sides milled to hold in a vise. So first I took the indexer apart and clamped it to an angle plate with 123 blocks under each end of the spindle. That allowed me to clean up the first side, then flipped it over and did 2nd side to same dimension. After the rough I took a nice finish cut on each side (no photos). Now I need to make an indexing plate with 37 holes in it.
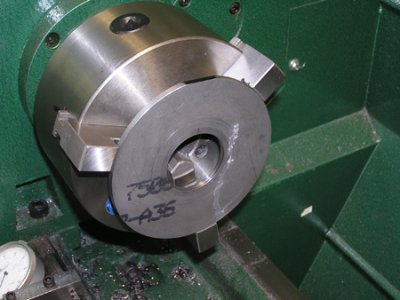
Found a piece of 3/16 plate in the scrap pile and sawed it into a rough circle. Had read before on the hobby sites that it worked to push the disk up against chuck jaws with a center if you took light cuts, so tried it. I could only take .010 deep cuts, but did it no problem. Only took about 20 minutes to make it round and too size.
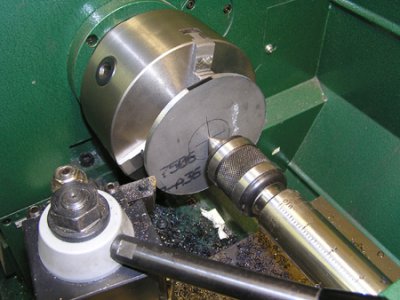
I had to reverse the jaws so could now hold it on the OD to bore the ID a light tap fit for the spindle.
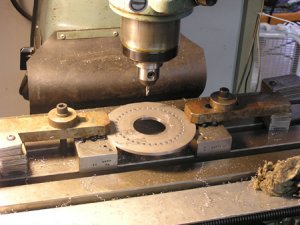
Next I set it up in the mill and swept the ID, then used the readout to center-drill, drill, end mill to location and near size, counter sink and ream all 37 holes. That took about 2 hours alone!
But I now have a finished indexer 37 hole plate.
Found a piece of 3/16 plate in the scrap pile and sawed it into a rough circle. Had read before on the hobby sites that it worked to push the disk up against chuck jaws with a center if you took light cuts, so tried it. I could only take .010 deep cuts, but did it no problem. Only took about 20 minutes to make it round and too size.

I had to reverse the jaws so could now hold it on the OD to bore the ID a light tap fit for the spindle.

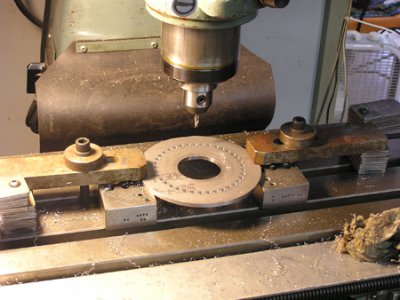
Next I set it up in the mill and swept the ID, then used the readout to center-drill, drill, end mill to location and near size, counter sink and ream all 37 holes. That took about 2 hours alone!

But I now have a finished indexer 37 hole plate.


Last edited:


