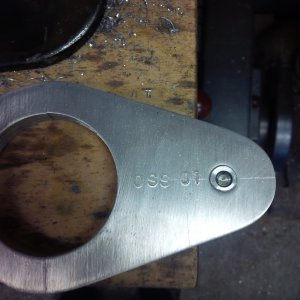
Project: drill press depth stop Canadian buffalo 15

schor

Registered
Registered
Joined
Jun 11, 2013
Messages
731
So we have had a bit of a discussion on projects in another thread. I'm going to start a project thread (as depicted in the subject) in hopes we get a project forum with threads on different members projects which are long term thing. Not just like project of the day, etc.

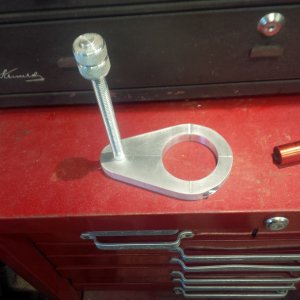
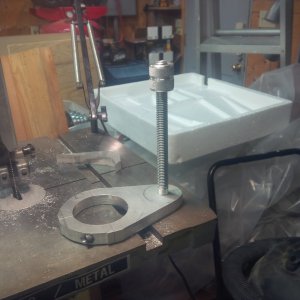
So my first project here is a drill press depth stop for a buffalo 18 drill press. It seems these depth stops died in use over the years, or were just removed from some reason. In any case a friend needed one so I built it. At a loss if you count my time, but to me as a hobbyist, it as free time as I learned so much through the process.

It all started with a simple question in another forum about someone needing a depth stop, and I figured it would be a good learning experience.

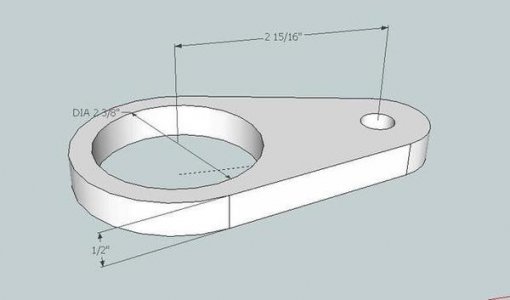
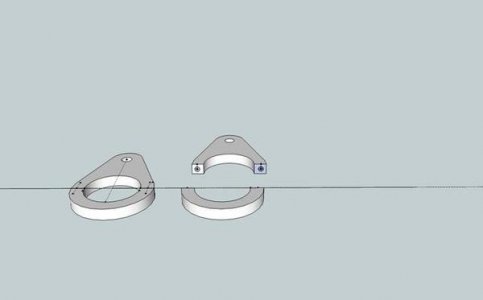
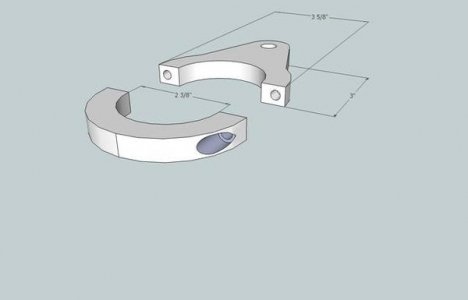
So I came up with a plan. Using sketchup I came up with a model of the main collet.
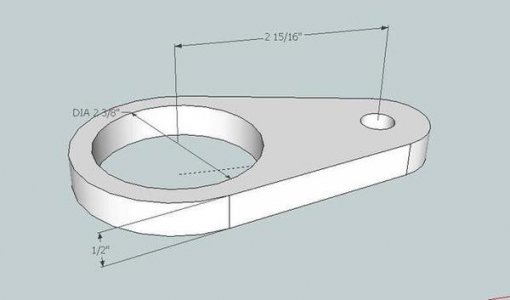
attachment.php?attachmentid=65751&d=1379019588.jpg

More to comes, gotta keep the suspense up a bit don't I?

- - - Updated - - -

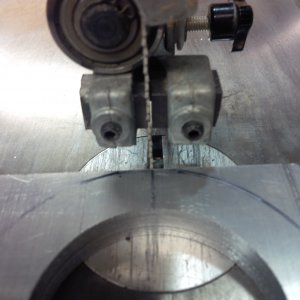
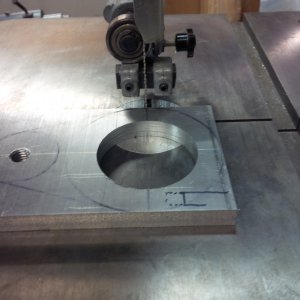
So then I tried to figure how to build it. Cut the hole to exactly (well almost) to the quill diameter and then cut it in 2 and place some hex screws countersunk as much as possible.
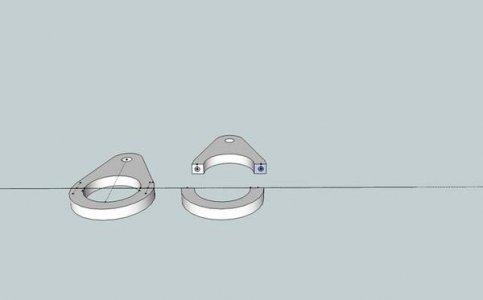
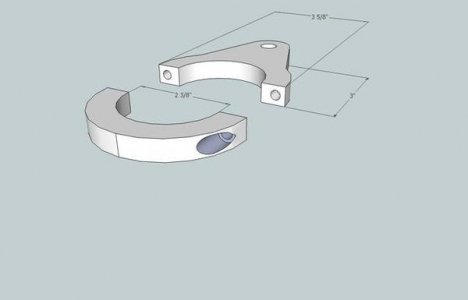
attachment.php?attachmentid=65886&d=1379384738.jpg

attachment.php?attachmentid=65896&d=1379393454.jpg

- - - Updated - - -

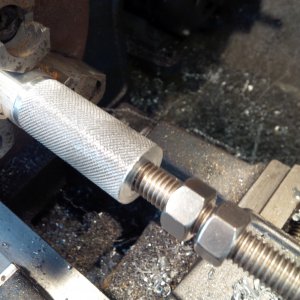
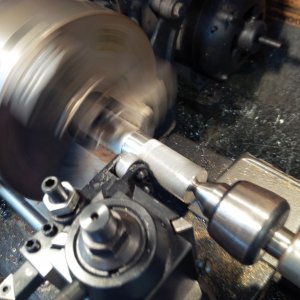
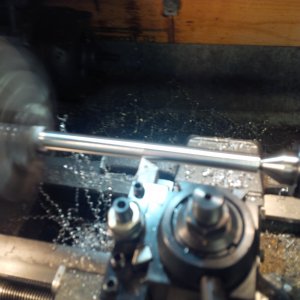
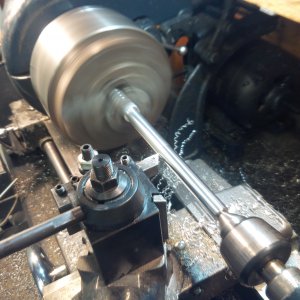
I wanted some xperience knurling so I set upon some aluminium stock, got the tool centered and ran it at my normal turning speed (feed at .005) I was surprised it worked so well.
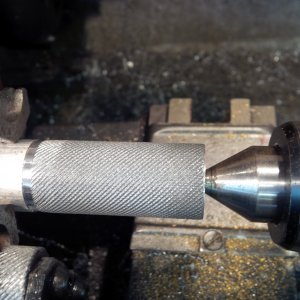
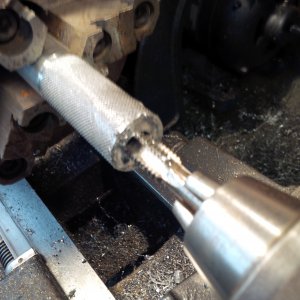
IMG_00000038.jpgIMG_00000041.jpgIMG_00000046.jpgNext is making the knurled stops.

IMG_00000036.jpg

- - - Updated - - -

Seems those pics are out of sequence, let's see if I can get my stuff together for the next post.

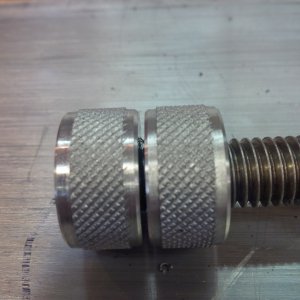
After a bit of touching up with the parting tool I parted off the knobs.
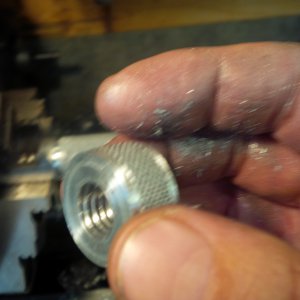
IMG_00000047.jpgIMG_00000052.jpg

IMG_00000036.jpg IMG_00000038.jpg IMG_00000041.jpg IMG_00000046.jpg IMG_00000047.jpg IMG_00000052.jpg

attachment.php?attachmentid=65751&d=1379019588.jpg

attachment.php?attachmentid=65886&d=1379384738.jpg

attachment.php?attachmentid=65896&d=1379393454.jpg
 
Last edited:
Your first three pictures are broken links to me. But it sounds like an interesting idea, I have a 5 speed drill press, and it didn't have a depth stop when I got it. Thanks for the inspiration.

Terry
 
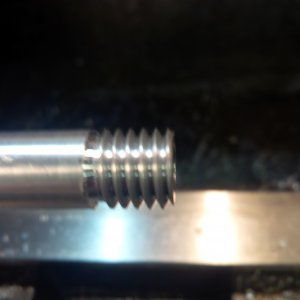
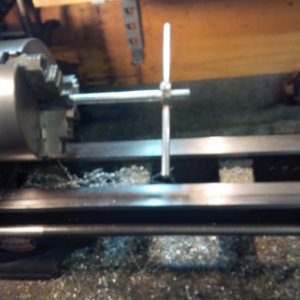
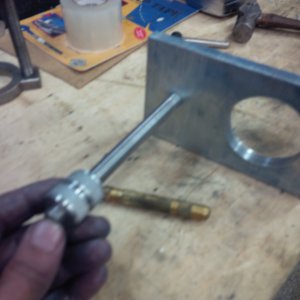
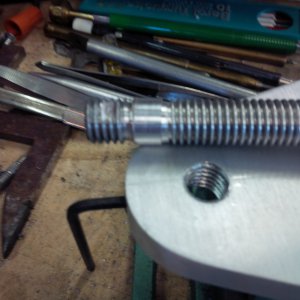
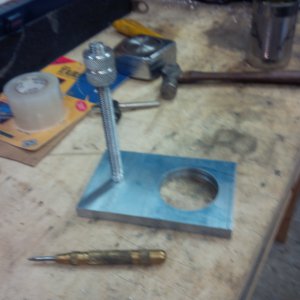
So with the stops done I was onto the post. This was mostly turning down some round bar aluminum and the threading it all with a hand die. 1/2" 13tpi

IMG_00000054.jpgIMG_00000056.jpgIMG_00000058.jpgIMG_00000060.jpg

- - - Updated - - -


I will try to fiox that up when I finsih this post
Thanks for the inform on the problem.

Your first three pictures are broken links to me. But it sounds like an interesting idea, I have a 5 speed drill press, and it didn't have a depth stop when I got it. Thanks for the inspiration.

Terry

- - - Updated - - -

So the post is done with manual die for thge whole thread, thank god it was aluminium.

IMG_00000062.jpgIMG_00000063.jpg

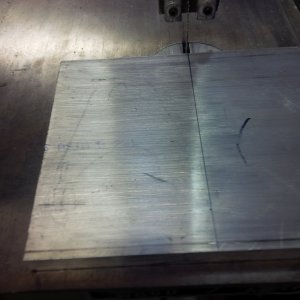
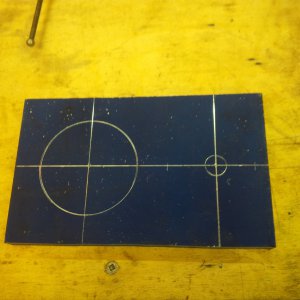
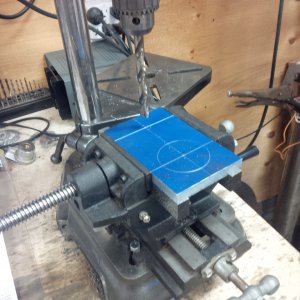
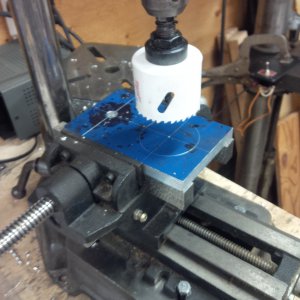
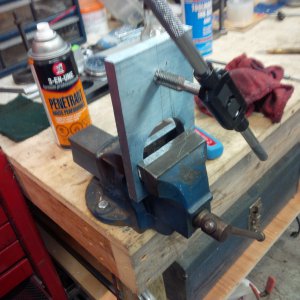
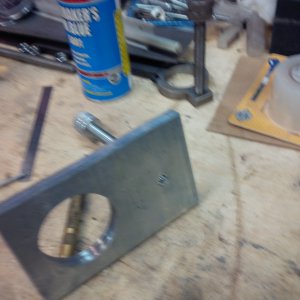
Next is onto the collar. Start with some 1/2" aluminum plate, cut off a piece and mark it for the holes. Keep it all square for most of the next operations. I used a bi-metal hole saw for the quill hole, worked fine, as only about 20thou out which is fine given I'll be taking more than that out with the sawcut later.

IMG_00000064.jpgIMG_00000070.jpgIMG_00000072.jpgIMG_00000073.jpg

- - - Updated - - -

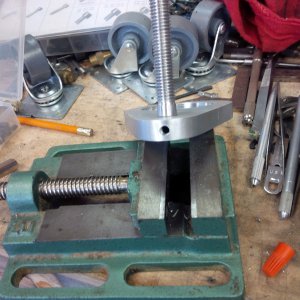
Thread the hole for the post.

IMG_00000076_2.jpgIMG_00000079.jpgIMG_00000078.jpgIMG_00000077_2.jpg

- - - Updated - - -

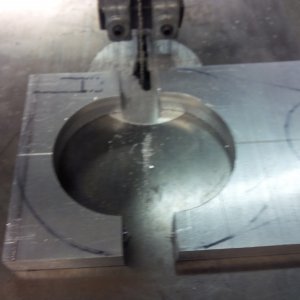
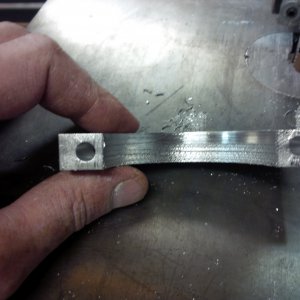
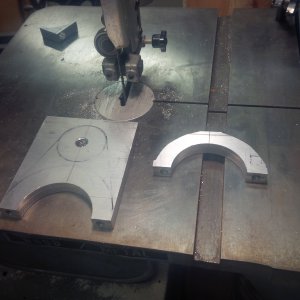
A little out of sequence or I forgot a whole part here. I drilled out the holes to tap size, then drilled clearance holes down to .010 from the top of the split, then counterbored for the cap screws. Then I cut the piece.

IMG_00000122.jpgIMG_00000123.jpgIMG_00000126.jpgIMG_00000127.jpg

IMG_00000054.jpg IMG_00000056.jpg IMG_00000058.jpg IMG_00000060.jpg IMG_00000062.jpg IMG_00000063.jpg IMG_00000064.jpg IMG_00000070.jpg IMG_00000072.jpg IMG_00000073.jpg IMG_00000076_2.jpg IMG_00000079.jpg IMG_00000078.jpg IMG_00000077_2.jpg IMG_00000122.jpg IMG_00000123.jpg IMG_00000126.jpg IMG_00000127.jpg
 
Last edited:
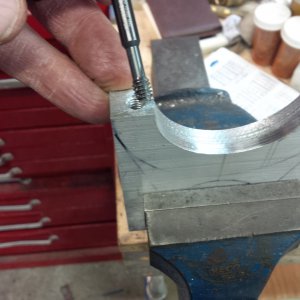
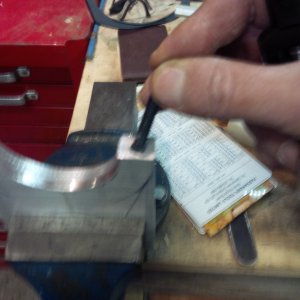
Next step is to tap the holes for the cap screws. With the piece already drilled to tap dimensions and clearance holes drilled and counter bored for the cap screws I can now blind tap the holes.

IMG_00000132.jpgIMG_00000130.jpg

Everything went together, I had to re-counterbvore the holes for the capscrew heads a bit more. Took the rought part to the disc sander and cleaned it up, then some hand sanding/filing and it was good to go, almost.

IMG_00000154.jpgIMG_00000158.jpgIMG_00000156.jpg

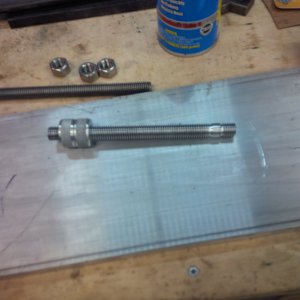
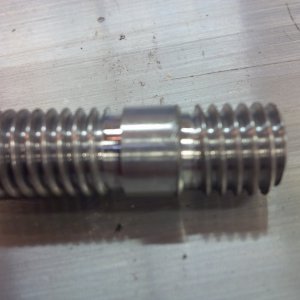
Final assembly with a set screw. The setscrew is needed so the post will not turn off the collar while adjusting the nuts. A flat on the post will ensure it stays snug.

IMG_00000179.jpgIMG_00000182.jpgIMG_00000178.jpg

IMG_00000132.jpg IMG_00000130.jpg IMG_00000154.jpg IMG_00000158.jpg IMG_00000156.jpg IMG_00000179.jpg IMG_00000182.jpg IMG_00000178.jpg
 
Last edited:
I was sure you would mill a flat on one side of the rod and stamp the depth 1" 2" etc. A bit surprised you didn't do that. You sure did great work though!
 
Beautiful work! The knurled nuts do look nice ... BUT ... I've found them to be a bit slow when it comes time to make large adjustments. I have a drill press with a similar setup, and I replaced the original nuts with pushbutton quick-threading nuts. I use the 3/8-16 plain hex nuts (McMaster-Carr 98150A150), and can even use the hex flats for fine adjustments ... 1/6 turn (1 flat) = .010" (approx.)

McMaster sells these in sizes from 1/4" to 5/8":

http://www.mcmaster.com/#catalog/119/3177/=p661ay
 
I was sure you would mill a flat on one side of the rod and stamp the depth 1" 2" etc. A bit surprised you didn't do that. You sure did great work though!

If I had a mill I would have done that. Last time I tried to end mill on my drill press I pulled the chuck off.

Still searching for my first mill, needs to be a smaller one and needs to be in the $500 range. I'm just a hobbyist.

- - - Updated - - -

Thanks, I have seen those nuts before but I made the piece for a friend for $30 and to gain experience. Part of the experience is the knurl, maybe I can try to make one of those nuts someday.

Beautiful work! The knurled nuts do look nice ... BUT ... I've found them to be a bit slow when it comes time to make large adjustments. I have a drill press with a similar setup, and I replaced the original nuts with pushbutton quick-threading nuts. I use the 3/8-16 plain hex nuts (McMaster-Carr 98150A150), and can even use the hex flats for fine adjustments ... 1/6 turn (1 flat) = .010" (approx.)

McMaster sells these in sizes from 1/4" to 5/8":

http://www.mcmaster.com/#catalog/119/3177/=p661ay
 
Back
Top