Precision Mathews PM1440E LB lathe

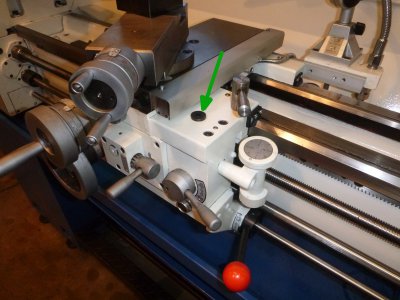
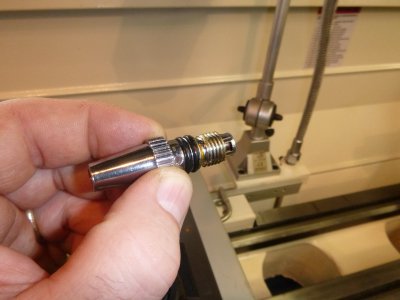
I ought to post pictures when I get some made. Nothing special about the knurled knob though. Just about a 10/24 threaded shank with a flat top knob 1/8" thick,knurled before cutting off. 1/2" in diameter. Be careful WHERE on the dial you put yours. I like to see the "0" near my knob,so I can easily set it. Basically similar to older lathes that already had them. Today,they think it is more "streamlined" or something,to stick those hard to move leaf springs under the dials. They are always WAY too frictioney to move easily.

A HUGE thank you to George Wilson on this tip. I did the mod last night. I have always liked the dials on the Hardinge lathe and wanted to duplicate it but didn't put as much thought into it until yesterday reading George's post. In my head I thought about whether to put the thumbscrew on the face or the perimeter of the dial. Well after looking more closely at my lathe the perimeter was the only place. The Hardinge has a ball crank style of handle which is what allows the room/area to put the thumbscrew on the face of the dial to lock it down. I really didn't want to change from the wheel style handles to the ballcrank just for this so the perimeter it was.

Thanks again to George for the idea and to light the fire under my a$$ to do it.
 
Would love to see a quick picture or pictures of how ya'll did this mod!
Maker of T - I have a Griz 0709 which looks very similar to your PM1440E LB. I know there are differences but, I have been very happy with mine so far. I did the change to the link type belts on mine after I started to get some vibration. Seems I struggled to get them tight enough as I get a good squeak when I kick it on. At least the vibration is gone. You will need 2 of the Harbor Freight belts.
Have Fun!
 
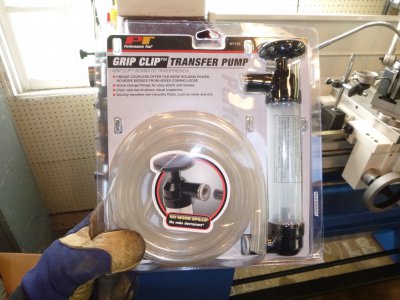
Did the first oil change now. As recommended by RayC I took the cover off the head and pumped the oil out. I got this pump at my local auto parts store along with 1 gallon of hydraulic oil ISO-32 with anti wear additives. I think they carry it for floor jacks.
P1000741.JPG

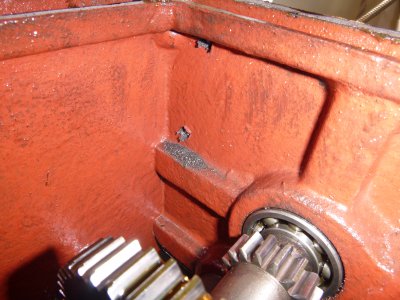
I was a little surprised at first to discover that the cover is just a thick piece of plastic. I guess it won't rust ever. The only metal shavings I found inside were made when the factory installed the chuck interference cover.
P1000737.JPG

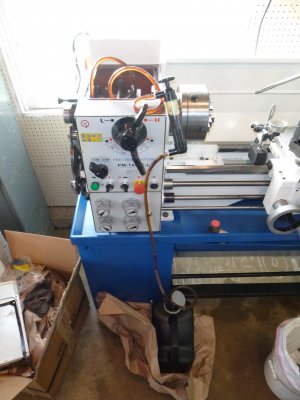
The pump worked well to drain the tank with little mess till near the bottom.
P1000742.JPG

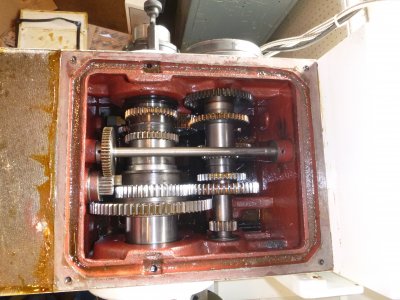
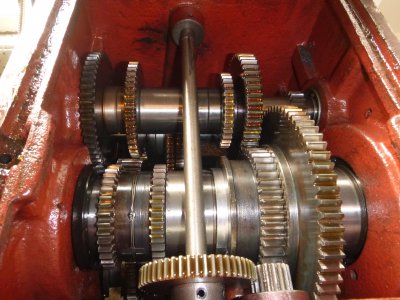
A few more shots of the gear box
P1000740.JPG
P1000738.JPG
After pumping the oil till sucking air, I opened the drain and per DarkZero suggestion used a form-a-funnel to catch some of the remaining oil (not the most coordinated whenever draining oil is occurring).
head drains.JPG
Headstock drains. The lower gearbox drain went about the same as the end of the main gearbox. Someday I will have epoxy floors so it will be easier to clean up.
lower gearbox fill.JPG
Lower gear box fill.
apron drain.JPG
Apron drain (underneath). With the chip pan pulled this is almost a straight shot to the catch container. Just dribbles on the front stand rail a bit.
apron fill.JPG
Apron fill.

Do the lower gear box and apron first. The hose that comes with the pump fits both of the fill holes perfectly so the inside of the hose will be clean. Once you pump the main gearbox out, there will be some metal shavings that stick to the inside of the hose. I was able to fill all three reservoirs with less than one gallon of oil.

FYI the sight glass on my main gearbox was leaking and I backed it off about 3/4 of a turn and now it does not leak anymore.

P1000737.JPG P1000741.JPG P1000742.JPG P1000740.JPG P1000738.JPG head drains.JPG lower gearbox fill.JPG apron drain.JPG apron fill.JPG
 
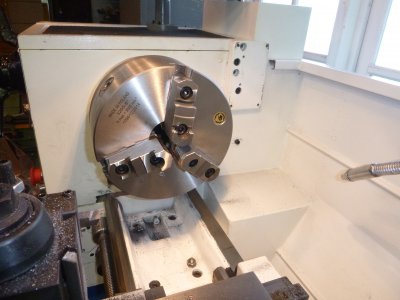
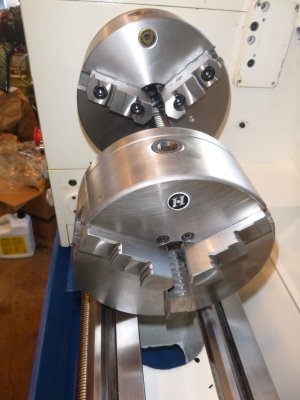
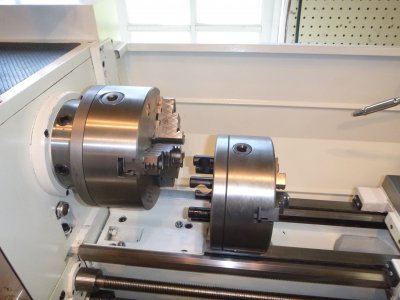
Did a little upgrade this week as well. Matt gave me really good pricing on a Bison chuck. Really the only reason I wanted a new chuck was for the 2 piece jaws. I can't figure out all the Bison model-catalog-style number stuff, it seems like they are mid-stream switching numbering systems. This is a plain back 8" 3 jaw steel scroll chuck with matching D1-5 back plate. Not the adjustable kind.
P1000743.JPG
Freshly mounted (sorry about the mess). Mounted a couple times and verified less than .002" (about halfway between the .001 and .002 mark) TIR 1" from chuck.

P1000746.JPG
P1000745.JPG
Original vs new.

P1000743.JPG P1000746.JPG P1000745.JPG
 
Very nice, no doubt a worthwhile upgrade.

Sent from my SM-P600 using Tapatalk
 
BTW. If you ever get a new chuck, no matter how well you clean it, don't stand directly in line with it when you turn the lathe on. Or if you do be prepared to wipe some oil off your face. Guess how I know.

I was having a slight chirp when starting the lathe in high gear so I had to tension the belts more. I pulled out this high precision tensioning device.

IMAG0817.jpg

Now she runs smooth and no chirps.

IMAG0817.jpg
 
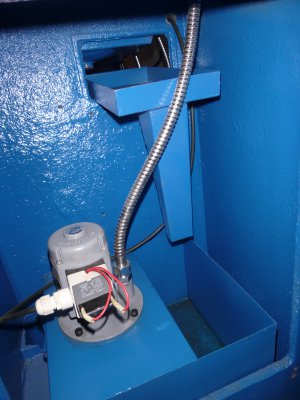
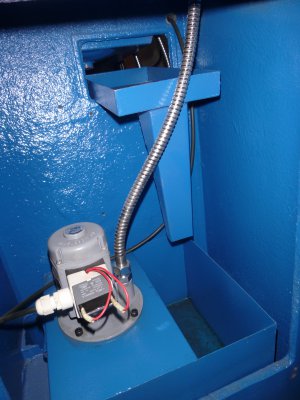
I overlooked the coolant system as I don't have an immediate desire to use it. The sump is located in the tailstock cabinet.
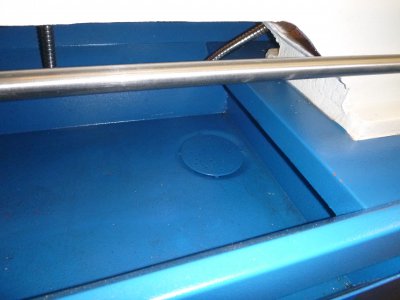
P1000764.JPG
Drain in the removable chip tray tail stock end.

P1000753.JPG
Drain visible in the back lines up over this trough when slid in normal position.
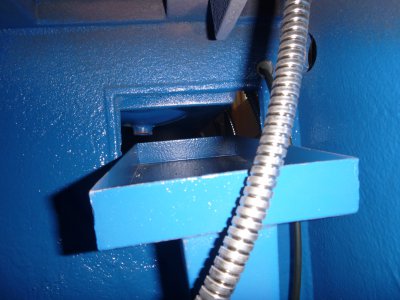
P1000755.JPG
Trough directs the coolant down to the sump.
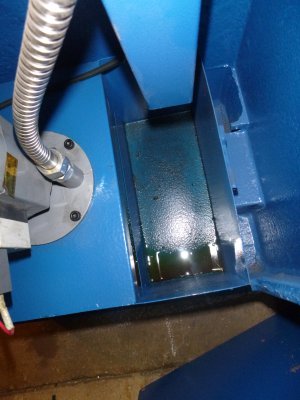
P1000752.JPG
Overview through access panel on the side furthest from the headstock.
P1000758.JPG
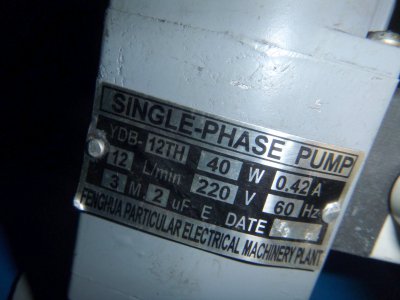
Pump name plate.
P1000761.JPG
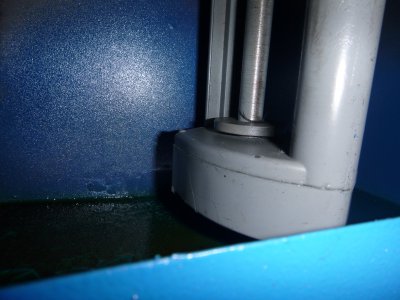
Impeller (inside sump)
P1000765.JPG
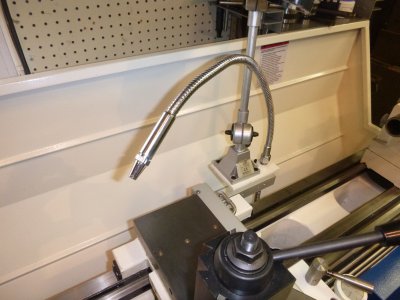
Flexible metallic hose mounted to the back of the carriage
P1000767.JPG
End nozzle to adjust flow is plated plastic.

P1000764.JPG P1000753.JPG P1000755.JPG P1000752.JPG P1000752.JPG P1000758.JPG P1000761.JPG P1000765.JPG P1000767.JPG
 
I was having a slight chirp when starting the lathe in high gear so I had to tension the belts more. I pulled out this high precision tensioning device.

Good idea. I generally just stick a chunk of wood in there to get leverage. Wish they would make mounting plates with screw adjusters for tensioning. It is difficult to keep the motor pulley and the spindle pulley parallel when tightening, and not doing so adds vibration and belt wear.
 
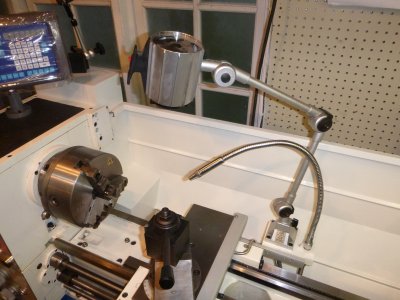
OK, I think I have cataloged almost everything now. Here is the light:
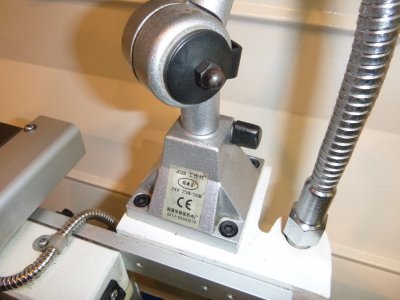
P1000775.JPG
Base mount and ratings.

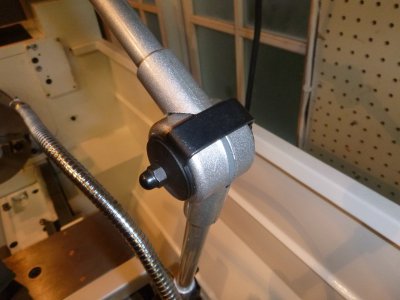
P1000777.JPG
The elbow with tension adjustment.

P1000778.JPG
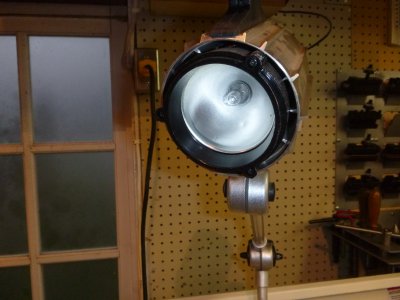
Top adjuster and reflector. On/off switch is on the black handle.

P1000779.JPG
Throws a good amount of light on the cut area.
I actually like this light a lot compared to any other adjustable arm type I have used. It is easy to adjust and doesn't drift.
It is powered with the machine main switch. I may change that at some point so the light can be on to setup the lathe chuck while the main power is off, but for now I just hit the e stop.

I also did a RPM test. I used a $14 portable optical tach that has NOT been calibrated to anything, so this is for reference only.
P1000780.JPG
Put the reflective tape on the spindle nut and ran through all the speeds with these results:
Indicated Read
70 84.6
115 138.5
190 229
300 362.2
460 408
760 665
1225 1095
2000 1720

P1000775.JPG P1000777.JPG P1000778.JPG P1000779.JPG P1000780.JPG
 
Back
Top