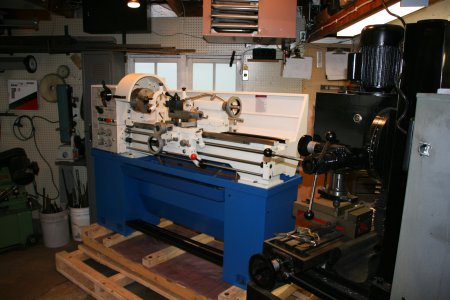
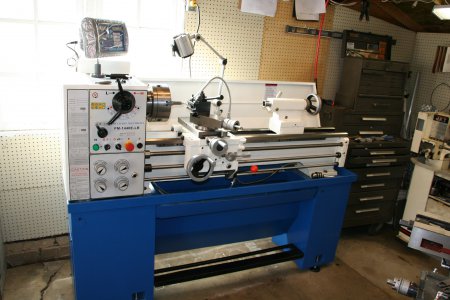
Precision Mathews PM1440E LB lathe

maker of things

Hermit
Registered
Joined
Jul 23, 2014
Messages
347
I thought I would start a new post so future researchers would have an easier time finding this.

So I can show you a few tips of probably not how to unload your lathe.
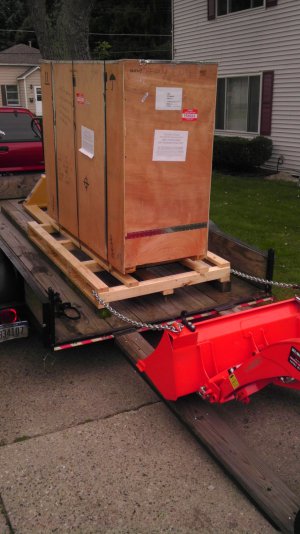
IMAG0786.jpg
I have a Kubota BX1870 that is a big help moving things around the yard/shop, but it can only handle 300# or so lifting by the front end loader. I chained the skid and carefully and slowly slid it down the ramps.
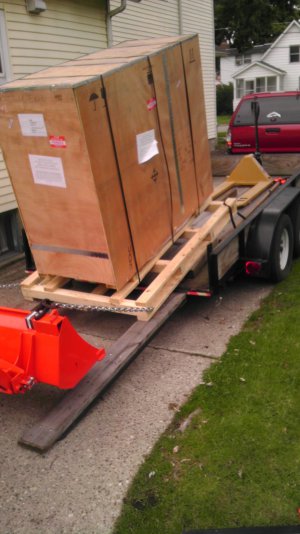
IMAG0787.jpg
This was the first pucker when it crossed the tipping point. The skid was on blocks so the fork lift that put it on the trailer could get out.
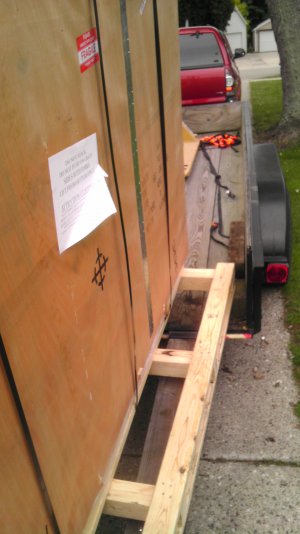
IMAG0788.jpg
Pucker 2, one of the blocks caught funny and slid the skid off center where it would certainly fall off the ramps on the way down.
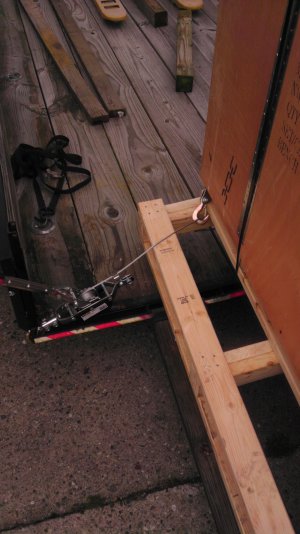
IMAG0789.jpg
Since I was taking my time, I had time to think through how to fix it and grabbed the come-a-long and pulled the skid back onto the ramps.
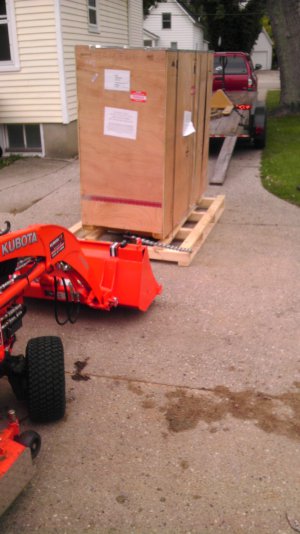
IMAG0790.jpg
When I had 1/3 of the ramp left to go I gave it the gas and got it onto the driveway in one motion.
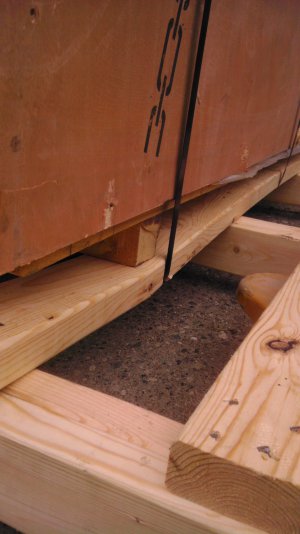
IMAG0791.jpg
The transition between off the ramp caused the top skid to crush the 2x4s on the bottom skid, all three of them, both ends.

IMAG0786.jpg IMAG0787.jpg IMAG0788.jpg IMAG0789.jpg IMAG0790.jpg IMAG0791.jpg IMAG0792.jpg
 
I know the feeling. I have it's cousin, a PM-1440BV, which is very similar with a VFD. Mine was on a skid that was on a pallet, getting it off was, shall we say, entertaining. Can't wait to see it up and running. Enjoy!
 
IMAG0792.jpg
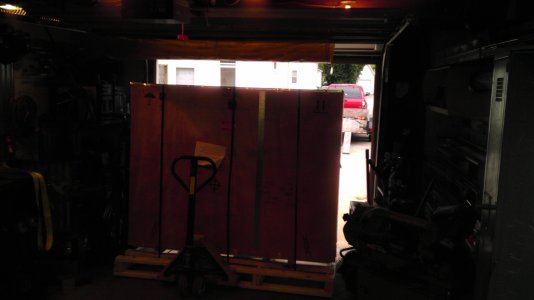
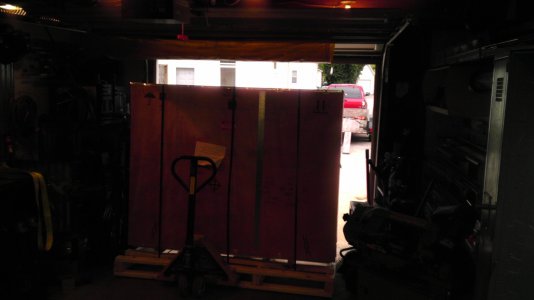
So the crate came pretty close to filling the opening of a standard garage door. I borrowed a pallet jack to help move the skid around, that worked beautifully, even over the lunar landscape that is my shop floor.
IMAG0799.jpg
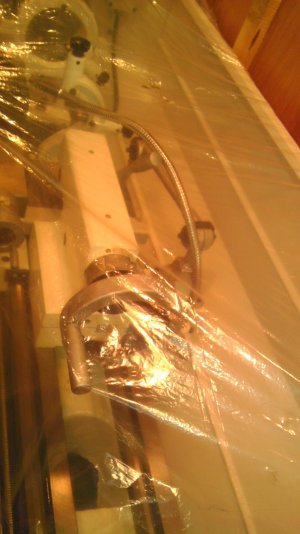
1st peek inside the crate.
IMAG0800.jpg
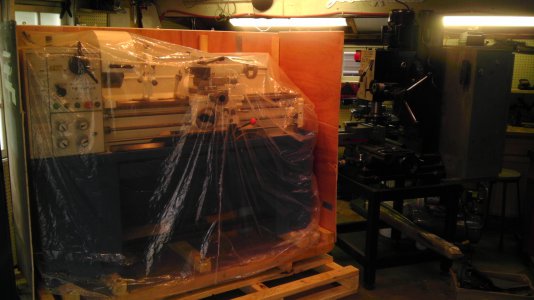
Uncrating was pretty interesting. The crate was tight against a cabinet and the 12z. I ended up crawling through the 12z's base (try that with a bridgeport) about a dozen times to get at different angles and for tools that were inevitably on the other side from me.
IMG_3148.JPG
Got the crate off and finally got a good look at the whole thing.

IMAG0792.jpg IMAG0799.jpg IMAG0800.jpg IMG_3148.JPG
 
IMAG0807.jpg
Well I thought I had it all figured out. I would place the skid as close to the final position as possible, pick the lathe up with my 2 ton shop crane, and pull the skid out. DOH!

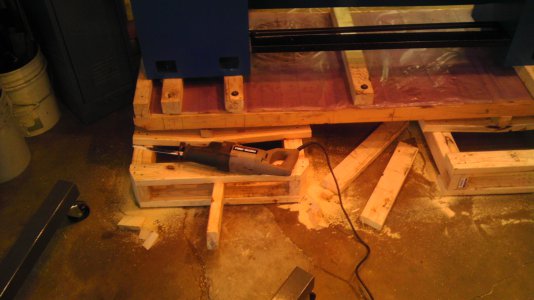
Of course the boom of the crane, by design, does not stick out past the legs. Well, I sawzall-ved that problem. Except I didn't. I still couldn't get directly over the chuck and even with the tail stock off and the carriage close to the chuck, I couldn't balance the machine.

The next few steps I am not going to document as they were somewhat dicey and really really hard work. I never put myself in danger, but the lathe felt like it might go over more than once. After installing the leveling pads McMaster#2531K39 and getting the machine on the floor sliding it in to place was almost trivial. I used one of those 5' long solid steel load moving "pry" bars that works really well. I think tru-temper makes them still.

Oh, and I found out that the whole lathe and crate were only secured to the 2x4 skid with three metal bands, so that could have gone a lot worse.

IMG_3186.JPG

IMAG0807.jpg IMG_3186.JPG
 
So here are some of the detailed highlights.
IMAG0802.jpg
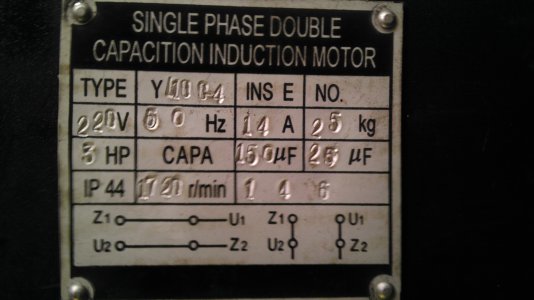
It is equipped with a 3hp motor.
IMG_3150.JPG
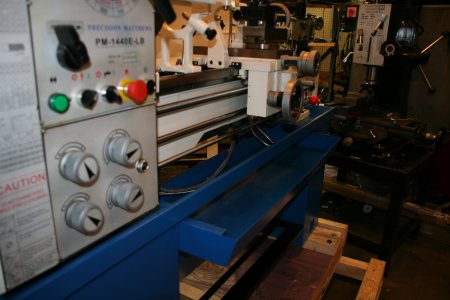
A pull out chip tray and cast iron base
IMG_3151.JPG
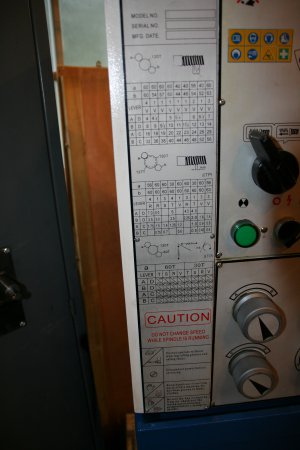
The change gear setting for inch thread also does turning. .0041 inch/rev through .0548 inch/rev and tpi of: 4,5,8,10,16,20,32 and 40 all with no gear changes.
IMG_3168.JPG
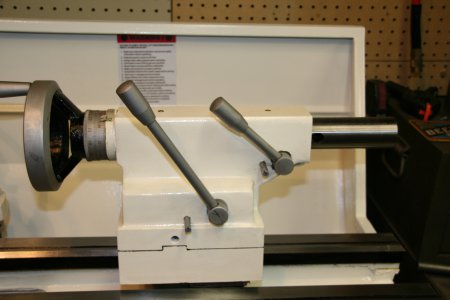
Back side view of tail stock. The quill lock is a little weird to me. Both cams are shown in locked position.
IMG_3162.JPG
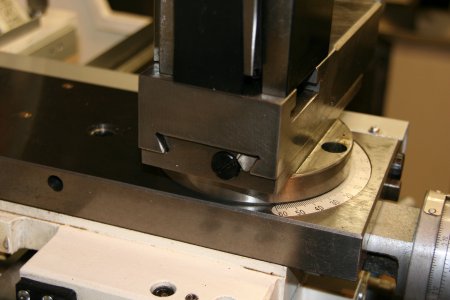
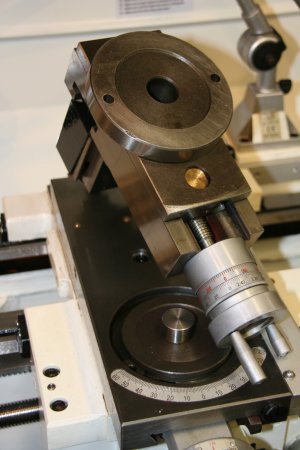
The compound scale is on of those non "standard" reading. Reads 60 ish degrees for traditional threading.
IMG_3161.JPG
The compound has a tapered gib and feels very smooth plus nice and solid (to a guy with a jet 9x20).
IMG_3163.JPG
Not really any accommodation for auxiliary mounting to the cross slide. Didn't occur to me to check that before I ordered. The carriage has the steady follow mounted when shipped. the two threaded holes can be seen here.
IMG_3160.JPG
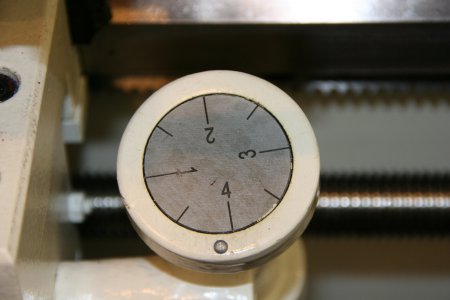
The threading dial is the 1,2,3,4 type. I will have to get used to that.
IMG_3185.JPG
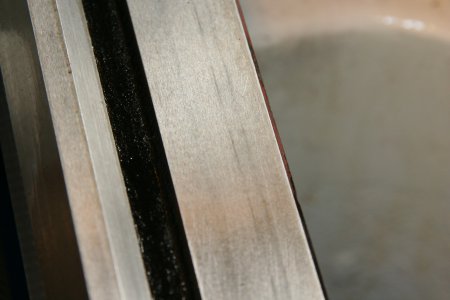
A close up of the ways. The groove is hand painted.

IMAG0802.jpg IMG_3150.JPG IMG_3151.JPG IMG_3168.JPG IMG_3162.JPG IMG_3161.JPG IMG_3163.JPG IMG_3160.JPG IMG_3185.JPG IMG_3180.JPG
 
IMG_3179.JPG
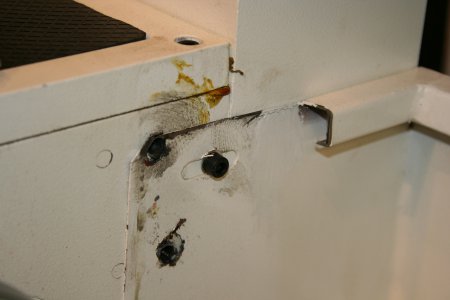
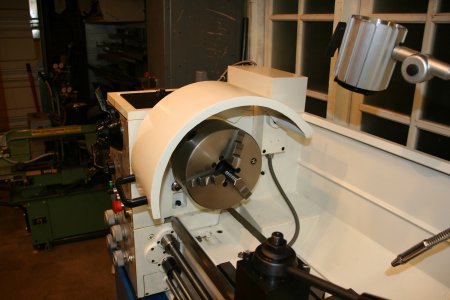
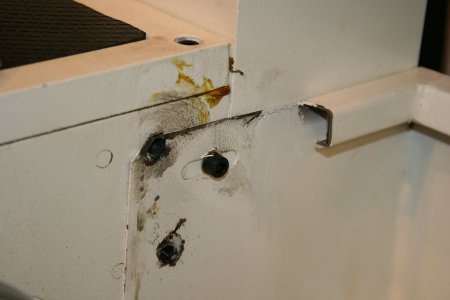
Comes with a safety shield. Mine felt like the mount was a little loose so I "temporarily" removed it and accidentally cut the wire leading to it (and butt spliced them together). You know just until I decide what to do.
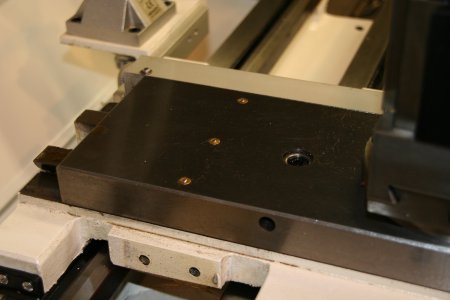
IMG_3180.JPG
This is under the mount for the safety shield. Looks hand crafted. I put the base block back on to cover it up. Maybe I will find something else to mount to it.
IMG_3170.JPG
IMG_3171.JPG
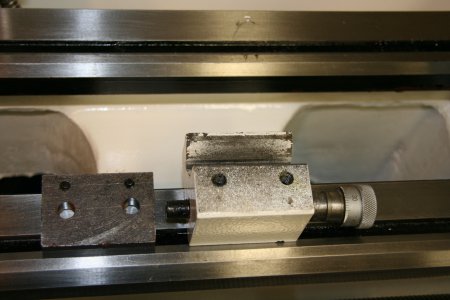
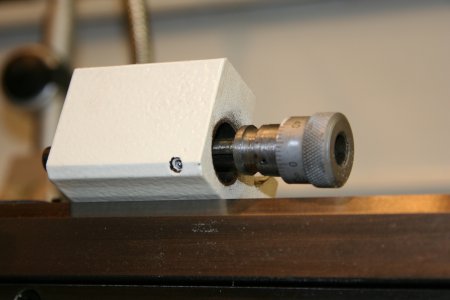
I ordered the micrometer carriage stop with my lathe. The spring pin isn't quite seated deep enough to keep the knob in place and the area that sits on the vee of the bed has a lot of paint on it. The set screws that are there to shim the bottom plate are directly in front of the hex bolts that hold it together which makes getting a wrench in there very tricky. I'll probably do a bit of rework to this part.
IMG_3173.JPG
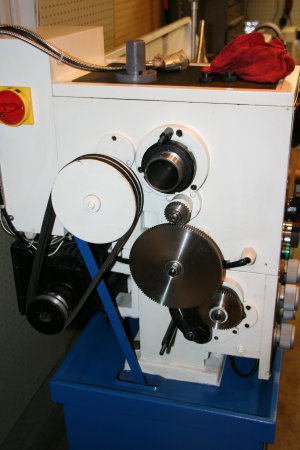
A view under the hood. There was a little vibration until I tightened up the belts a bit.
IMG_3155.JPG
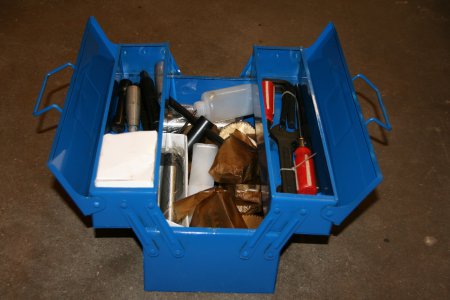
It comes with the cute little hip toolbox too.

Did I miss anything?

IMG_3179.JPG IMG_3180.JPG IMG_3170.JPG IMG_3171.JPG IMG_3173.JPG IMG_3155.JPG
 
And now some results.
IMG_3183.JPG
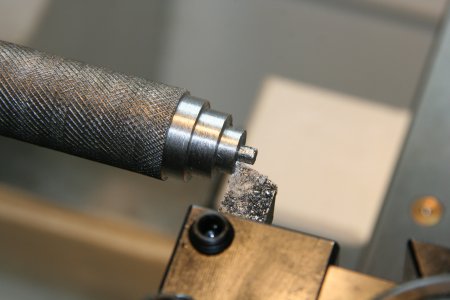
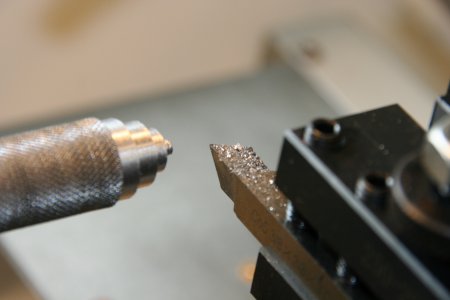
A piece of 3/4" 1018 crs that I had tried knurling on the 9x20.
Shown left to right:.030", .060, .090 and .125" depth of cut (ie per side). The lathe barely changed pitch while running 190rpm .005"/rev feed. That .125 didn't leave a nice finish, but the chip curling off was impressive (to me). I just eyeballed the tool height and this was my first cut with this toolbit so I think I will be able to take a bigger bite by far.
IMG_3184.JPG
Another view of the bit.

IMG_3183.JPG IMG_3184.JPG
 
GREAT pictures.... almost like being there watching...
However I would not have fit through the stand of the mill... :)

How much does it weigh... wondering how close to capacity your engine hoist was loaded?
I have read and viewed the pics of many a 'receive/un-crate/set/clean/chips' thread... still thinking carefully about how I will unload and set them up when they arrive.

THX again for the detailed thread!

GA
The crate was labeled 1487# iirc. Matt told me it was 1700#. The boom position on the crane is labeled for 1/2 ton capacity. Don't really have a good way to know for sure.
I still can't think of a good way to unload and move without a hi-lo.
 
Back
Top