New Teco VFD Install - Enclosure - 3 PH Motor

L

Lost Pup

Forum Guest
Register Today
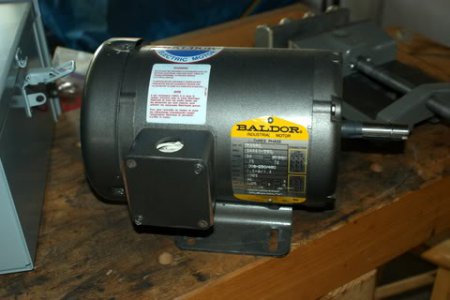
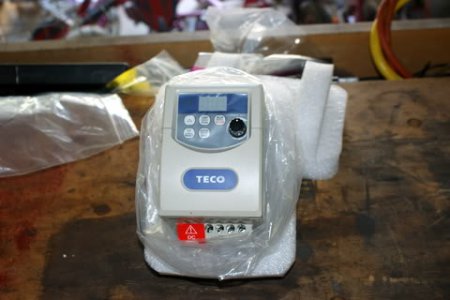
I started out doing a rebuild of an old Logan shaper and I needed a motor to finalize the project. My SB 10K lathe had/has a 1/2 HP 1750 rpm single phase motor so I thought what a perfect motor for the shaper project. I was looking for a chance to upgrade the SB Lathe to a VFD 3 phase setup.

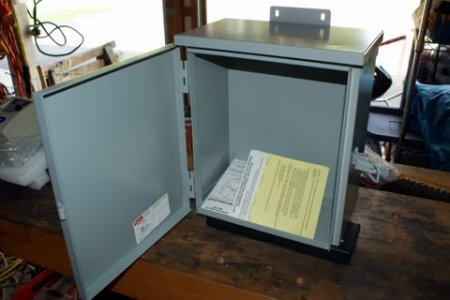
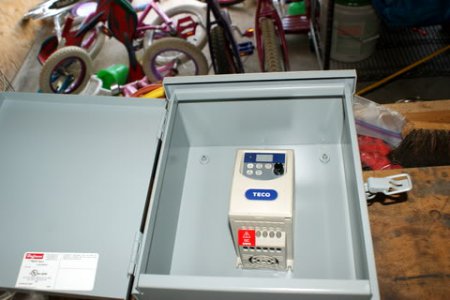
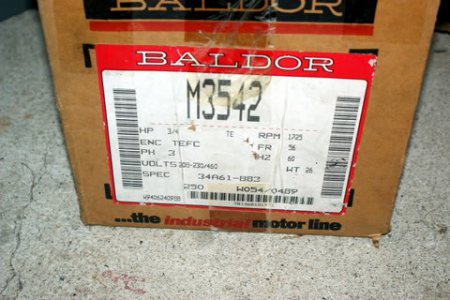
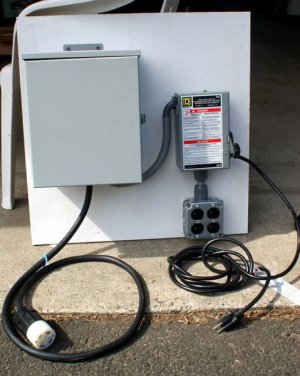
Here is the cost so far and a few pics to get started:

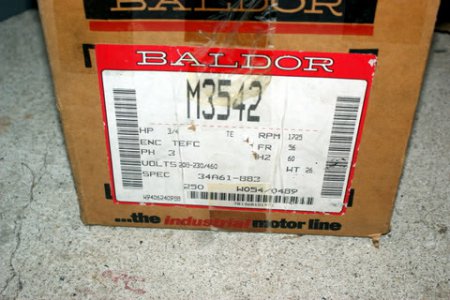
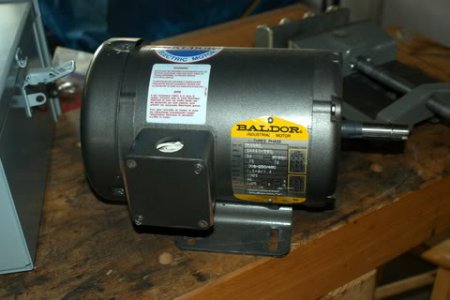
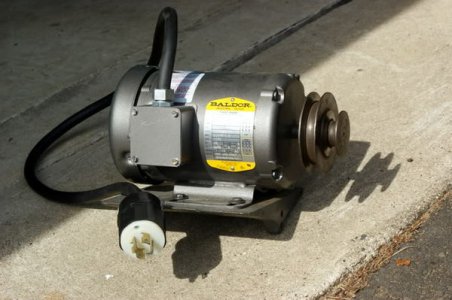
$69.89 Delivered : New Baldor 3 Phase 3/4 HP M3542 Motor w/ 56 Frame (Auction)

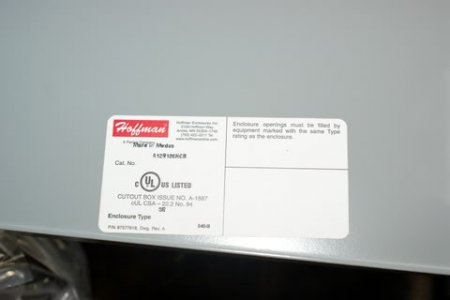
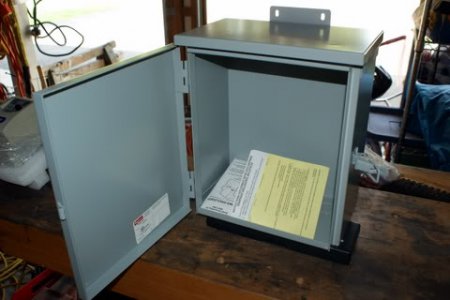
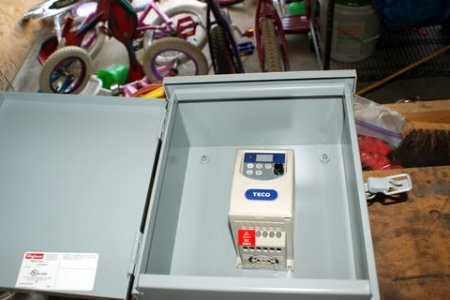
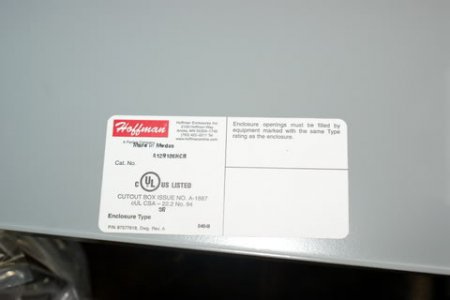
$24.90 Delivered : Hoffman Electrical Box 12"x10"x6" (Auction)

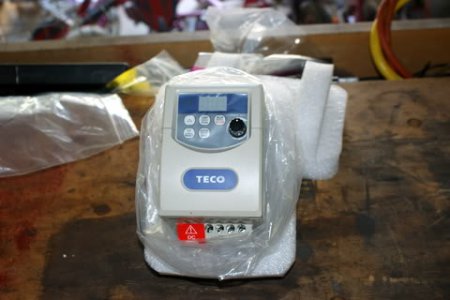
$145.71 Model JNEV-101-H1, Single Phase Input ONLY, Three Phase Output ( Dealers Electric )
1.jpg

2.jpg

3.jpg

4.jpg

5.jpg

6.jpg

:)

1.jpg

2.jpg

3.jpg

4.jpg

5.jpg

6.jpg
 
Pup,

You got some good buys there, I assume the auctions were Ebay.

I like the enclosure, but wanted one with a door I could cut and make an opening to have the TECO flush with the outside of the box.

Can you walk us through the wiring? Many of us have to do the same thing to ours. I bought some 24W shielded 3 pair stranded for the controls that a guy on the Yahoo Southbend list was selling by the foot.


Thanks,


Nelson
 
Just curious, did you get a back plane with that Hoffman box?
 
[quote author=1200rpm link=topic=2340.msg15616#msg15616 date=1306895430]
that`s the one, i wanted to use my drum switch but it is in pretty bad shape. BTW-the paper manual that comes with the Teco is pretty crappy and doesn`t have all the info for the hook-ups and settings, it`s on the computer disc. i was stumped until i finally looked at the disc.
[/quote]

you wouldnt happen to be able to be able to post the cdrom version would you? i bought my fm50 new in box but no manual.. ive found a couple of manuals online, but ive also been told the paper manuals leave alot out and i would like to have a complete manual..
 
Here is an update.

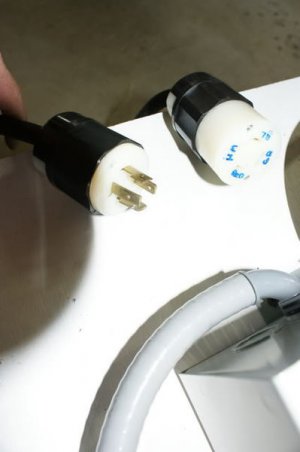
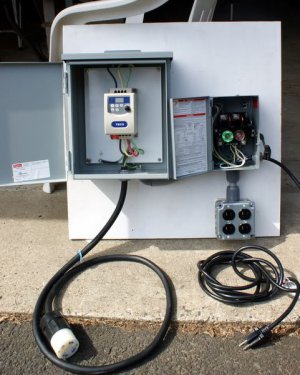
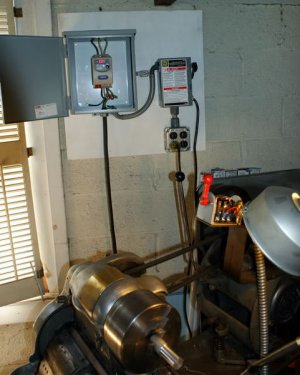
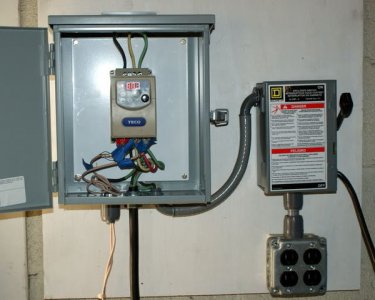
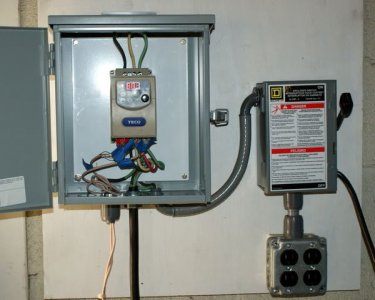
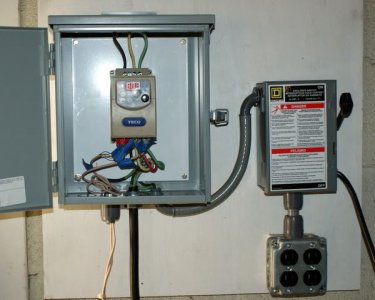
The install went well, the teco vfd was very easy to wire up. Added a switched outlet to my panel for a light and such. The panel and motor connection are portable at this point as I hope to remodel garage in the future. The operation is the vfd/motor is flawless at this point, smooth and quiet operation.

I am going to reuse the original fwd/rev switch to remote operate the vfd and add a remote POT for speed control.

Pics tell the story.
7.jpg

8.jpg

9.jpg

10.jpg

11.jpg
 
Sorry I just realized that I never updated with the final install pics.

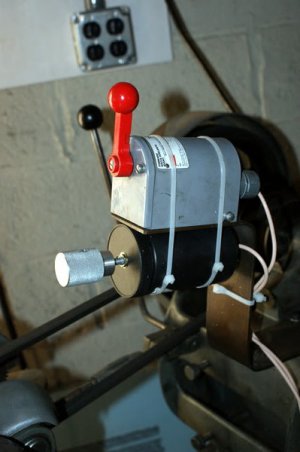
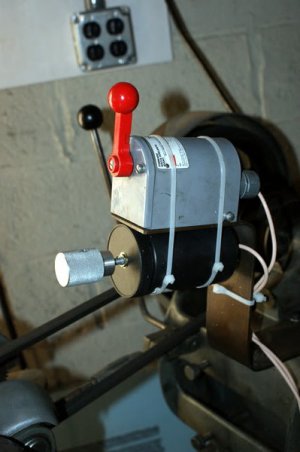
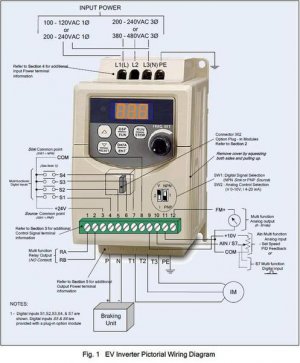
I used the old drum switch to operate the FWD Stop REV.

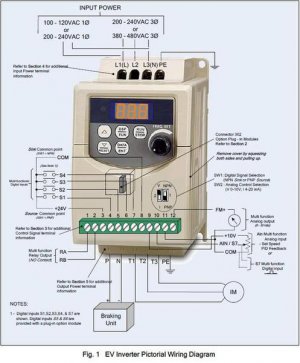
Terminal ID for Drum Switch was
S1 = 4 - FWD
S2 = 5 - REV
COM = 8

Set Function F04 = 001 Turns on the external drum. 000 was the default. 3 Wires needed.

Used some thin gauge wire I had around.

The speed control was a Radio Shack 10K-Ohm Linear ( Not Audio ) -Taper Potentiometer part # 271-1715 $3.50 at the local store. I used a plastic bottle with lid to hold it and zip tied it securely below the drum switch. I had it in my junk and I meant to change it out with a metal box but I never got around to it.

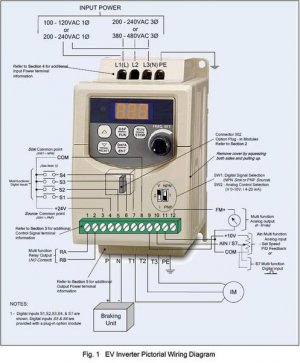
Terminal ID for the POT speed control was
+10 V = 9 First lead POT
AIN = 10 Center lead POT
COM = 11 Last lead POT

3 wires needed for this as well.

Set Function F05 = 002 Sets Frequency to the External POT.

If your POT speed runs backward just reverse the 9 and 11 leads and the speed increase / decrease should reverse, in my case turn to the right go faster then left to go slower.


I used some tape to number/mark the wire for the connections. A few minutes to hook them up and I was running.

It runs like a dream in operation, I throw the power switch up and just open the door the watch the Frequency/Speed. I did use the set screw on the speed knob to index the POT so at the straight up position the frequency setting is approx. 60. The other setting I changed from default were setting the max frequency to 100 so my range is 5 to 100. I did lower the deacceleration value to 1 second from I think the default of 2.5 seconds.

These were from my notes but please check the manual yourself.

Thoughts and Comments Welcome


vfd12.jpg

vfd13.jpg

vfd14.jpg

vfd12.jpg

vfd12.jpg

vfd13.jpg

vfd13.jpg

vfd14.jpg

vfd14.jpg
 
Last edited:
Nice instal! Do you have any vent holes in that enclosure?
 
Nice instal! Do you have any vent holes in that enclosure?

Thanks

No vents. The control wires pass through a open 1/2 connector on the bottom. I normally run with the door open but I do believe the box size meets the volume requirement for no vents required.
 
Back
Top