New Clausing 6913 - Gear box engagement lever fixed!!!!

You can easily invest/spend more money on tooling and such than the basic machine is worth…EASILY!
You are very correct on that. I don't even know what I'm doing and have spent more money than maybe I should have. It's all worth it though. We don't live forever!!!! This is so addictive it should be illegal!!!! Well worth it though!!!!
 
It doesn't much matter what size or price class your machine is in, a decent suite of tooling (cutters and accessories) will usually cost more than the basic machine.
 
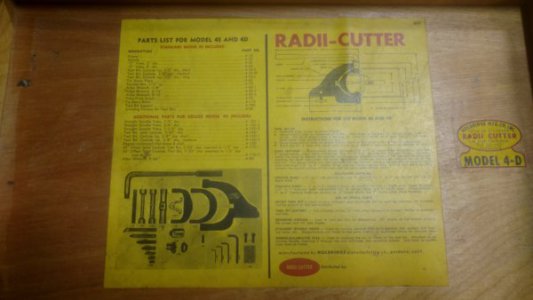
Interesting this came up as per the price of this stuff. I just picked this item up today from my brother(he went and picked it up for me and payed for it on Monday) 325.00 which I didn't think was bad but that is 75.00 less than I gave for the lathe in the first place. Before turkey I payed him back and checked it out and couldn't wait to get back to the shop and try it out. That will happen shortly!!!!! :)

IMG_20171123_195957913.jpg

IMG_20171123_200002200.jpg

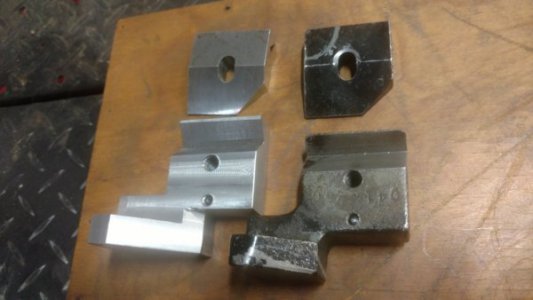
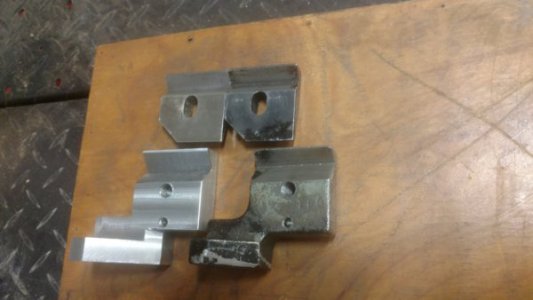
And on another note paparoe sent me his clutch kickout since we have the same lathe and I measured it extensively and drew it up. Then I built me one and never used the paper I drew up, just used his kickout and copied it. I did mess up one of the angles that clamp on the square shaft, but since I made my "Ramp" longer, It's not as issue at all.


Want to give a very big THANK YOU to him!!!!!!!!!


IMG_20171123_195847923.jpg

IMG_20171123_195920806.jpg
 
Well darn, the "tie down plate" doesn't fit. I guess I'll have to make one. The suspense is killing me!!!:) I can't wait to try it out and see how it works. This stuff is so exciting and addicting!!!! Wish I would have got into to it a LONG time ago!!!!!!!!
Glad all of you are here helping out to. I would not know ANYTHING if it wasn't for this site!!!!!!
 
Great Find! The “T” nut is easily made. And I would be surprised if it fit the way it was. You always need to tweak those things. Be aware that the tool SHOULD be on center. I see a shim on it from the last lathe…Dave.
 
Great Find! The “T” nut is easily made. And I would be surprised if it fit the way it was. You always need to tweak those things. Be aware that the tool SHOULD be on center. I see a shim on it from the last lathe…Dave.

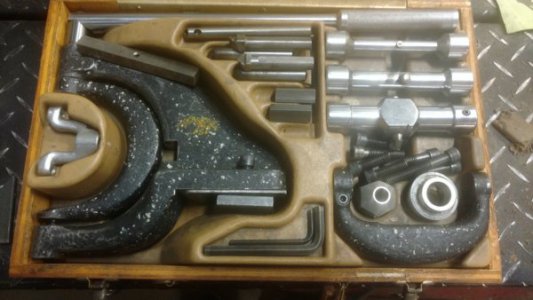
I made the T-nut last night and installed it quickly and cut some brass. The shim looks to be almost exact to get it on center I just didn't install it last night. I just wanted to try it out and it seems to work well. This morning i'm going to install the shim(after I look at dros, it is black Friday you know :) and since i don't have to get in a brawl at Wal mart to get one, i thought i'd actually maybe be involved in black Friday for once in my life!!! ) A couple of the tools are too high when installed, but I'll play with it more and make sure they don't go with some of the other attachments in the box first before I start asking what to do about it.
 
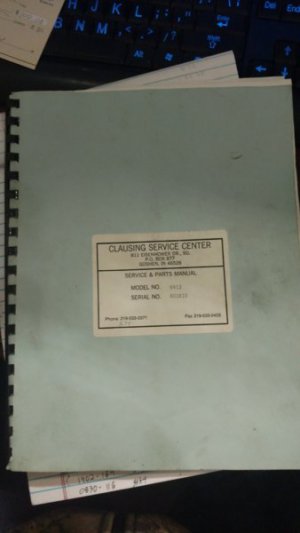
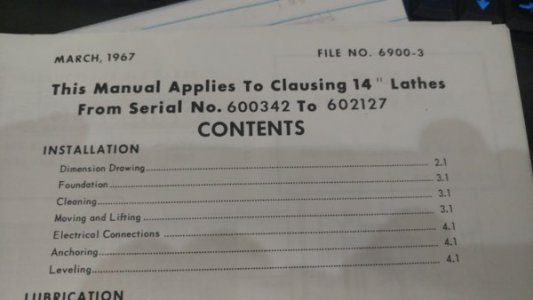
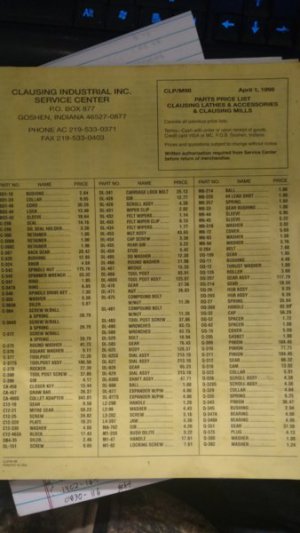
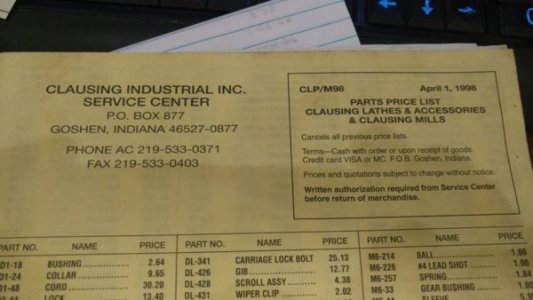
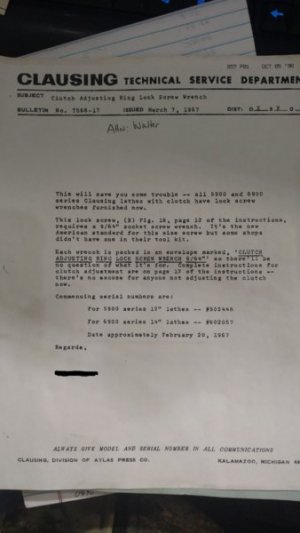
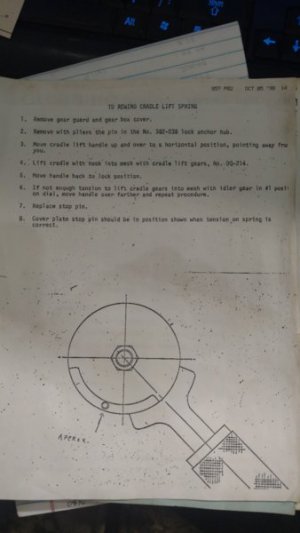
The guys dealing the estate of the man that use to own the lathe I bought, found this while they were cleaning things out. I thought it was pretty cool to get the manual, an old price list, and an old bulletin and what appears to be a fax to help with the very problem I had with the gearbox engagement lever when I bought the machine. I compared it to the manual in the "downloads" section and they are identical, except for the one in "downloads" shows accessories too. The steady rest, follower est, taper attachment, carriage stop, etc. Thought I'd throw it out here. Maybe it will help someone someday.


IMG_20171201_125535541.jpg

IMG_20171201_125545125.jpg

IMG_20171201_125648483.jpg

IMG_20171201_125657243.jpg

IMG_20171201_125621228.jpg

IMG_20171201_125630674.jpg
 
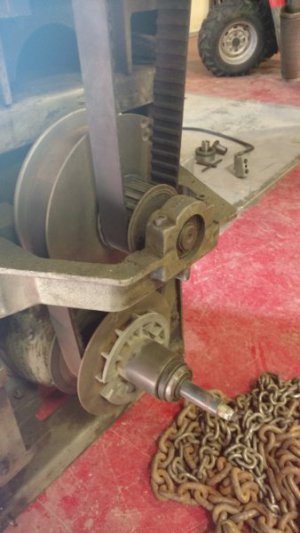
Did a little more work on the lathe to try and tighten up some wobble on the sheave on the drive motor. Sometimes when I am turning a part it seems like the cut gets a visible line in the work. I'm not sure if it's another issue but wondered if the wobble from the lower sheave assembly may have caused a minor brief difference in speed and caused the line to show up(also, it makes a little noise and I wanted to try and cure that too) This machine came out with a hydraulic variable speed adjustment which had been removed before I got it, now it uses a VFD. I also plan on removing the bolt nut and spacer in the first pic, bottom sheave, and make a larger shaft to use for the sheave width adjustment. I am also going to try to put a bearing on on that same shaft and build a support arm that goes up to just below the bearing in the upper sheave and hold the outside of the shaft on the bottom sheave so it cant move up and down. That is verified one place I am getting noise from.


Old pic, but its the only one I have assembled.
1.jpg

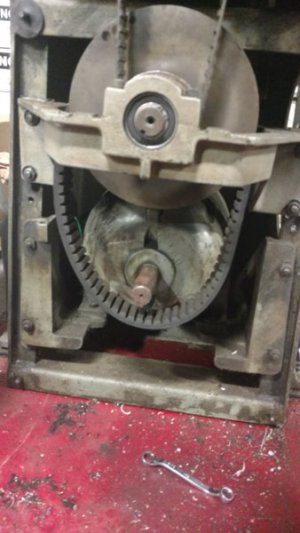
The support arm I want to do will be notched to fit in the tab right below the bearing, and then go down the hold the outer end of the shaft on the bottom sheaves to keep it from "Flexing upward" during use. Not the motor shaft, but the shaft you see in the first pic(homeade) I need to beef it up anyway as it has broke a roll pin on it twice since I got the machine.
2.jpg

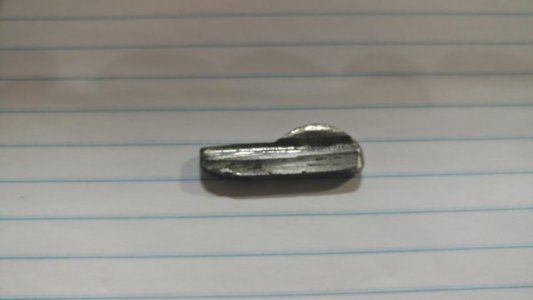
This key is in between the two sheaves(no pic) It does not go on the motor shaft(its a straight regular key) Its torn up pretty bad obviously.

3.jpg


Here is my idea of a new key. Made it wider so when I screw the first 2 up I still have more to work with!!!! I just roughed it close and will cut and file to fit later. They are still available for about 880.00 bucks. Nice thing about that price is it comes with 2 new sheaves too!!!! The key I want to make will be wider than what came out of it. The key way in the other sheave is wider than the key that came out of it anyway, so I think it was homeade as well which allowed it to rock back and forth during operation.
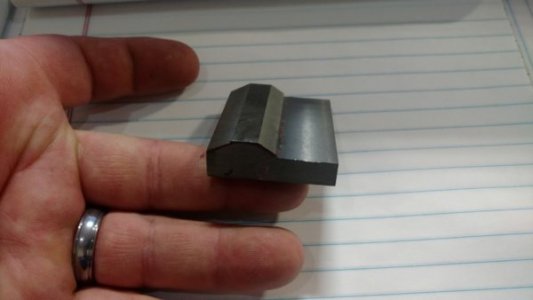

4.jpg


From the tooling that came with the mill I bought I used this "woodruff key cutter??" since the diameter was the same size as the rounded part of the key. The cutter is wider though, but since my sheaves don't move in and out to regulate the RPM anymore and they are basically stationary now, I didnt think it would hurt.
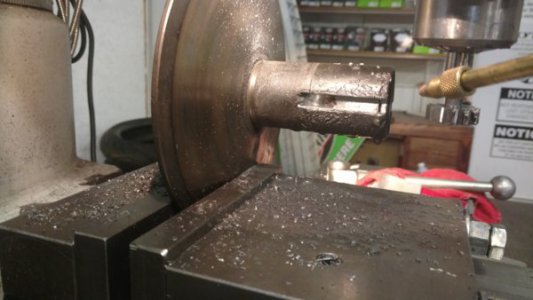

5.jpg

And the fun part. When I got it mostly cut I found a nice long crack in the sheave. It has been there a while I can tell, just didn't know about it. So now what to do??? My thoughts are to weld it, turn it down and re-cut the key way. Problem I see with that, there is a black plastic like coating on the sheave shaft. Assuming its for easy movement for the variable speed(which I don't need since it was converted to the VFD) but if it all burns off during welding, now my clearances and sheaves are going to be loose. Any other ideas rather than buying an 800.00 sheave and key set? It does have some plastic style 1/2 bushings in between the 2 sheaves. Since the sheaves don't move in and out anymore, I could probably measure and make a bushing(spacer more like since it doesn't move) to take up the slack. Any advise or ideas is welcome. I'll buy the sheaves and key if I have to, but really don't want to if I can help it. Thank you.
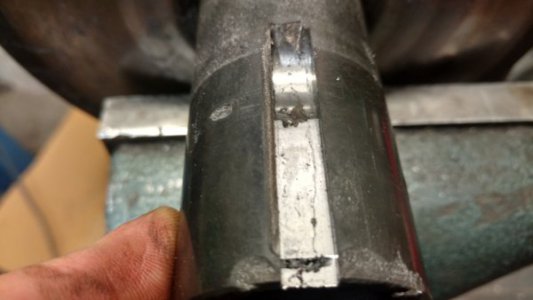


6.jpg
 
When I got it mostly cut I found a nice long crack in the sheave. It has been there a while I can tell, just didn't know about it.

Well that explains the sloppy key!

I'd consider brazing that old key way full, then turning it down flush. You can braze at lower temperatures than welding and should therefore have less distortion (and out of round due to contraction of the weld metal). Then cut a new key way say 120 degrees away from this one.

But, I can't say what this would do for that coating on the shaft......
Is there a bare place on the shaft that you can measure the difference coating vs. no coating?

-brino

Brazing sounds like a good alternative actually. Thanks. I did get it measured so I'm not too worried about the OD right now and the set up I have doesn't need to move in and out since the variable was disabled and the VFD was installed(before I got the machine). I'm not concern with the coating anymore because of that. I decided to make a brass bushing to keep it all tight and will cut the key way in a different location. The key way I "ASSUMED" was the original and when I copied and made the new one, it is too short. The original key is also about .100 too narrow. I'll have to re-do all of that but no big deal. I went ahead and put the machine back together to cut the bushing(new key installed) and it quieted down already so I'm excited to get the whole thing finished and reassembled and tested out.
 
Back
Top