-
Welcome back Guest! Did you know you can mentor other members here at H-M? If not, please check out our Relaunch of Hobby Machinist Mentoring Program!
You are using an out of date browser. It may not display this or other websites correctly.
You should upgrade or use an alternative browser.
You should upgrade or use an alternative browser.
My take on inboard and outboard spiders
- Thread starter wallyw
- Start date
- Joined
- Dec 17, 2012
- Messages
- 745
Cigarettes on the ways of the mill take a horrible taste 
(don't ask me how I know this)
Nice video, BTW, thanks!
(don't ask me how I know this)
Nice video, BTW, thanks!
- Joined
- Nov 24, 2013
- Messages
- 1,791
Once again, fine vid brother. Our instructor was talking to us about the need for rear bushingings or a spider for through work. The vid just brings it all together.
Cigarettes on the ways of the mill take a horrible taste
(don't ask me how I know this)
Nice video, BTW, thanks!
Italy? I try
WallyW
- - - Updated - - -
Once again, fine vid brother. Our instructor was talking to us about the need for rear bushingings or a spider for through work. The vid just brings it all together.
Glad it was of some use.
WallyW
I really like the tapping-handle idea you showed in the video. I'll be making me one of those!
Thanks!
I too liked that idea. I'm not sure it would give enough feel for small taps such as 6-48 and the like. I have always drilled a hole, and without moving the mill table, lowered the table and tapped the hole. I have a tap handle that I put a trued hole on the end, and put a pilot rod in the chuck and let that guide the tap. It's slow, but it's the best way I know to guide a tap exactly straight without and wobble. I can feel the pressure by hand that way. But for bigger taps/holes, that's a neat trick.
A couple reasons. One is reducing the width of the headstock. Another is using screws with the small contact area on the barrel, you can't induce a bend on the barrel.
My Acer has a fairly narrow headstock anyway, but I got another inch or more by getting a direct mount independent 4jaw. I took the jaws out, and cut all the steps off, leaving only the main portion of the jaws. Then by using a #10 copper wire to use between the barrel and jaws, I have a stress free setup.
My Acer has a fairly narrow headstock anyway, but I got another inch or more by getting a direct mount independent 4jaw. I took the jaws out, and cut all the steps off, leaving only the main portion of the jaws. Then by using a #10 copper wire to use between the barrel and jaws, I have a stress free setup.
- Joined
- Nov 20, 2014
- Messages
- 9
Thanks for the video.
One time, a few years ago, I looked at the original design Grizzly cat-head chuck and didn't like it because it had those hungry looking clothing grabbing bolts spinning right next to where my left hand would have to be when I was holding the chambering reamer. I regarded that as an unacceptable design, so I made my own spider chuck with recessed spider bolts. I machined it to mount on my 4J chuck back plate. The change over is fast and easy: remove 4 bolts, remove the chuck body, set the spider chuck body in place, insert shorter bolts, done.
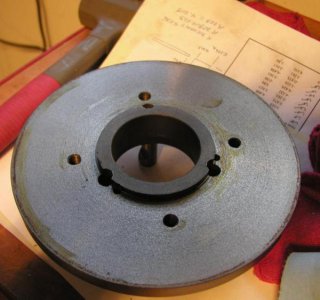
The chuck back plate looked like this:
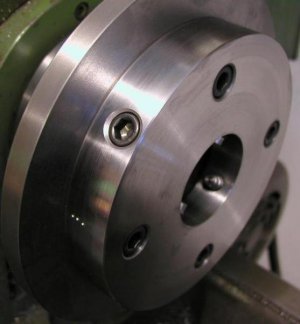
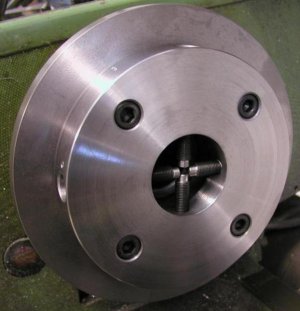
This shows two views of the completed spider chuck bolted in place on the back plate (prior to adding brass tips to the spider bolts), first with the spider bolts backed out to flush which would clear a 2" barrel blank, second with them in far enough to touch:
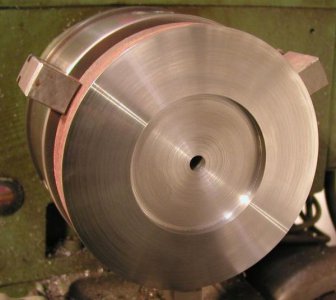
This shows the spider chuck plate in work chucked in the 4J it will share the back plate with:
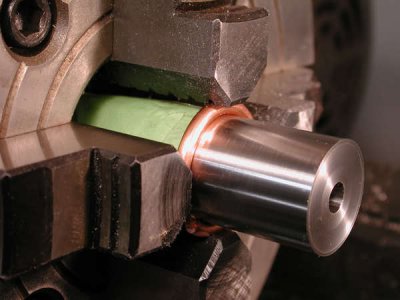
That said, the spindle on my lathe is short enough that I've never had to do a rifle barrel that required the use of the cat head chuck. I actually find it easier to use the 4J with a piece of #6 or #10 copper wire around the barrel in the chuck, like this:
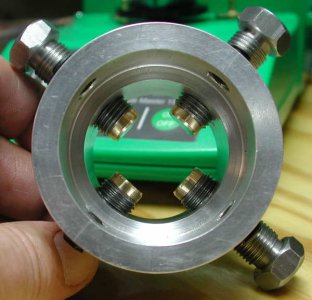
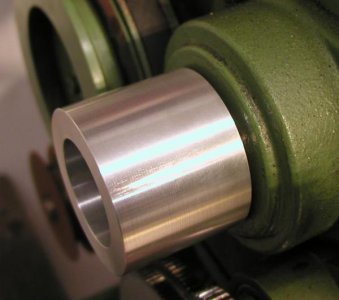
I originally made an add-on cat head for the back of the spindle that looked like this:
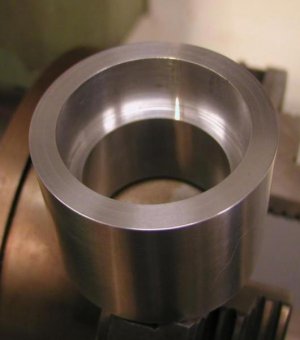
The inside shoulder:
Fits over the spindle:
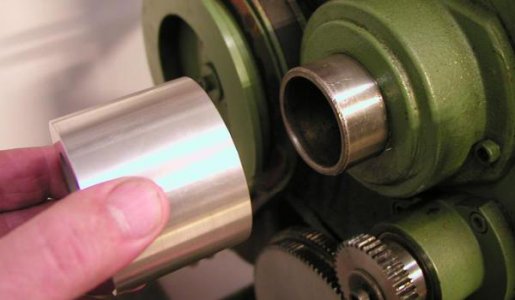
Like this:
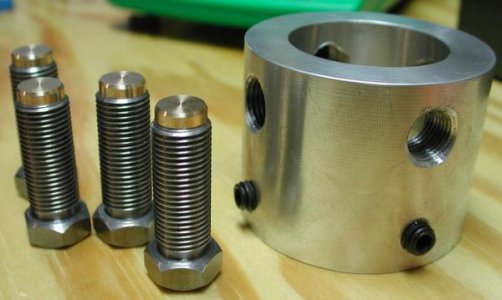
This shows the parts:
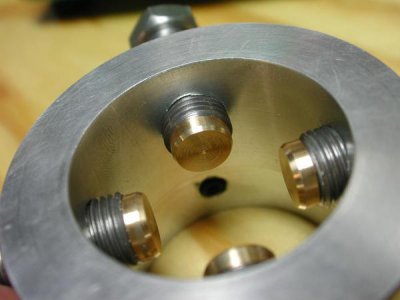
And finished:
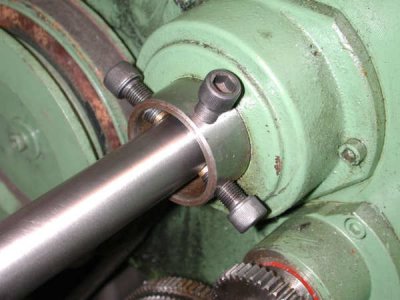
I got tired of putting it on and off the lathe, used the 4 set screw marks on the spindle as a guide and simply cross drilled and tapped the tail end of the spindle itself:
Fitch
One time, a few years ago, I looked at the original design Grizzly cat-head chuck and didn't like it because it had those hungry looking clothing grabbing bolts spinning right next to where my left hand would have to be when I was holding the chambering reamer. I regarded that as an unacceptable design, so I made my own spider chuck with recessed spider bolts. I machined it to mount on my 4J chuck back plate. The change over is fast and easy: remove 4 bolts, remove the chuck body, set the spider chuck body in place, insert shorter bolts, done.
The chuck back plate looked like this:

This shows two views of the completed spider chuck bolted in place on the back plate (prior to adding brass tips to the spider bolts), first with the spider bolts backed out to flush which would clear a 2" barrel blank, second with them in far enough to touch:


This shows the spider chuck plate in work chucked in the 4J it will share the back plate with:

That said, the spindle on my lathe is short enough that I've never had to do a rifle barrel that required the use of the cat head chuck. I actually find it easier to use the 4J with a piece of #6 or #10 copper wire around the barrel in the chuck, like this:

I originally made an add-on cat head for the back of the spindle that looked like this:

The inside shoulder:

Fits over the spindle:

Like this:

This shows the parts:

And finished:

I got tired of putting it on and off the lathe, used the 4 set screw marks on the spindle as a guide and simply cross drilled and tapped the tail end of the spindle itself:

Fitch
