My New (old) Toy

MozamPete

H-M Supporter - Gold Member
H-M Supporter Gold Member
Joined
Jun 26, 2014
Messages
619
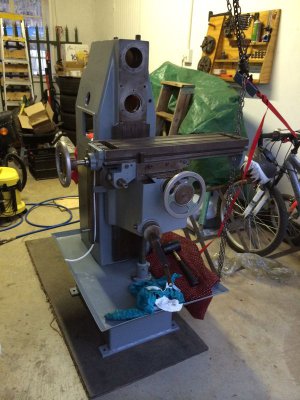
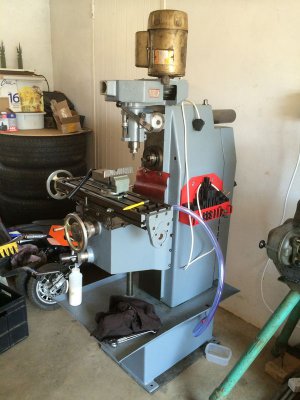
Well I purchased my first milling machine a week ago to go with the small lathe in the garage.

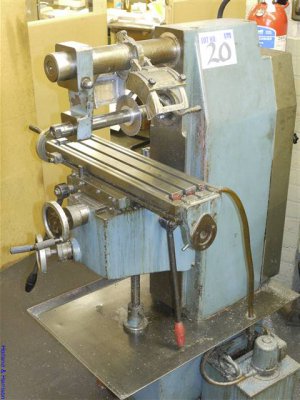
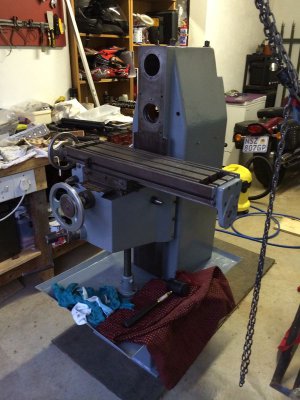
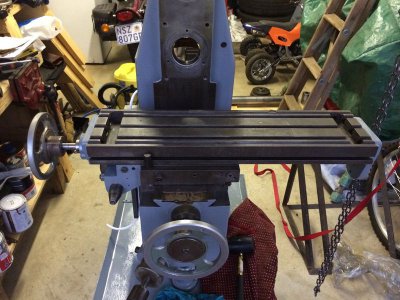
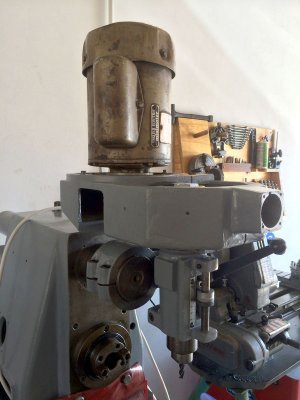
It's a CME (Spanish) F-900 horizontal mill with a vertical milling head attachment (also CME I assume). Unfortunately didn't come with the rotary table and divider in the photo.

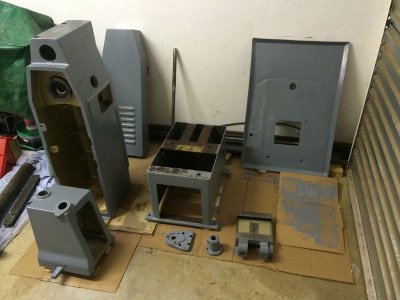
Was in reasonable order and not actually in need of any work, but as we had to dismantle it to get it into bits two people could handle loading for the move home (it is a solid cast iron body) it is now in pieces in the garage so I thought I may as well give it a good cleanup and a look over all the parts before reassenbling it. Of course if it's in parts and clean already I might as well give it a repaint too - all probably totally unnessary but if I don't do it now I know I probably won't bother to pull it apart to do it once it's working.

So far haven't found any major issues. One shaft on the saddle is quite scored where the lock engagaes (the lock was probably sticking and not fully disengaged during use) but I think I will just leave it as is. And the coolant tray had a split at the corner which I welded up before painting.

Had some difficulty removing a roll pin pinning a gear to a shaft but after turning up a suitably size tool on the lathe and some rudimentary hardening (through it in the BBQ coals while cooking dinner last night and when it was red hot dropped it in a bucket of water) managed to knock it out.

Will post some photos as it goes if people are interested.

p.s. if anyone else has one of these and has a manual I would be interested in a copy. Can't seem to find any info on it on the internet.

Peter
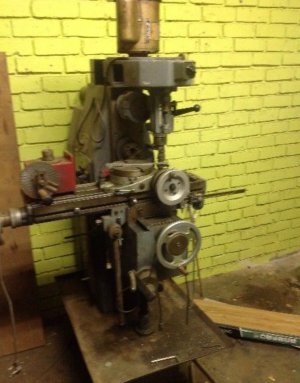
image (3).jpg
 
Interesting machine. Could you post up more pictures with close up views? Are those spindles for horizontal mills in the back column or am I seeing things again?
Thanks for sharing over to this side of the pond. I always enjoy seeing European manufactured machinery.
 
Hi Russ,

Mine is all in bits at present but basically it is a horizontal milling machine as in this photo (not mine just another image I found on the internet), but with a vertical milling head attachment (with a separate motor) attached to the ram/arbour support bar at the top.

The red and black levers are for a quick table feed (for surface grinding I'm told). The horizontal spindle is a Int 30 taper fitting and the vertical milling seems to be a custom collet arrangements (they don't seem to be a collet to any standard I can find - subject of one of my other post to see if anyone else could identify them).

Will post some more photos as it goes back together.

LotImage_26292.jpg
 
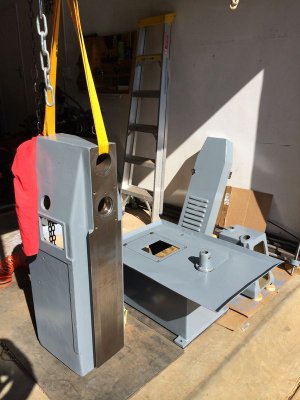
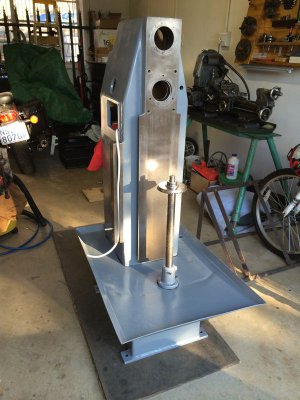
Well the mill has been stripped down, repainted and the re-assembly commenced over the weekend. Just got the body and chip tray back up onto the stand and bolted down and the motor and intermediate pulleys reinstalled in the body. Next task is to reassembly the knee on the bench and then get it installed on the body and adjusted.

PIC1.jpg pic3.jpg pic2.jpg
 
Coming along now. Got the knew, saddle and table back on last night. Still needs a bit of fine tuning needed which I will play with over the next couple of days then hopefully it will be ready to reinstall the spindle and give it a test drive over the weekend.

Pic4.jpg Pic5.jpg Pic6.jpg
 
Got the horizontal milling function all back together and running (albeit on some temporary electrics) and managed to make some chips. But after a while of operation I noticed the front end was getting a bit hot so I broke out the thermal camera and the front spindle bearing (well the whole chuck actually) was quite hot. Looking around the machine the bearings on the intermediate pulley were also getting hotter than I expected so I bit the bullet and decided to do all the bearing as well just to ensure that I get trouble free operation once it is finished.

So out came the spindle and intermediate pulley again, pulled all the bearings, got replacement and should get it back together again this weekend. Then there is just the electrics and the vertical milling attachment to complete.

Pic7.jpg
 
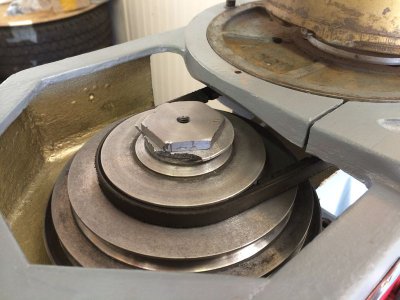
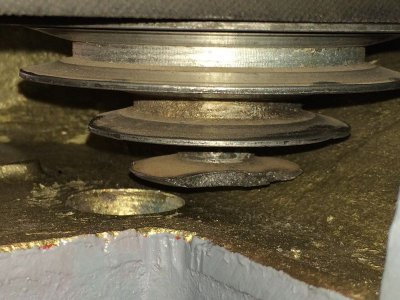
Sill working on my milling machine rebuild. Have now got the vertical milling attachment together and installed. Will probably come off again as there is some damage to the V-belt pulleys so at present I can't used the fastest or slowest speeds (only the middle 3), but I am waiting for some material to arrive for the repair so decided to get it going as is for now.

Still running on temporary electrics and have some other bits on order (new chip guard, handles, coolant pipes) which will be installed latter but is at least working now and in its final position - now to decide on a first project I can get finished before the parts arrive and I pull it apart again.

Pic8.jpg Pic9.jpg
 
Last edited:
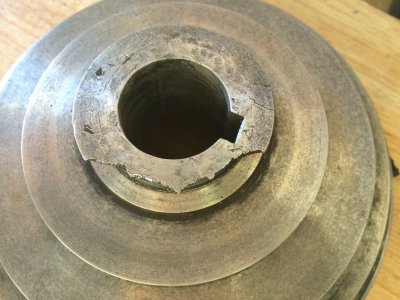
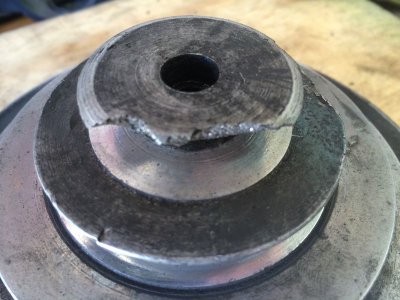
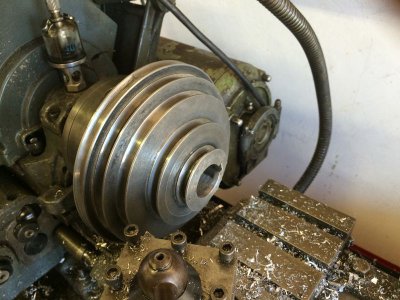
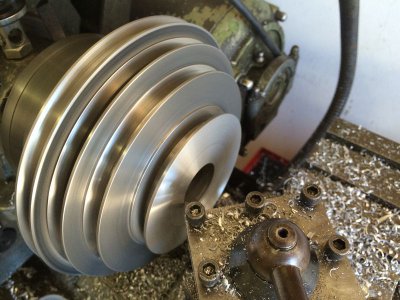
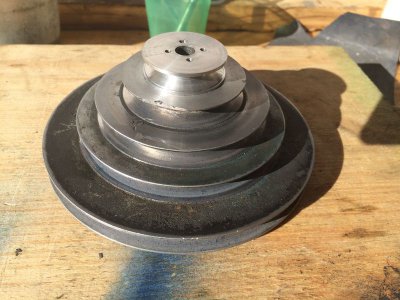
This weekends project was to repair the V-belt pulleys on the vertical head attachment. The smallest diameter on both the 5-speed pulleys (motor and quill end) were damaged effectively limiting its use to the three middle speeds.

Pic10.jpg pic11.jpg
Pic17.jpg Pic18.jpg

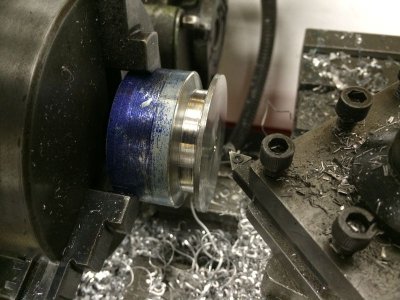
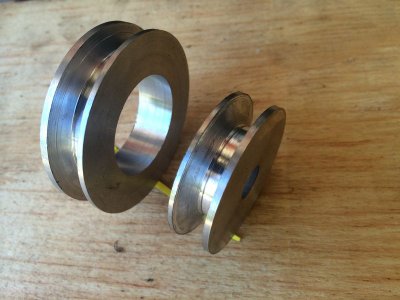
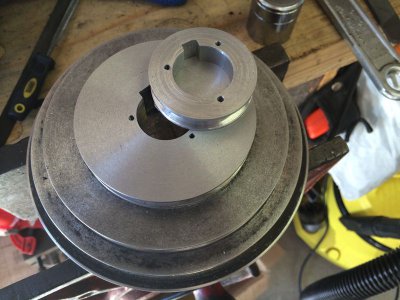
After removing the pulleys and measuring them up I turned up a replacement for each of the small ends.

Pic12.jpg Pic19.jpg

Then chucked up the original pulley and removed the small end.

Pic20.jpg Pic13.jpg

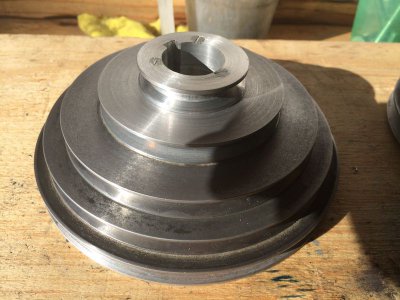
Then I pinned the new pulley to the old one.
On the quill end pulley the key slot went all the way through so I cut a keyway and drilled and tapped for three M4 machine screws. After fixing them together I returned it to the lathe as trimmed down the screw heads where they were sitting proud of the surface and encroaching into the center hole.

Pic16.jpg Pic14.jpg

On the motor end pulley the keyway did not go all the way through so I left a stub and bored one end of the new pulley to be a tight fit. After fixing them with some adhesive I drilled and tapped 4 long grub screws through the joint to hold them together. As the adhesive and the grub screws are actually transmitting the torque on this pulley (and the keyway doesn't go all the way to the top) it is a bit of try it and see if it works on this one.

Pic15.jpg

There are some other small chips etc in the pulleys but I am just going to fill those with steel putty so there are no sharp edges which could damage the belt, they are small enough I don't think they would impact the actual operation.

Pic10.jpg pic11.jpg Pic12.jpg Pic19.jpg Pic20.jpg Pic13.jpg Pic16.jpg Pic14.jpg Pic15.jpg Pic17.jpg Pic18.jpg
 
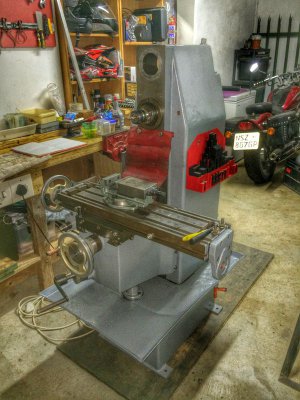
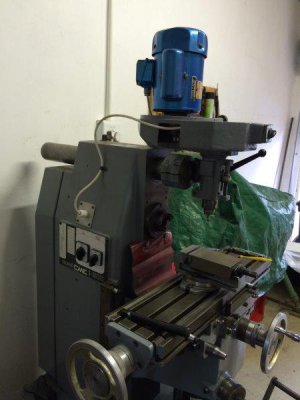
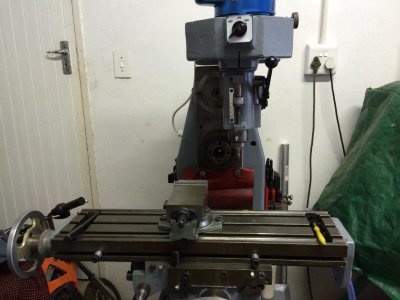
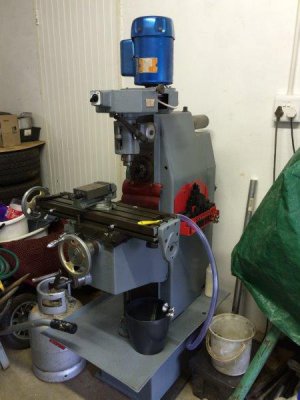
Well I realised I never added some photos of the completed project - well completed to the point that it is now in regular use so the final tidy ups/extras on the snag list will probably take a long time to get completed.

IMG_4389.jpg

IMG_4387.jpg

IMG_4386.jpg


Final items to still be done include:
- a new concertina type chip guard to replace the red vinyl guard. I have the new guard but are still thinking on the best way to mount it
- complete the lube pump circuit. Pump is installed and wired but as I tend to just use a bottle and squirt the lube on I haven't set up the feed tubes.
- The collets on the vertical milling attachment are a real pain to release and I would like to change it to an ER style collet - but that is probably a whole new project on its own.

IMG_4386.jpg IMG_4387.jpg IMG_4389.jpg
 
  • Like
Reactions: ARM
Back
Top