- Joined
- Mar 25, 2015
- Messages
- 24
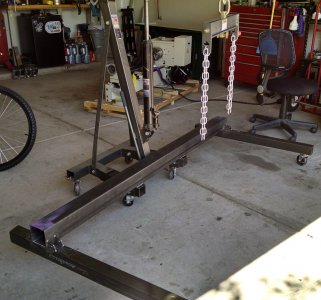
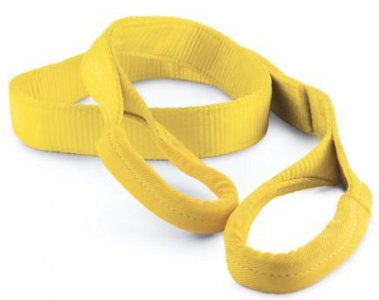
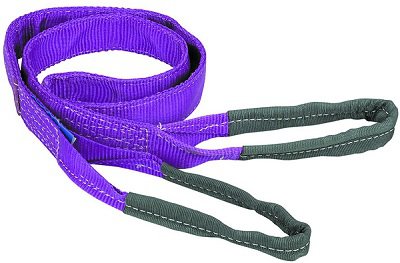
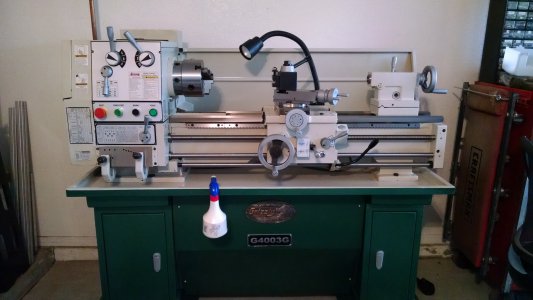
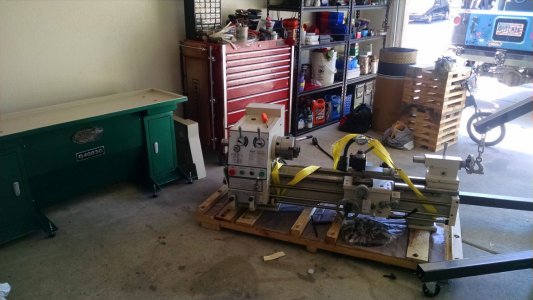
After a lot of research, I finally decided to order a G4003G from Grizzly a month or two ago. I was lucky in that I was able to purchase it with a 10% veteran's discount (might have been a promotion for Veteran's Day; I don't know). With lift-gate delivery, the final bill was around $3250 (for future reference). Here's a few photos of "Christmas morning":
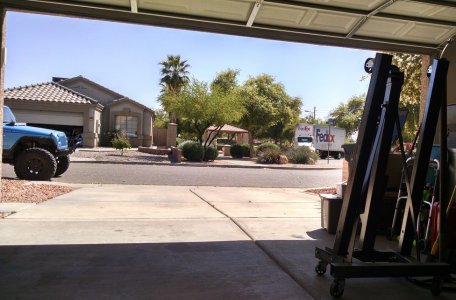

After everything was in the garage, I started to inspect the crates. There was some minimal shipping damage to the crates themselves, but the contents were unharmed. Before I jumped in with both feet and began assembling, I decided to take it slow and make some of the improvements and modifications that I've read online first; easier to do it now than later I figured.
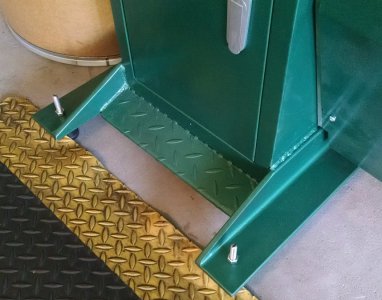
Steve Bedair's page said that he had removed a few inches from the cast pedestals since he found the overall height a little too tall. Well, I'm 5'7" on a good day, so without even setting it all up, that's what I decided to do first. I don't recall the exact measurement, but I believe I cut somewhere along the lines of 3.25" off the bottom of each pedestal. If you're thinking of doing the same thing, you can easily see where to cut once you look at it in person; I cut mine just below (maybe 1/4") the first angled section of metal from the bottom. Also, as you'll see in the pics below, my pedestals were NOT cast; they're welded sheet metal...which I was slightly disappointed with.
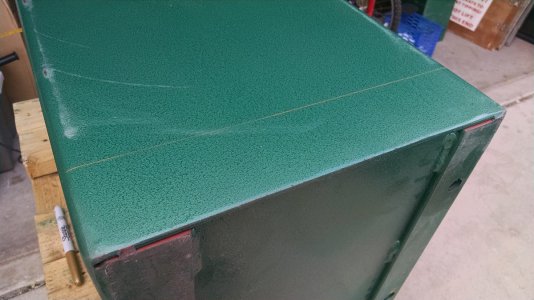
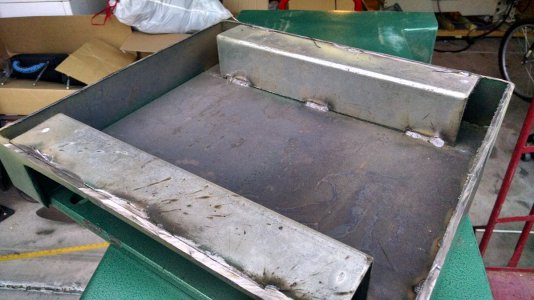
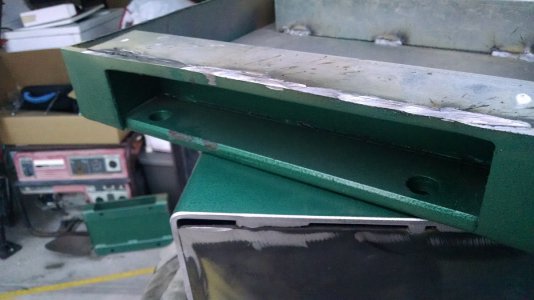
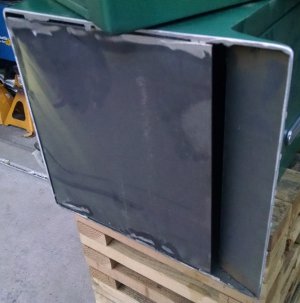
Also, as you can see in the pics, the holes in the pedestals for the mounting feet are very close together. I don't remember the measurement, but I think they were in the neighborhood of 10" on center. Not enough to give me the warm n'fuzzies about balancing that much weight 4.5' off the ground. So, I cut some 3"x3"x.375 angle I had laying around in 2' lengths (4 pieces) and welded them to each side of the pedestals. I drilled and tapped them .375-16, 21" on center, for leveling feet that I purchased from Grainger (I'll add a pic of the feet and angle later).
I read somewhere that Rustoleum Metallic Deep Green was a match for Grizzly Green and that's the truth; pretty much a perfect match. The only problem, is that I think the color has been discontinued as there wasn't a drop to be found anywhere near me. I eventually had to order a single can online and have it shipped to me (with hazmat shipping of course...) to the tune of $14 for one can...but, at least it matches.
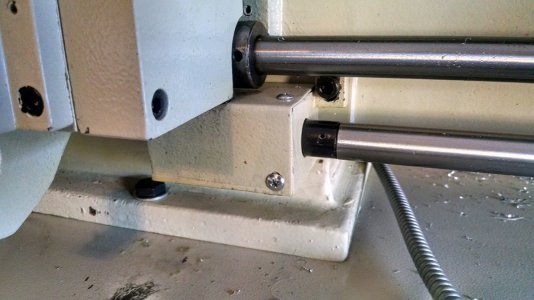
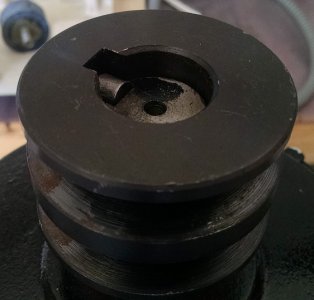
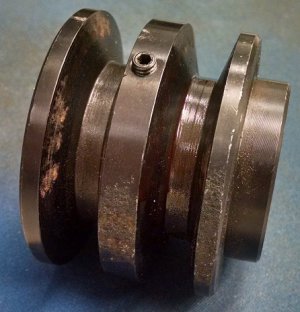
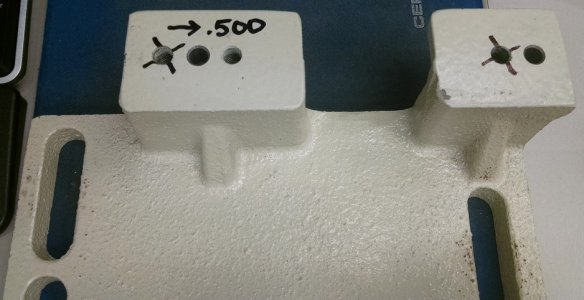
After the base was squared away, I turned my attention to other details. I didn't like how the double-groove pulley on the motor stuck out so far on the shaft, nor did I like not having a set screw on the same pulley over the key. So, I pulled the motor, moved the mounts over .500", and re-installed it with vibration dampening mounts from McMaster:
Pulley before:
New set screw:
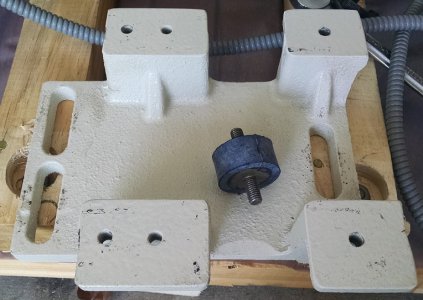
Motor mount bracket before and new rubber mounts (notice the two sets of holes on one side; it was that way from the factory...):
Mounting bracket after:
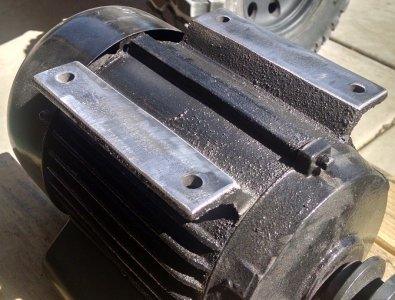
I ordered the rubber mounts that were recommended online (I think it was this forum, but I don't remember), and they are the same size threads as the stock bolts; 8mm if memory serves. If I could do it over again, I'd go a little larger in thread size (because there's room), but more importantly, I'd make sure they're a little longer. These mounts were just a hair too short, so I shaved off the "pads" on the bottom of the motor to let it sit flat against the rubber mounts:
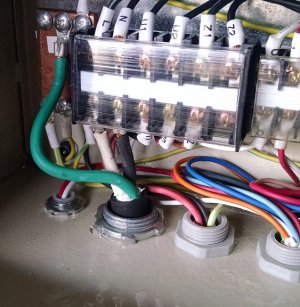
Since my garage isn't wired for 220V (and I rent, so I'm not sinking money into somebody else's house), I decided to wire my lathe up for a pigtail and use the same extension cord that I use for my welder; a real HD unit made from 10-3. So, the pigtail was made out of the same 10-3...about a 6' length. With wire that large (the manual suggests using 14-3), I had to replace the strain relief fitting with something a bit more substantial.
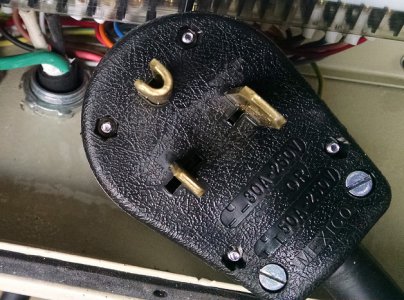
After it was wired up, and while still bolted to the pallet, I broke in the gears/motor per the manual.
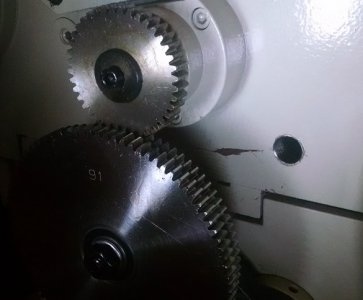
I didn't like how the headstock oil drains through a plug directly over the change gears, so I added a 90° fitting and cap to replace the plug. Now I can at least stick a funnel under there when I need to change the oil. I can add a pic of the new fittings later, but here's one of the hole where the drain plug is at:
To be continued...
-WRM


After everything was in the garage, I started to inspect the crates. There was some minimal shipping damage to the crates themselves, but the contents were unharmed. Before I jumped in with both feet and began assembling, I decided to take it slow and make some of the improvements and modifications that I've read online first; easier to do it now than later I figured.
Steve Bedair's page said that he had removed a few inches from the cast pedestals since he found the overall height a little too tall. Well, I'm 5'7" on a good day, so without even setting it all up, that's what I decided to do first. I don't recall the exact measurement, but I believe I cut somewhere along the lines of 3.25" off the bottom of each pedestal. If you're thinking of doing the same thing, you can easily see where to cut once you look at it in person; I cut mine just below (maybe 1/4") the first angled section of metal from the bottom. Also, as you'll see in the pics below, my pedestals were NOT cast; they're welded sheet metal...which I was slightly disappointed with.


Also, as you can see in the pics, the holes in the pedestals for the mounting feet are very close together. I don't remember the measurement, but I think they were in the neighborhood of 10" on center. Not enough to give me the warm n'fuzzies about balancing that much weight 4.5' off the ground. So, I cut some 3"x3"x.375 angle I had laying around in 2' lengths (4 pieces) and welded them to each side of the pedestals. I drilled and tapped them .375-16, 21" on center, for leveling feet that I purchased from Grainger (I'll add a pic of the feet and angle later).
I read somewhere that Rustoleum Metallic Deep Green was a match for Grizzly Green and that's the truth; pretty much a perfect match. The only problem, is that I think the color has been discontinued as there wasn't a drop to be found anywhere near me. I eventually had to order a single can online and have it shipped to me (with hazmat shipping of course...) to the tune of $14 for one can...but, at least it matches.
After the base was squared away, I turned my attention to other details. I didn't like how the double-groove pulley on the motor stuck out so far on the shaft, nor did I like not having a set screw on the same pulley over the key. So, I pulled the motor, moved the mounts over .500", and re-installed it with vibration dampening mounts from McMaster:
Pulley before:

New set screw:

Motor mount bracket before and new rubber mounts (notice the two sets of holes on one side; it was that way from the factory...):

Mounting bracket after:

I ordered the rubber mounts that were recommended online (I think it was this forum, but I don't remember), and they are the same size threads as the stock bolts; 8mm if memory serves. If I could do it over again, I'd go a little larger in thread size (because there's room), but more importantly, I'd make sure they're a little longer. These mounts were just a hair too short, so I shaved off the "pads" on the bottom of the motor to let it sit flat against the rubber mounts:

Since my garage isn't wired for 220V (and I rent, so I'm not sinking money into somebody else's house), I decided to wire my lathe up for a pigtail and use the same extension cord that I use for my welder; a real HD unit made from 10-3. So, the pigtail was made out of the same 10-3...about a 6' length. With wire that large (the manual suggests using 14-3), I had to replace the strain relief fitting with something a bit more substantial.


After it was wired up, and while still bolted to the pallet, I broke in the gears/motor per the manual.
I didn't like how the headstock oil drains through a plug directly over the change gears, so I added a 90° fitting and cap to replace the plug. Now I can at least stick a funnel under there when I need to change the oil. I can add a pic of the new fittings later, but here's one of the hole where the drain plug is at:

To be continued...
-WRM


