- Joined
- Jan 1, 2014
- Messages
- 233
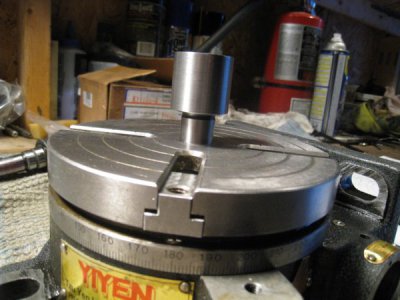
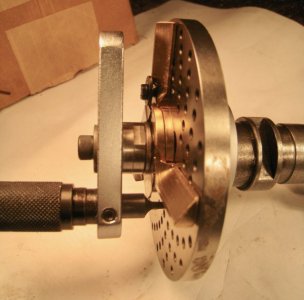
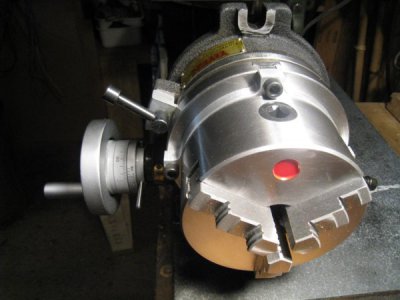
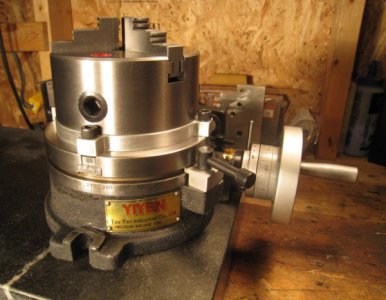
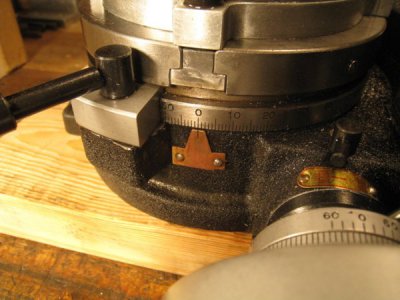
My 6” Yiyen RT (Taiwanese 1989) needed some TLC before mounting the 5” 3 jaw chuck. On the list was: doing something about the “direct on thread” set screws on the table nut and worm shaft nut; moving the degree witness plate; an oiling port for the worm; custom 5/16” t-nuts; an extra plate for the indexing kit; and, the chuck mounting plate.
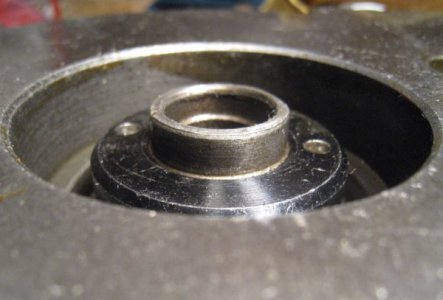
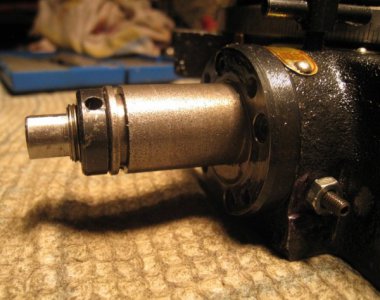
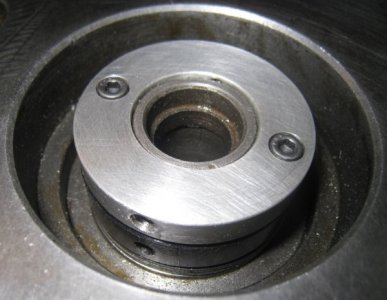
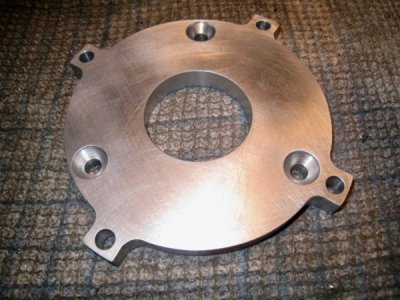
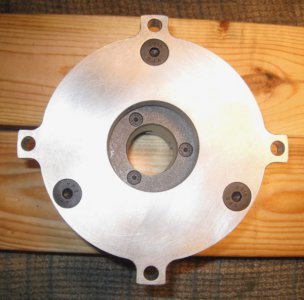
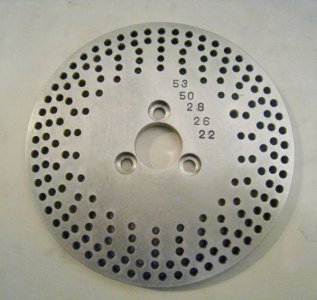
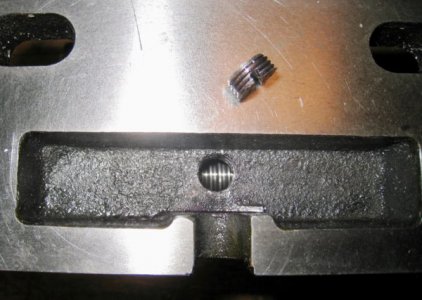
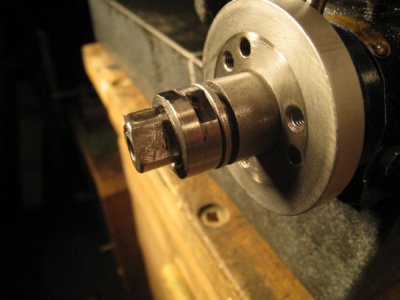
Those “direct on thread” set screws badly damage threads and make adjusting/removing/replacing the nuts annoying and difficult. Adding a collar to the table nut moved the set screws so they bear on the straight shoulder on the end of the table hub. A pair of jam nuts replaced the set screw collar on the worm shaft and the combined width is a few thou past the end of the thread giving a better shoulder for the indexing crank to rest against. To get oil to the worm a 1/2”-20 plug was inserted into the vertical base where it doesn’t interfere with anything but allows oil to go directly on the worm. Another little issue was that when the RT was set upright and the table rotated to “zero” the t-slots were 4 degrees off parallel. It seemed logical to me having t-slots parallel to the base would be very helpful if or when the hold down holes were part of the project, as in the chuck base plate, so the reference plate was moved to take out this error. Standard 5/16” t-nuts do not fit the t-slots properly so custom nuts were made with the tapped holes biased to the end so that nothing sticks out beyond the table. The chuck base plate was made from 1/2” 6061 with an “eared” design to spiffy it up. I also made an extra indexing plate to cover all the gaps up to 58 divisions left by the three included plates that came with the kit. All the holes in the new indexing plate were done with the mill DRO but turning the OD and making the chuck base plate are the first jobs done on the RT.
The chuck and indexing kit were purchased from Busy Bee (budget) which of course are Chinese. The indexing kit seems okay. QA on the chuck showed .001” to .004” TIR depending on the diameter. Overall machining looked good and concentric everywhere except for the bore which was inexplicably .012” off. Since locating the chuck on the RT is going to be by an arbour the centre hole was rebored true.
Hope this is of interest.
New realization: being able to move the mill X and Y as well as the RT makes one think a little harder.
