Lathe/Mill tooling cart

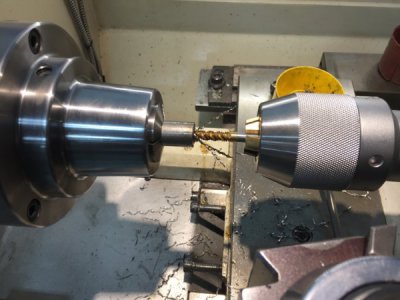
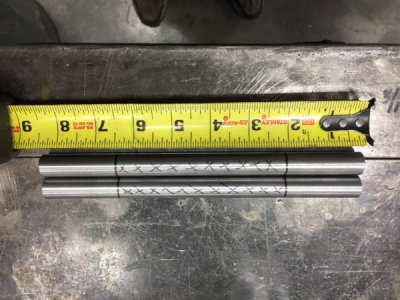
Only had a couple of hours of shop time but was able to turn the eight standoffs for the collet rack. Used .500" T-6 round bar with a 5C collet system. Faced,drilled, power tapped then parted. Repeated for a total of eight. Then I used a collet stop to face, drill and power tap the second end. I was pleased with the accuracy and ease of the stop. The collet stop threaded smoothly into the CDCO collet. These collets keep impressing me when you consider the total cost of the set.
Heres a link for the collet stop for those interested (eBay)
https://www.ebay.com/itm/5C-Collet-...hash=item2333b023ae:m:mCt7XnleZjCvyktSKQpIozA I wanna say I gave around 38 bucks for the same one.
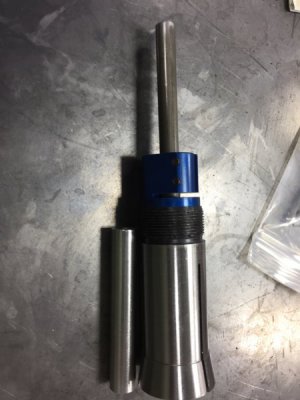
IMG_2026.JPG
All eight are are exactly the same and without the 5C set up it would have taken much longer.
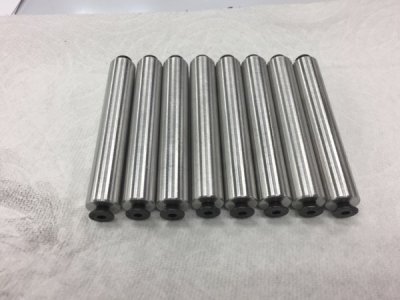
IMG_2027.JPG
These will support/mount the rack to the drawer.
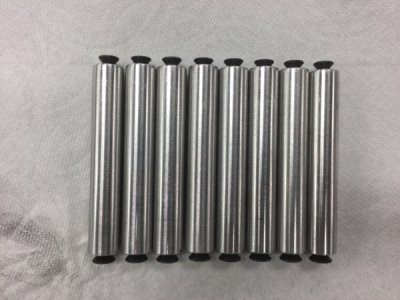
IMG_2028.JPG
Turn and burn
Paco
 
Last edited by a moderator:
Had a few hours this morning to mount the rack in the drawer.

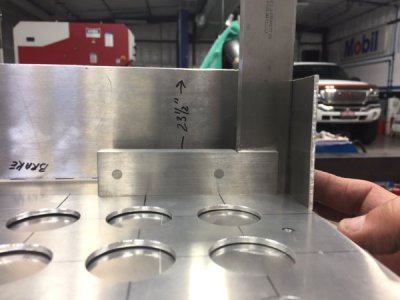
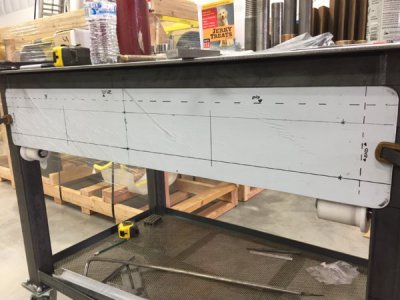
I used the rack to transfer the mounting holes to the drawer. Used a couple of scrap pieces of the same material the drawer is made from (.100") and clamped them to the side of the drawers two sides. It was difficult to accurately measure from the outside of the drawer due to the bend radius.
The second scrap piece was used as a spacer to locate the rack and transfer the hole. This was done with the drawer upside down.
The small spacer allows for the thickness of the material and locating the rack for a snug fit once inside the drawer.
IMG_2032.JPG
A quick double check on the front side and ready to transfer the eight holes.
IMG_2034.JPG
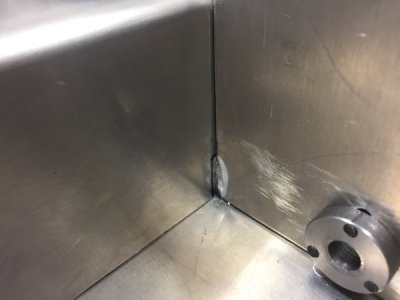
The rack was designed to snug up against the rear scab sheet that was added to prevent flexing when the drawer is fully opened.
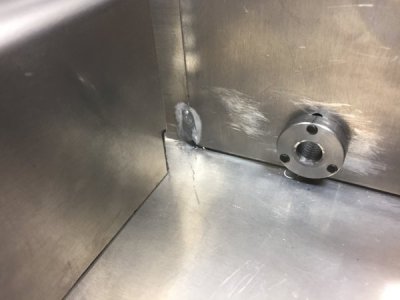
The small tig weld at the bottom interfered slightly. A burring toot took care of the small relief cut to the rack.
IMG_2030.JPG
Snug fit.
IMG_2031.JPG
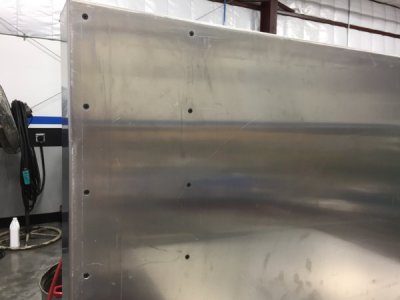
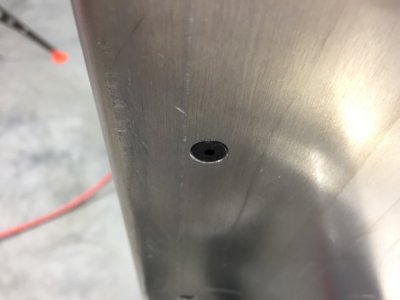
The bottom holes for the stand off's where counter sunk for a flush finish as four of them are inline with the left bottom roller. I did all eight like this to keep the bottom clean.

IMG_2035.JPG
Close up of the 8-32 countersunk Allen screw where the roller contacts the bottom of the drawer.
IMG_2036.JPG
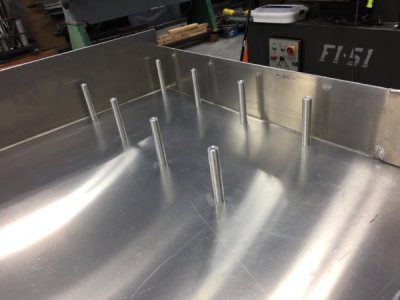
The eight stand off's ready for the rack. The top holes take a 10-24 button head Allen screw.

IMG_2037.JPG
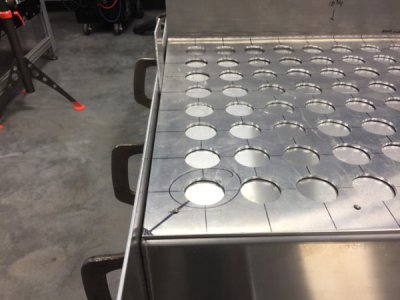
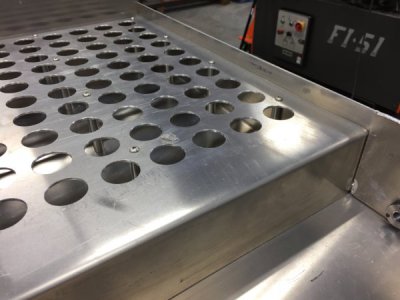
The rack fit nicely with a snug joint on both floating sides.
IMG_2039.JPG
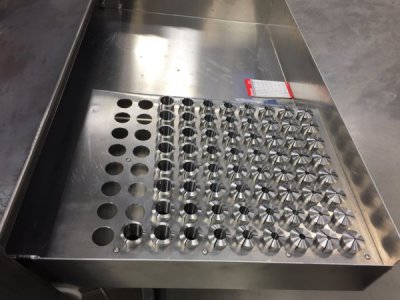
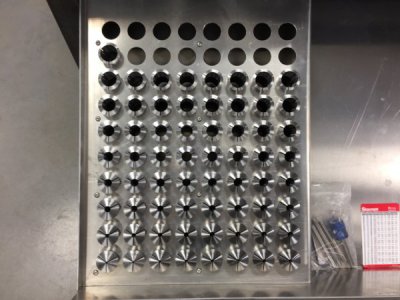
Installed the drawer and test fit the 65 collets. This also provided me the opportunity to think about other spacers/dividers for the drawer.
I would like to free up some tool box space of cutter inserts, and other such items that could be stored with the cart.
IMG_2041.JPG
I have 15 spare collet holes for future specialty collets and a shelf to perhaps drill and store the collet stop set. With 21" of drawer width left, I have plenty of space for dividers etc.

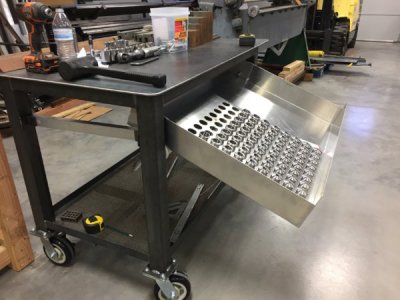
The kneeling feature allows full viewing and access to all collet holes.
A nice shot of the rack fitment to the left side and front of drawer
IMG_2042.JPG


Left side view.
IMG_2044.JPG
The rollers got smoother with the added weight.
Back on shift tomorrow so no updates until Monday evening. Thanks for looking and please any feed back/ideas are always welcomed.

Turn and Burn!

Paco
 
Thank you Mike,
I’m happy with it so far, still have a long way to completion.
 
Last edited by a moderator:
Made more progress on the cart today. Finished up the drawer face from leftover 1/8" alum. Some drawer handles where made from 5/8" CR.

Cut out the 1/8" alum with a jig saw and laid out to ensure no conflicts with the rack inside the drawer. I plan on utilizing the countersunk screws that secure the face to also secure drawer dividers.
IMG_2086.JPG
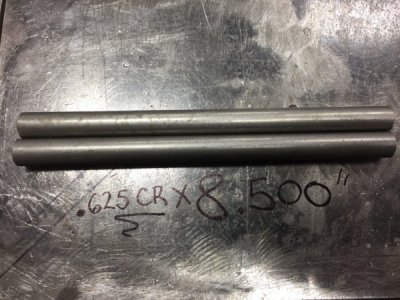
5/8" CR x 8.500"
Faced drilled and taped 1/4"-20 (both ends)
I used a spiral tap to power tap 1" deep without reversing (one shot) worked nicely. The chips resembled drill chips.
fullsizeoutput_61a.jpeg
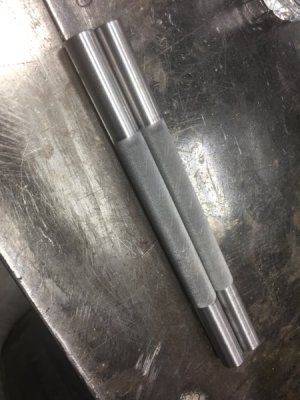
Laid out for a fine knurl.
IMG_2089.JPG
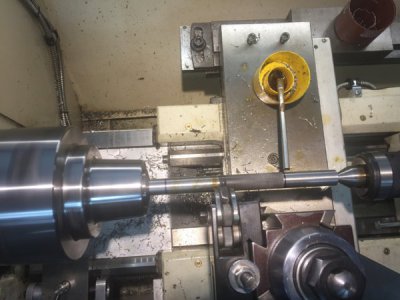
Overhead shot of the knurling process. Used my older live center since the end was tapped. I advanced the cross feed to .030" using fine knurls at 400 rpm.
IMG_2093.JPG
Has a nice feel on the fingers.
IMG_2095.JPG
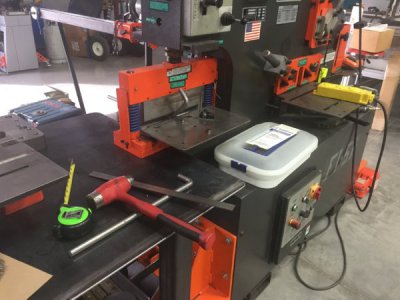
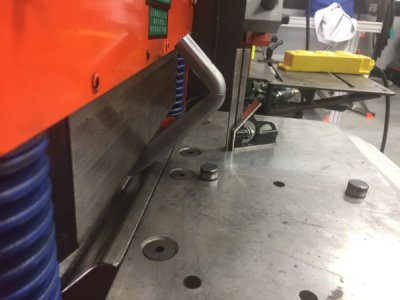
Setup the brake on the iron worker and bent the two inch returns.
IMG_2097.JPG
IMG_2096.JPG
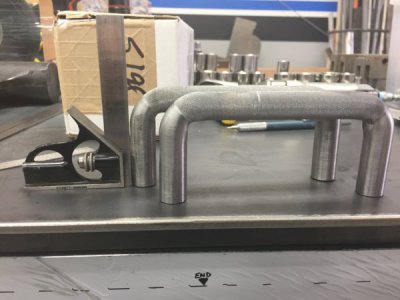
Pretty good match.
IMG_2098.JPG
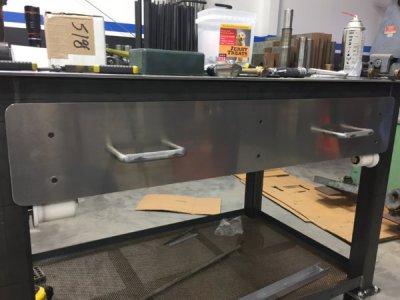
Finished up the face and pulled the protective film.
IMG_2104.JPG
I really like the 5/8" handles. Used button head Allen to secure them for a clean finish inside.
Thanks for looking.

Back on the Dreis & Krump box & pan brake tomorrow. The 3/4" x 12"CR flat bar I ordered came in today so I'll be picking up in the morning and set up the saw station to start the finger extensions, then start milling.

Turn and burn!
Paco

fullsizeoutput_61b.jpeg
 
Made more progress on the cart today. Finished up the drawer face from leftover 1/8" alum. Some drawer handles where made from 5/8" CR.

Cut out the 1/8" alum with a jig saw and laid out to ensure no conflicts with the rack inside the drawer. I plan on utilizing the countersunk screws that secure the face to also secure drawer dividers.
View attachment 248385
5/8" CR x 8.500"
Faced drilled and taped 1/4"-20 (both ends)
I used a spiral tap to power tap 1" deep without reversing (one shot) worked nicely. The chips resembled drill chips.
View attachment 248387
Laid out for a fine knurl.
View attachment 248388
Overhead shot of the knurling process. Used my older live center since the end was tapped. I advanced the cross feed to .030" using fine knurls at 400 rpm.
View attachment 248389
Has a nice feel on the fingers.
View attachment 248390
Setup the brake on the iron worker and bent the two inch returns.
View attachment 248393
View attachment 248392
Pretty good match.
View attachment 248394
Finished up the face and pulled the protective film.
View attachment 248391
I really like the 5/8" handles. Used button head Allen to secure them for a clean finish inside.
Thanks for looking.

Back on the Dreis & Krump box & pan brake tomorrow. The 3/4" x 12"CR flat bar I ordered came in today so I'll be picking up in the morning and set up the saw station to start the finger extensions, then start milling.

Turn and burn!
Paco

Beautiful work as always Paco. You set the bar pretty high my friend.

Mike
 
Back
Top