- Joined
- Feb 6, 2013
- Messages
- 99
So this will be my second time building a lapidary 3 head sphere machine. For those who don't know lapidary is the working of stone, mineral or gemstone into jewelry or decorative items such as spheres. This right here is the first machine I built several years ago. I used a hacksaw, welder and drill press. It is a fairly basic and standard diy machine. Commercial units can cost between $400-2500 this one cost me $75 to build.
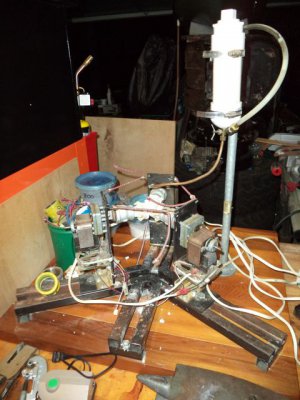
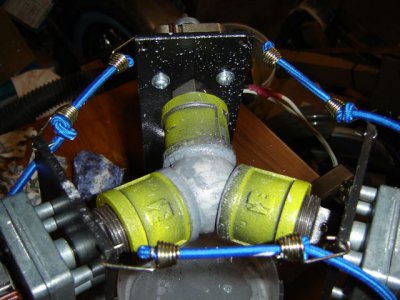
The way it works is you take a rock. Cut it to a cube. Next all the corners are cut off. Once that is done you rough grind it to as close to a sphere as possible. The stone is now put into the machine and ground down with 80 grit. Followed by 220, 400, 600 and finally polish. Here is a picture of a sphere being ground with 80 grit.
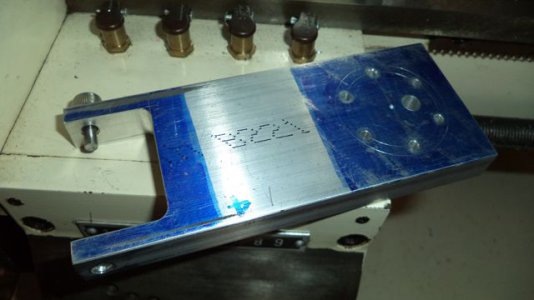
This old machine is huge and way overbuilt. My goal is to create a smaller machine and one machine for each grit. Also I am using this to hone my skills on the lathe and mill. And a final goal is to also in the future sell kits after I convert one of my X2 mills to CNC, but that is in the future. So to start I turned some .375" thick by 2.75 diameter disks. I will need two of these per machine.
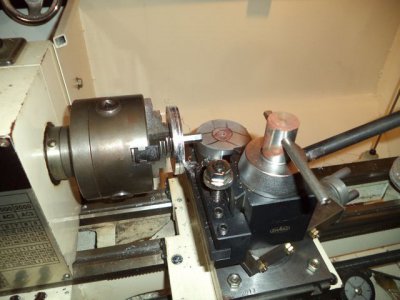
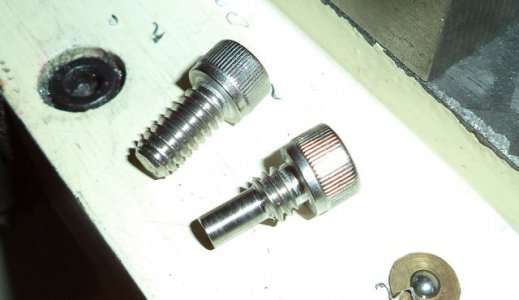
I just used a bolt as a mandrel. It worked fine and I made 4 of them at 2.75 and only had one mistake.
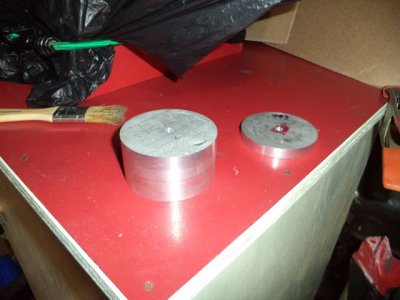
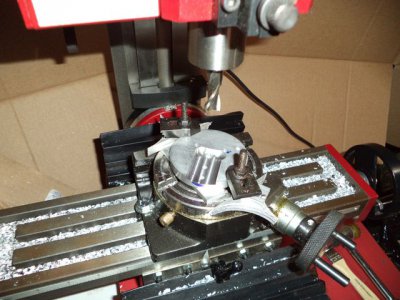
My three legs on this machine will be made with 8020 aluminum extrusion. These disks will be used for the center hub. I am using the rotary table to make 1" wide cuts 1/8" deep for each leg.
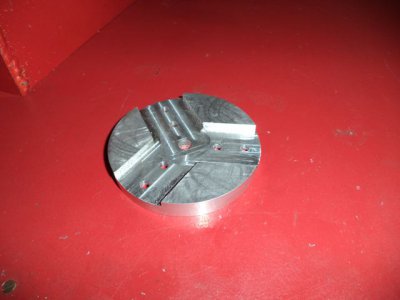
This is one of the hubs completed. Only 3 more to go for two machines.
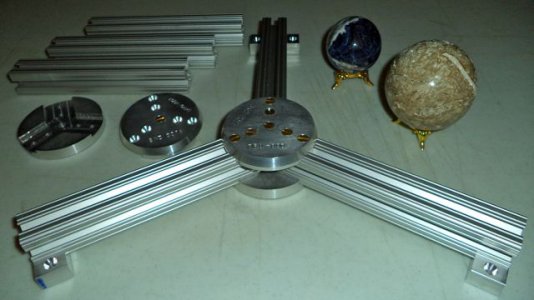
Here is one base complete and the components for another. Two of my completed spheres are in the picture. On the left/back is Sodalite and on the right is Florida rock. It is also known as fossilized coral/limestone. I acquired that piece from a Burger King in Naples, FL. Next I will start working on the heads.
Hopefully in the next few days I can get some of the other items done.


The way it works is you take a rock. Cut it to a cube. Next all the corners are cut off. Once that is done you rough grind it to as close to a sphere as possible. The stone is now put into the machine and ground down with 80 grit. Followed by 220, 400, 600 and finally polish. Here is a picture of a sphere being ground with 80 grit.

This old machine is huge and way overbuilt. My goal is to create a smaller machine and one machine for each grit. Also I am using this to hone my skills on the lathe and mill. And a final goal is to also in the future sell kits after I convert one of my X2 mills to CNC, but that is in the future. So to start I turned some .375" thick by 2.75 diameter disks. I will need two of these per machine.

I just used a bolt as a mandrel. It worked fine and I made 4 of them at 2.75 and only had one mistake.

My three legs on this machine will be made with 8020 aluminum extrusion. These disks will be used for the center hub. I am using the rotary table to make 1" wide cuts 1/8" deep for each leg.

This is one of the hubs completed. Only 3 more to go for two machines.

Here is one base complete and the components for another. Two of my completed spheres are in the picture. On the left/back is Sodalite and on the right is Florida rock. It is also known as fossilized coral/limestone. I acquired that piece from a Burger King in Naples, FL. Next I will start working on the heads.

Hopefully in the next few days I can get some of the other items done.


