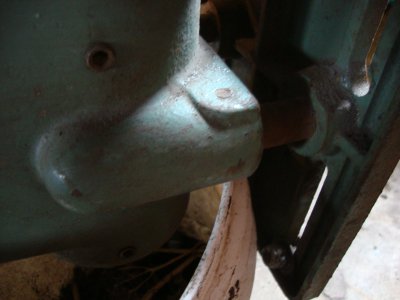
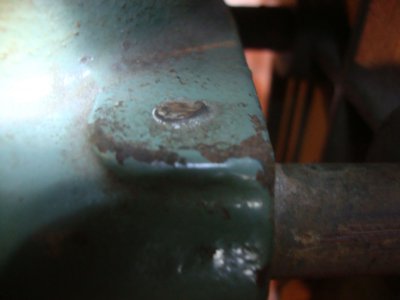
Judging from the rust on the shaft that the bolt holds, you'll probably have to drill it out.
If possible, file or lightly grind the top of the bolt flat. The broken end looks rather close to the casting so that might not be reasonable.
So, you could use a dremel tool and just smooth the top so a drill bit wont have any odd surface to throw it off.
I like to lightly tap a centerpunch in the broken bolt. Very light, just so you can see it and judge if you did get it centered.
The bolt will look wider where the top thread shows and that makes true center a bit harder to judge.
Also, that cast may be softer than the bolt so if your off center the drill will walk into the softer metal.
When I feel it's as close to center as I can get it, I'll center punch it bit harder, but that cast may not take much to break so don't overdo it and a deep mark isn't needed.
If I'm certain that my mark is true to center I'll use a drill bit a couple sizes smaller than the tap drill size.
If I'm uncertain of center, then a bit about 1/2 the tap drill size or smaller.
Wrap tape on the bit to mark depth.
When I start drilling, the bits may walk a bit but I just ease the tip in and angle the drill to push it back to center.
Only drill a couple threads deep to start and this lets you check that you are centered.
If it gets too far out you can stop and use a slightly larger bit to walk the hole over.
Finding that center is a must.
The difference in the metals will let you see if you're getting into the cast threads.
Then drill through the bolt body and use increasingly larger bits until you get to the tap drill size.
Hopefully, the steel threads can be pealed out. Might have to soak em in penetrating oil overnight.
If you cant save the threads then maybe you could drill the hole out for the next reasonable bolt size. Usually two sizes up.
If that's not good the hole could be filled with body putty and a new hole drilled to the side after the rest of the work is done.
If you have to go with a new hole don't put it too close to the old one.
I've not removed one of those sheaves but I broke one on a motor.
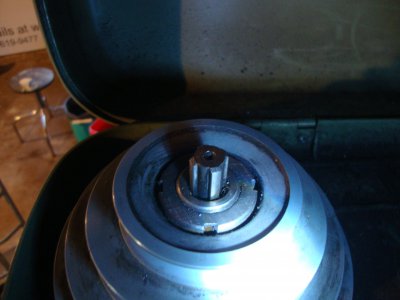
Im sure your rite about pulling that nut and after getting the sheave off, the pinion gear on the feed lever.
Those sheaves are cheap and brittle so force is risky and should be used as close to center as possible.
Probably difficult on that one.
The chuck should have a short taper holding it in the spindle.
So it doesn't go flying when it comes loose, raise the table to within 1/4 inch of the chuck and use a hard plastic or soft face hammer on the solid back of the chuck to break it free of the taper.
Tap it or pop it on spots 180 degrees apart.
Hope this helps!


