I'm making a Halo !!

Dataporter

Active User
H-M Supporter Gold Member
Joined
Jan 20, 2013
Messages
285
So I've been going to church, trying not to cuss, being kind to everyone, and spending some time in my shop in order to get a Halo!!

I bought this raw materials kit https://www.ministeam.com/product/Liney-Steam-Engine-Model-Kits-HaloKit/Stationary-Steam-Engine-Kits from Liney Machine. If you follow that link you can see pictures and videos of a couple of these Halo engines completed so you know where I am headed. I bought this "kit" almost 4 years ago and when I received it, I opened it up and realized that it was probably more than I could chew... My skills were rusty, I really hadn't figured out how to make my 3 in 1 jump through hoops, and I didn't have as many tools, etc. as I do now. But now that I have built more than half a dozen engines (several are posted on this site) I thought, "I can do this!".
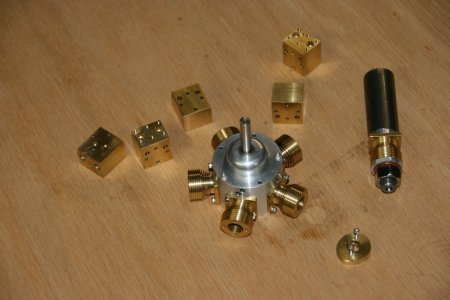
DavesHalo1.JPG

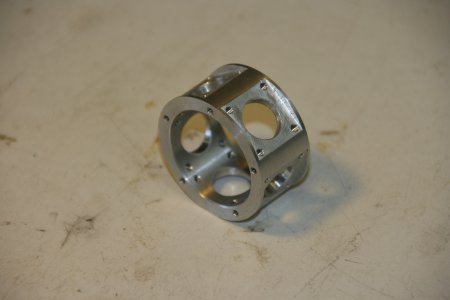
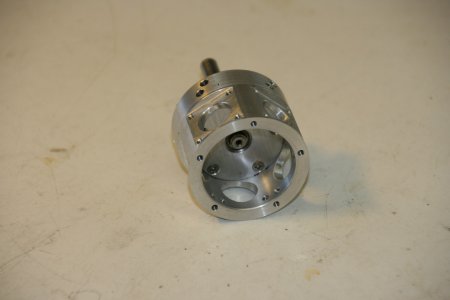
Above is a picture of about where I am now. Just for reference: the diameter of the crankshaft is 1/4", the OD of the aluminum crankcase is 1.65", diameter of the arbor and the cylinder on it is 3/4", the cylinder heads at this point are .750" x .850" x .625", the major diameter of the cams in the lower right is .780" and the screws are all size 2-56.

I have more pictures of the parts, jigs and setups, etc., etc. With a little encouragement, that is, if someone is interested in seeing more pictures, let me know and I'll post them up!

Best Regards
Dave

PS at least I am doing a couple of the things listed in the first sentence...

DavesHalo1.JPG
 
Last edited:
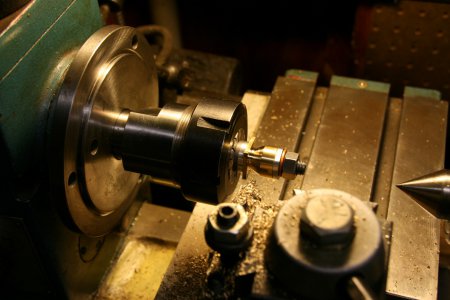
DavesHalo2.JPG

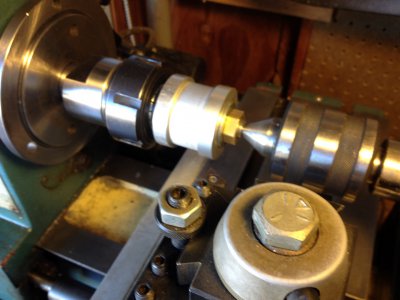
The crankcase shown above began life as a piece of 1-3/4" aluminum tube with a 1/4" wall. First I made an arbor to hold it as shown below. I was careful that the arbor was concentric, the end caps were the same thickness, and the shoulders of the back one was a thousandth or so smaller than the desired ID of the part. Then I faced the part on both sides to length and bored the center out to the called for diameter. I was able to use my arbor as go no go gauge for the final pass.

DavesHalo3.JPG

In the picture above I have mounted the arbor in the lathe and brought a live center against it.

DavesHalo4.JPG

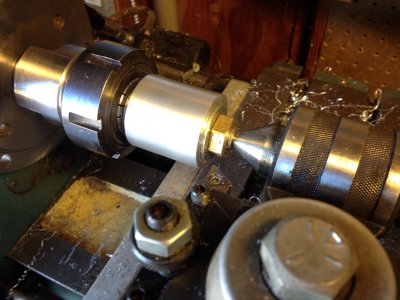
I turned the arbor and the part down to the desired outside diameter.

DavesHalo5.JPG

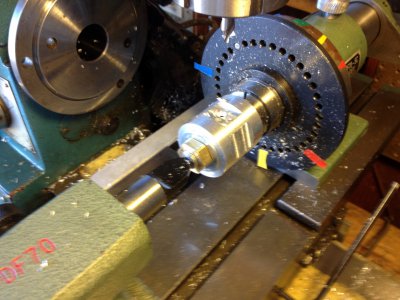
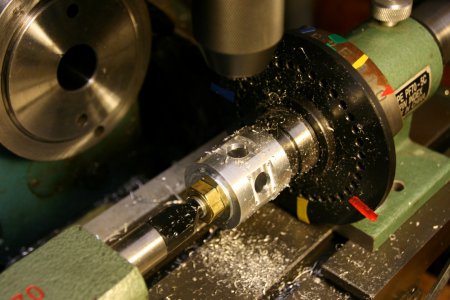
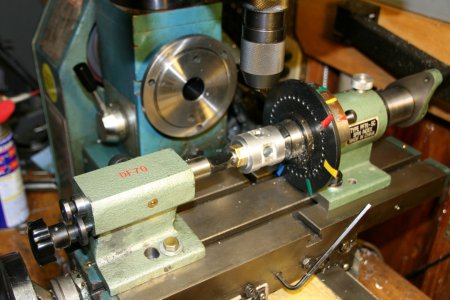
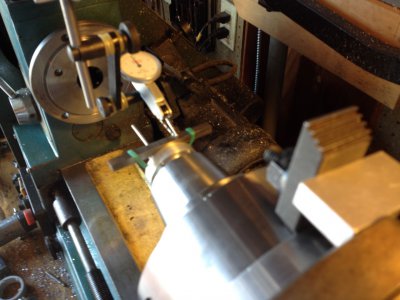
Without removing the crankcase from the arbor, I mounted it up in the 5c spin indexer with the tail stock center on the other side. 360 divided by 5 is 72 degrees. Notice I used little pieces of colored vinyl tape to mark the holes on both sides of the indexer because I wanted some help to not make a mistake! In the picture above I have already milled the flats for the cylinders and I have center drilled the first hole. Next I drilled a hole slightly smaller than the desired .501" hole. Then I used a boring head to bring it out to the exact finished size.

DavesHalo6.JPG
DavesHalo7.JPG

Then I drilled the 4 cylinder mounts number 50 drill holes around each cylinder hole. Thank God for DROs.

Only now did I remove the part from the arbor. I don't have any pictures of the next steps, but I mounted the ring horizontally, carefully dialed in one of the flats and drilled the 5 number 50 holes through the ring. These holes are to mount the cam housing on the front and will be used somehow the mount the whole engine to the yet to be designed base.

I started hand tapping all these 2-56 holes in this part, 30 of them! I quickly realized I was losing what little is left of my sanity. So I up the part in a vice and used a small level to level one flat. Then I put this tiny tap in my cordless variable speed electric drill that has a bubble level on back so you can see you are drilling a hole straight down. Zip Zap. I had all the holes tapped in about 10 minutes.

DavesHalo2.JPG DavesHalo3.JPG DavesHalo4.JPG DavesHalo5.JPG DavesHalo6.JPG DavesHalo7.JPG
 
Halo Cam Housing

HaloCamHousing.JPG
HaloCamHousingback.JPG

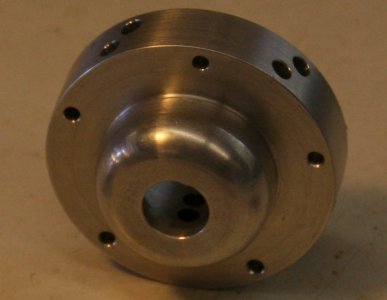
This piece was made from an 1-3/4' round aluminum rod.
I cut the "nose" first down to one inch. I used the compound and shaved the area that is rounded at like 22 degrees, then 45 degrees then 67 degrees. Then I used a file to create the round shape.
Then I turned it around and chucked it up in 1" collet and step drilled the hole in the back and eventually all the way through with a drill just under 3/8. Then I ran a .374 reamer through the front. Then I carefully bored the lip or shelf for the front main bearing and the bigger hole for the cams. I faced the back and turned the OD from the same setup so that everything is concentric.

IMG_0598 (Large).JPG
IMG_0599 (Large).JPG

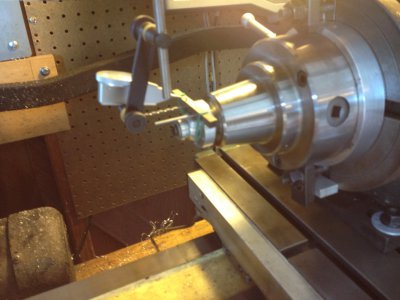
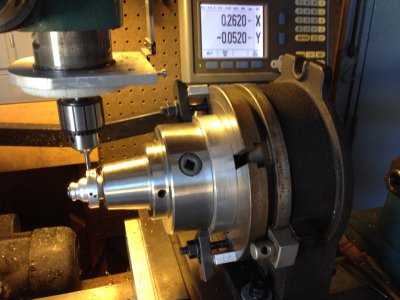
In the pictures above, I have the part mounted on a mandrel or arbor inside a 5c chuck that I have already dialed in to the center of the rotary table in vertical position. I'm using a .090 pin and a #43 drill bit in the holes that will be used to mount the housing to the crankcase. I want the holes for the rod plungers / cam followers to be exactly between them.

IMG_0600 (Large).JPG

In the picture above, I am using a center drill to start the rod plunger holes. These holes are at a 7.5 degree offset and .052 off of center. This so the cam followers for each cylinder will be in line on the inside. See the second picture above in this post that shows the back of the cam housing. The holes that you can see on the top of OD are in a 15 degree V and yet on the ID they are lined up so the cam followers will roll on the same line across the top of the two cams that will be in the cam housing.


IMG_0601 (Large).JPG

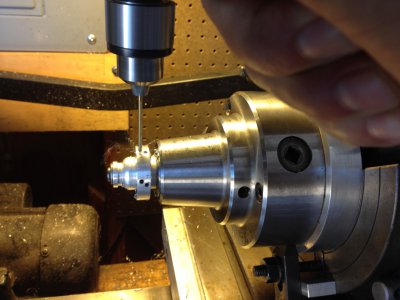
In the picture above is of chasing a previously drilled hole with a .126" reamer . I center drilled, then drilled, then reamed all the intake cam follower holes. Then I changed the setup to the exhaust and did the same spot, drill, ream.

HaloCamHousing.JPG HaloCamHousingback.JPG IMG_0598 (Large).JPG IMG_0599 (Large).JPG IMG_0600 (Large).JPG IMG_0601 (Large).JPG
 
Halo Crankshaft

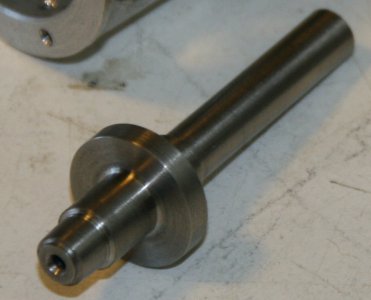
HaloCrankShaft.JPG

I decided to make the crankshaft from a piece of 5/8" 303 stainless steel. The material kit came with a 5/8 round aluminum bar, but I thought that the crank should be stronger than aluminum.

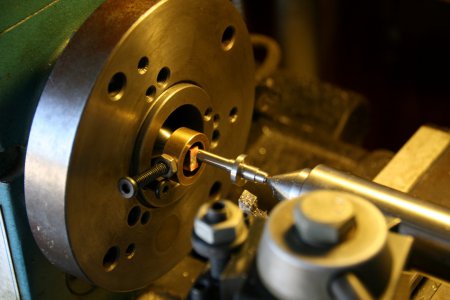
IMG_3062 (Large).JPG

Above is my setup for making the crankshaft. The "face plate" above is actually the back of my 4 jaw chuck. I've drilled a few extra holes in it for various and sundry parts I've made. The extra holes don't hurt it for it's original intended purpose. I turned this part between centers because I want it absolutely concentric. I used my diamond (shaped) tool and holder because I can face and turn with the same tool and get a nice inside corner. Also, it does a very nice job of cutting this stainless. The dimension between the two shoulders on this where the main bearing IDs rest against and the same dimension inside the cam housing for the OD of the bearings is quite critical. You don't want any slop and you can't have any side loading on these little bearings either. So I cut the distance between the shoulders a little big. Then I test fit the crankshaft between the cam housing and the rear bearing carrier, shaved a tiny bit off, test fit, rinse and repeat.

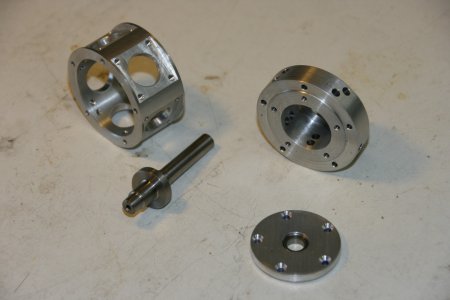
IMG_3069 (Large).JPG

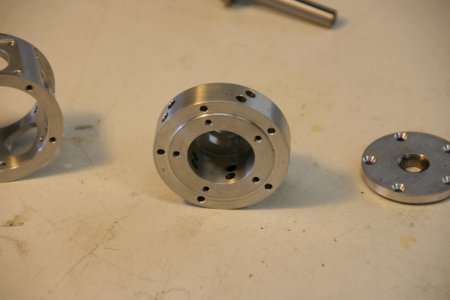
The picture above is the crankcase, crankshaft, cam housing and the rear bearing carrier.

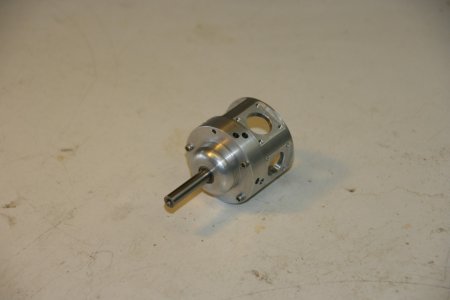
IMG_3070 (Large).JPG
IMG_3071 (Large).JPG

HaloCrankShaft.JPG IMG_3062 (Large).JPG IMG_3069 (Large).JPG IMG_3070 (Large).JPG IMG_3071 (Large).JPG
 
Making the Halo Cylinders

cylinder1 .JPG
Cylinder2.JPG

The cylinders were made from 3/4" square 360 brass bar. I cut them to length. I also cut the .500 shoulder than fits down into the hole in the crankcase, in fact I used the crankcase as my go gauge for the right diameter. Then I drilled and reamed the cylinder hole the piston will run in through the part. I used a .374 reamer and later I will "hone" them.

Cylinder3.JPG

There are four blind holes in top of the cylinder that are tapped 2-56 to bolt on the heads. There are four #43 holes though on the bottom used to bolt the cyl to the crankcase. I decided to drill these other holes now while the cylinders are still rectangular. Note the stop attached to the upper or back left of the vise. I used an edge finder to precisely locate the first part. Then I located the first hole and used the center drill to spot the first hole. I removed that part and carefully and cleanly inserted the second part in the vise against the stop. Spot it. Put in the third part, etc etc ad nauseam. Then I switched to the (#50 or #43) drill and drilled the first hole in the same place in all the parts. Now with the DRO I moved mill and the drill to the second hole position and ran all the parts carefully and cleanly through the vise, oriented in the exact same position as the first hole. I could have, perhaps, rotated the parts 90 degrees with the same setup, however, in my experience, if you want these holes in the exact location to each other, you damn well better be locating all the parts off the same three surfaces. Tedious for sure, but IMO much faster and easier than jockeying the mill around to all four holes on each part. Obviously, this would have been a great time to have CNC.


cylinder4.JPG

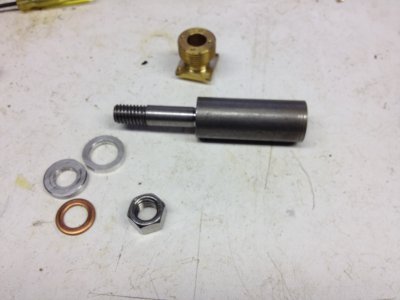
Now I made the arbor shown above from 12L14 steel. I also made the "washers" for the ends of the part from 1/8" aluminum flat. These washers are easy to make, I just drilled the right size ID hole in the aluminum, take it to the band saw to roughly cut the OD, then mount them on the arbor, turn the OD down to size. This setup let me hold these parts perfectly for the next couple operations!

cylinder5.JPG

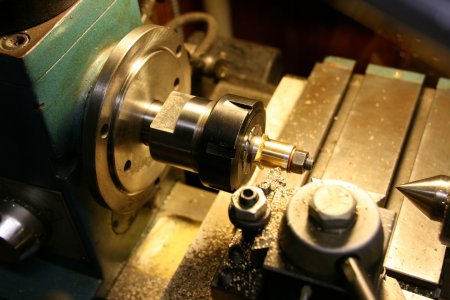
Above, the OD on the exposed part of the cylinder has been turned from 3/4" square to 3/4" round. The live center shown in the picture was used for this operation.

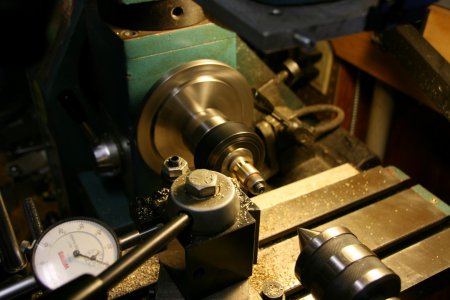
cylinder6.JPG

Setting up for the taper or half hourglass shape that is cut on the bottom of the cylinder. Note the dial indicator in the lower left. I dialed in the back of the tool post to be square with the ways of the lathe (x axis). Then I can use the dial indicator to tell me how far I in or out along the cross slide (y axis) I have moved the tool USING the compound slide of the tool post, which was set a hair less then 30 degrees. I hope I'm making myself clear if anyone reads this.

Cylinder7.JPG

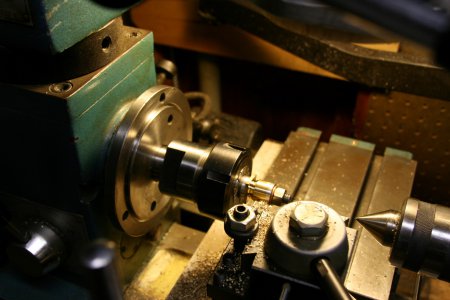
Cutting the taper.

cylinder8.JPG

A finished taper

cylinder9.JPG

cylinder10.JPG

Cutting the "cooling fins" above. I had a little .025" wide part off blade. The fins are .025 wide and deep at the top.

Cylinder11.JPG

TAA DAA !!

cylinder1 .JPG Cylinder2.JPG Cylinder3.JPG cylinder4.JPG cylinder5.JPG cylinder6.JPG Cylinder7.JPG cylinder8.JPG cylinder9.JPG cylinder10.JPG Cylinder11.JPG
 
Making the Halo Cylinder Heads

HaloHead1.JPG

HaloHead2.JPG

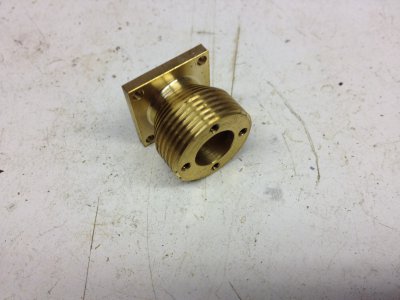
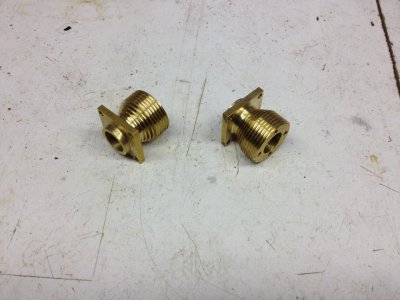
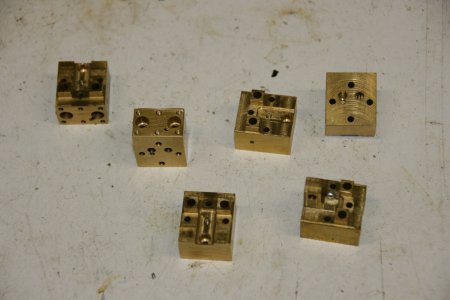
The Halo Heads are made from 3/4" (.750") brass bar. I cut them a 1/16 or so over the length with my HF 4x6 band saw.

HaloHead3.JPG

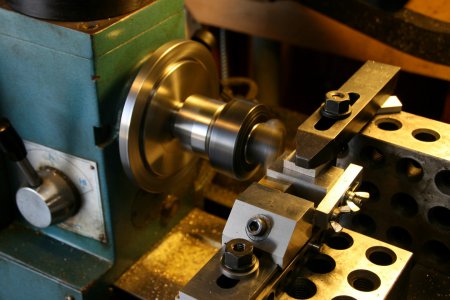
This is the setup I used to cut them down to .850" length

HaloHead4.JPG

Cutting them down to .650" tall

HaloHead4a.JPG

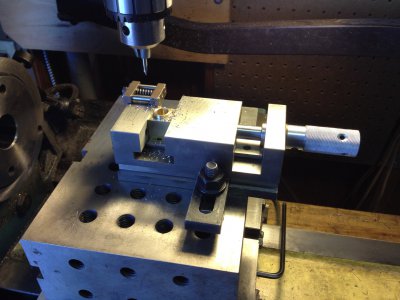
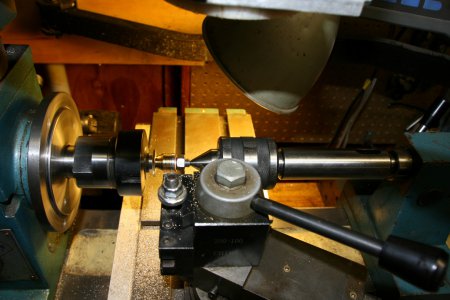
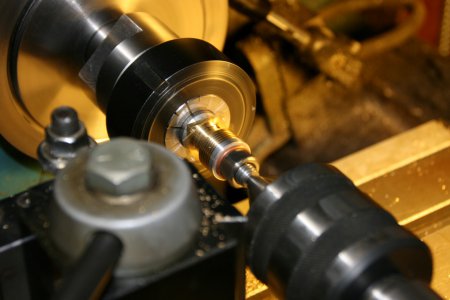
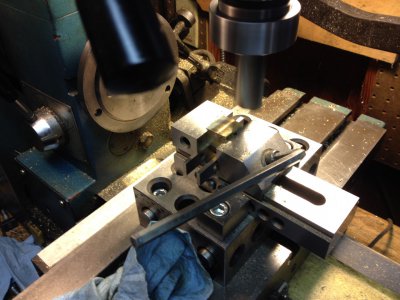
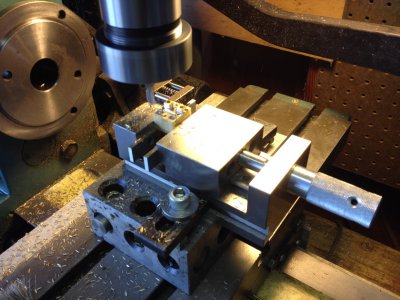
I think I counted 20 different set ups to do these parts. There are 19 holes drilled in each head. Seven of them are threaded 2-56, two of them are reamed .126", two of them are counter-bored and there is a .06" wide by .05" deep slot for the exhaust port. I'm not going to bore either one of us with all these setups. Most were like the one shown above, simply a small vice with a stop. I used an edge finder to precisely locate the first part. Then I located and did the first hole (or whatever). I removed that part and carefully and cleanly inserted the second part in the vise against the stop. Do it. Put in the third part, etc etc ad nauseam. Shown above is actually one of the last operations on the heads.

HaloHead5.JPG
HaloHead6.JPG
HaloHead7.JPG
HaloHead8.JPG

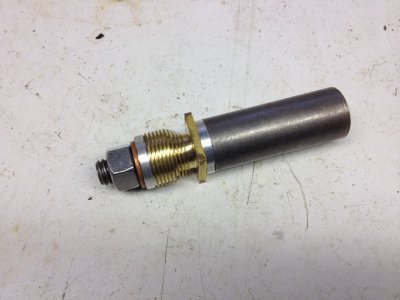
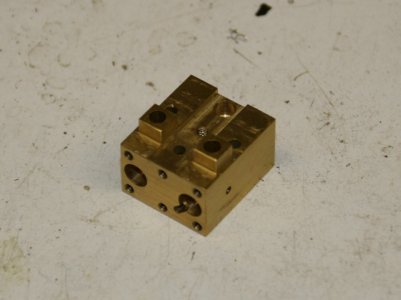
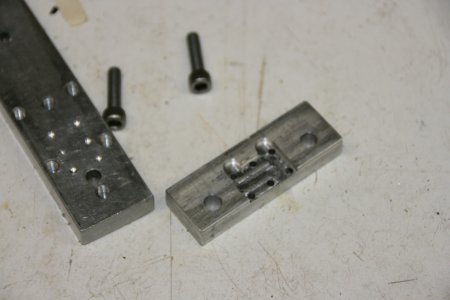
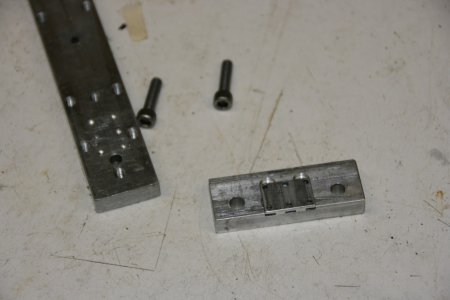
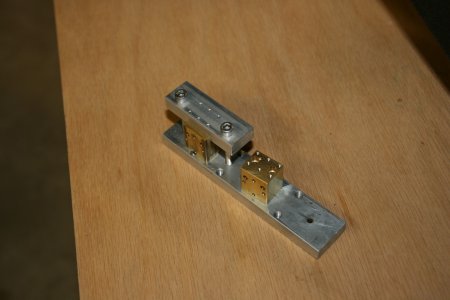
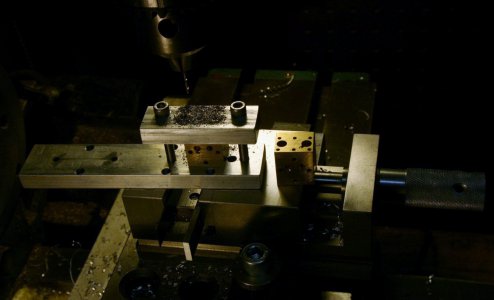
I realized that the six holes that were drilled for the valve covers times 5 heads plus 6 holes times 5 valve covers is a heck of a lot of holes! (not to mention I made at least one extra part for setups and screw ups!) So I made the little drill jig shown above to fit both the heads and the valve covers. With the jig I was able to drill all 60 plus holes zip zap using the mill as a drill press. I drilled heads first with a #50 drill and later I drilled the covers with a #43 drill.

I hope someone is enjoying reading this or at least looking at the pictures...

Best Regards,
Dave

HaloHead1.JPG HaloHead2.JPG HaloHead3.JPG HaloHead4.JPG HaloHead4a.JPG HaloHead5.JPG HaloHead6.JPG HaloHead7.JPG HaloHead8.JPG
 
I will keep watching. Wow lots of setups!
Pierre
 
Rather than saying 20 setups above, a better word would be operations. Still several setups. Thanks! Dave
 
Back
Top