- Joined
- Sep 22, 2010
- Messages
- 7,223
From
http://bbs.homeshopmachinist.net/showthread.php?t=37241&page=3:
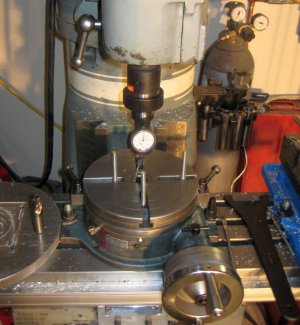
"The first thing I advise you to do,is first screw on the long straight handle that you hold in 1 hand to keep the Blake from rotating. I run my unit SLOW.
Next,and VERY important,when getting ready to center something like a hole,put on the shortest leg you can,and run the leg round and round close over the hole. Adjust the mill's table until you can see that the hole is pretty well visually centered below the probe you selected. IF YOU PUT THE PROBE INTO THE HOLE WHEN IT IS TOO FAR OFF CENTER,THE PROBE CAN REACH ITS LIMIT OF TRAVEL AND BREAK THE SHAFT OFF OF THE BLAKE!This last info is VERY important to remember.
Running the mill slow is very adequate to indicate the hole onto center by manipulating the X and Y axes until the indicator's needle stays in 1 place. You can zero the needle's position by rotating the bezel if you want to. The important thing is to get the needle to where it moves as little as possible,with just the smallest tremor. Running the mill faster just makes centering the hole(or whatever) more difficult.
I also got the needle tip for centering punch marks,which is very handy to have. This needle tip is spring loaded,which it needs to be as the needle tip goes in and out as it is used to center the punch mark. DO NOT ATTEMPT TO USE A HOME MADE,NON SPRING LOADED NEEDLE TIP. It will break your Blake."

Last edited by a moderator:

