- Joined
- Oct 27, 2014
- Messages
- 44
Hi, on a previous, and my first ever post, on the "Beginners" forum was a few days ago. I did however get some very good advice. The outcome of that was as follows. I would purchase an index able type face cutter to replace my existing face cutter as it was not an easy tool, to sharpen 3 separate tool bits in an identical way so that all 3 bits picked up an equal share of the cutting. But at the moment spare cash for a new cutter is not available at present. So having read other posts regarding tooling that has been home made and, the pictures are amazing, the quality of the tooling is also outstanding!
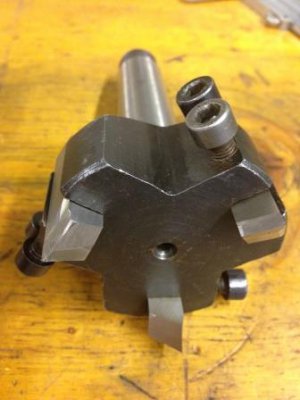
Below is my present face cutter that uses 3 HSS bits.
So I thought I should give it a go and make a Fly cutter, and perhaps making some simple tooling is a start in the same direction like so many others that have been so successful in making great tooling.
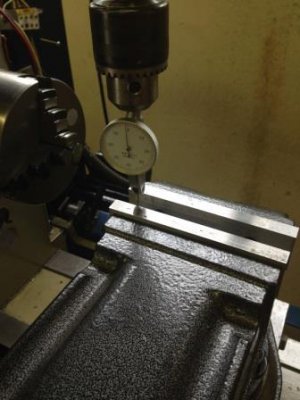
So I started as follows, I mounted my huge milling vice on my trusty "Chinese 3 in 1" machine and squared off the jaws.
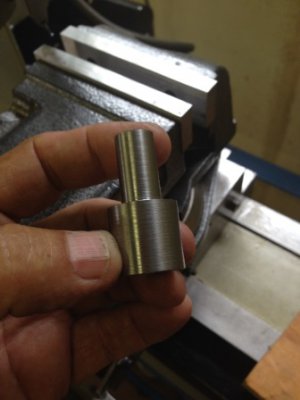
This is the blank that I machined earlier.
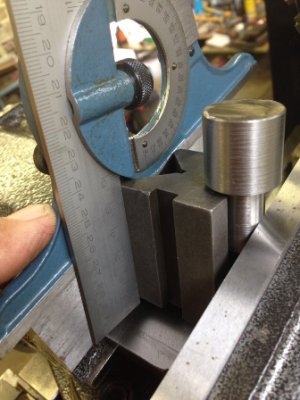
Clamped the blank in the vice and set the angle at 16 degrees, I thought this would be a reasonable angle.
Started milling with a 10mm Slot drill at 836 rpm, (is this the correct cutting tool to use?)
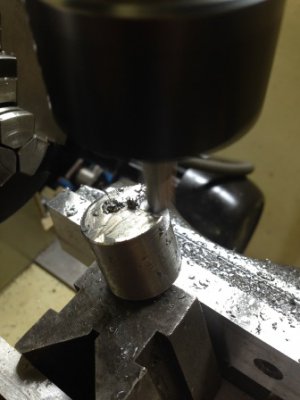
Stopped for a picture, almost done
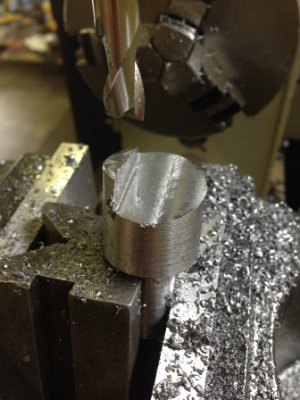
Done with milling the 16 deg. face angle
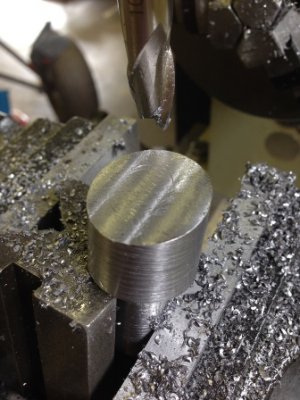
Busy with the 6mm tool bit slot
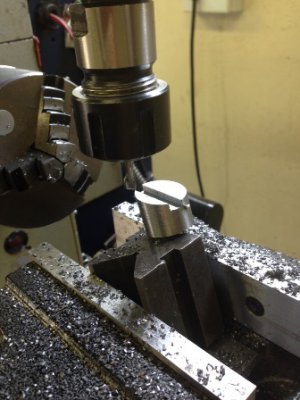
Milling completed. Please comment on the surface quality of the slot. Seems a little bit "Rippled"
Perhaps I am using the wrong cutting tool?
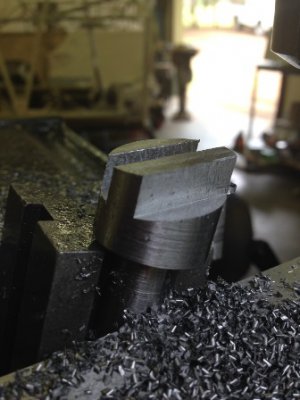
Fly cutter clamped for drilling and tapping of holes for the Pinch screws
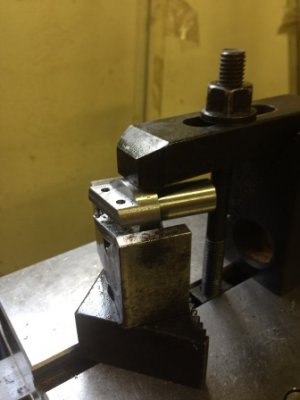
All done, and now for the TEST. I have a piece of scrap 25mm thick mild steel off cut which I use as a small hand hammer to rap on what ever needs a little "knock". So I used this for the test. Spindle speed is 290 rpm.
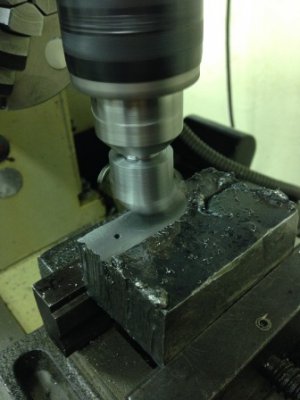
Well it seems to work much better than my "3 HSS BIT" face cutter.
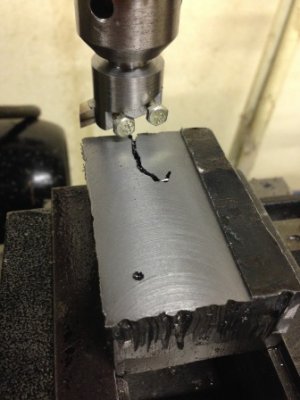
Here is the tool, it is 24mm dia. and it has a 13mm shank, and with the tool bit set where it is, it cuts a 34mm wide swarth. Since taking this picture I have replaced the small pinch hex screws with "cap head" screws.
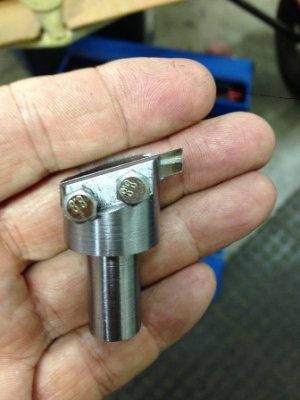
I did make a mistake in the machining of this fly cutter, and I am sure that nothing gets passed you guys, so I will just come clean and tell you. I am sure you spotted the mistake. I milled the slot for the tool bit on the wrong side of the center line, so this fly cutter has to run anti clockwise to cut.
Well these type of mistakes will go as experience increases.
I would certainly appreciate your comments, as I can only improve from them
Below is my present face cutter that uses 3 HSS bits.

So I thought I should give it a go and make a Fly cutter, and perhaps making some simple tooling is a start in the same direction like so many others that have been so successful in making great tooling.
So I started as follows, I mounted my huge milling vice on my trusty "Chinese 3 in 1" machine and squared off the jaws.

This is the blank that I machined earlier.

Clamped the blank in the vice and set the angle at 16 degrees, I thought this would be a reasonable angle.

Started milling with a 10mm Slot drill at 836 rpm, (is this the correct cutting tool to use?)

Stopped for a picture, almost done

Done with milling the 16 deg. face angle

Busy with the 6mm tool bit slot

Milling completed. Please comment on the surface quality of the slot. Seems a little bit "Rippled"
Perhaps I am using the wrong cutting tool?

Fly cutter clamped for drilling and tapping of holes for the Pinch screws

All done, and now for the TEST. I have a piece of scrap 25mm thick mild steel off cut which I use as a small hand hammer to rap on what ever needs a little "knock". So I used this for the test. Spindle speed is 290 rpm.

Well it seems to work much better than my "3 HSS BIT" face cutter.

Here is the tool, it is 24mm dia. and it has a 13mm shank, and with the tool bit set where it is, it cuts a 34mm wide swarth. Since taking this picture I have replaced the small pinch hex screws with "cap head" screws.

I did make a mistake in the machining of this fly cutter, and I am sure that nothing gets passed you guys, so I will just come clean and tell you. I am sure you spotted the mistake. I milled the slot for the tool bit on the wrong side of the center line, so this fly cutter has to run anti clockwise to cut.
Well these type of mistakes will go as experience increases.
I would certainly appreciate your comments, as I can only improve from them

